
2018 Turnings |
|---|
Not much new so far, but a couple of different things. More threading, and a few more artistic pieces. You be the judge.
At this point I am going through some bad problems with an inner ear virus that has thrown my balance way off, and I have not been in the workshop for almost a month. Last year pacemaker, this year vertigo - I wonder what's in store for 2019?
No complaints, though. Although I got severely dizzy while on my way home from the gym, and after 6 hours in emergency I turned to Karen and vented, "All this crap about taking care of myself, watching what I eat, taking tumeric, drinking fish oil, not smoking, working out like a mad man at the gym three times a week, walking, running, and this still happens to me? I am pissed off !!!"
OK, enough of that. I am a very fortunate and happy man, and life is good. In truth, I live every day in complete gratitude.
As usual, I love hearing from you, so feel free to let me know you were here.
I can hardly believe that it is now July, 2018, and I am actually starting on the 2018 pages, instead of being 2 years behind. I actually just finished the 2016 and 2017 pages, and being on a roll, I thought, "Hey - let's see if we can get a head start on 2018!" Maybe Hank Hildebrand won't bug me about staying up to date on the site.
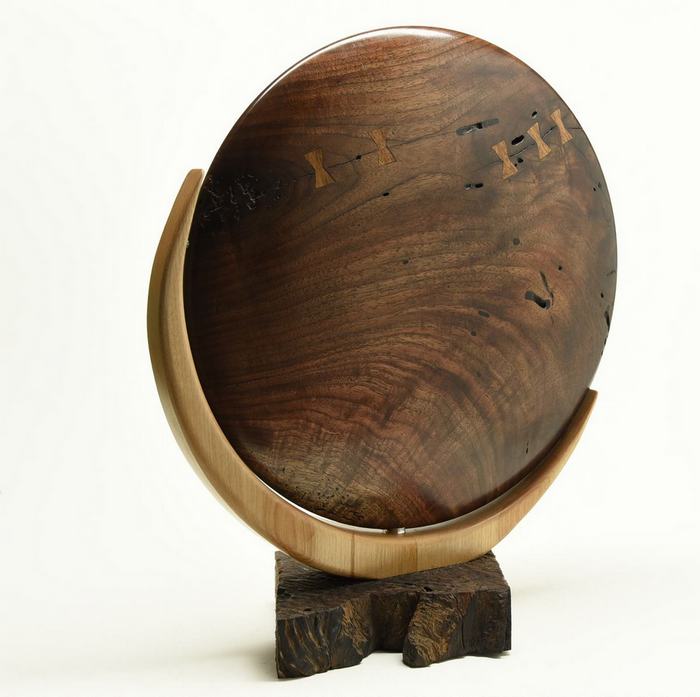 |
This is a disk of walnut from Lauren Cory in Texas. We went to Texas for 3 weeks in January to get ready to move out of our place, and bring stuff back home to Canada. We sold our place after wintering for the past 6 years at Palm Shadows RV Park in Donna, Texas. | ||
 |
 |
| |
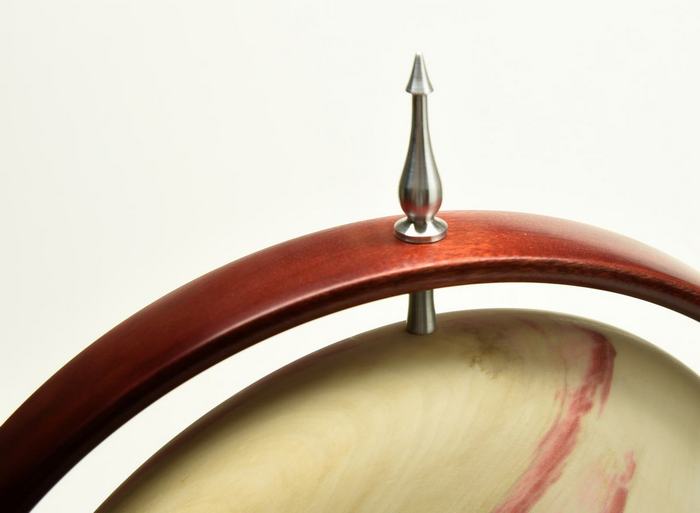 |
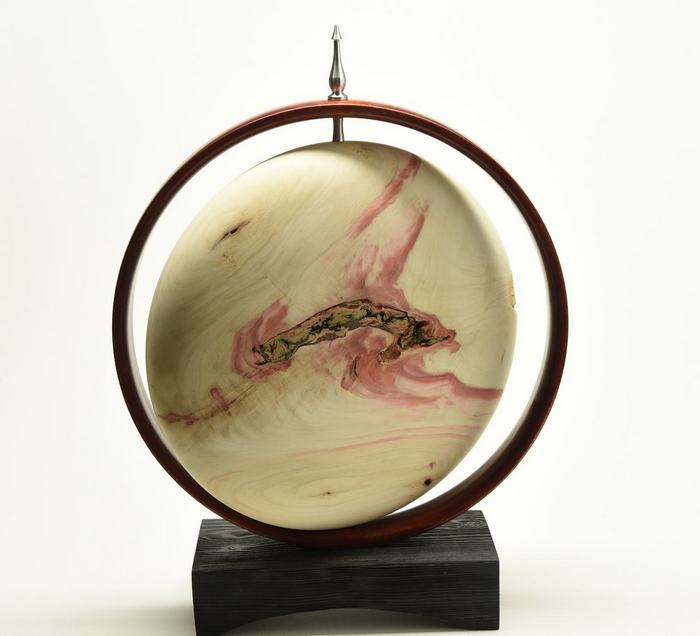
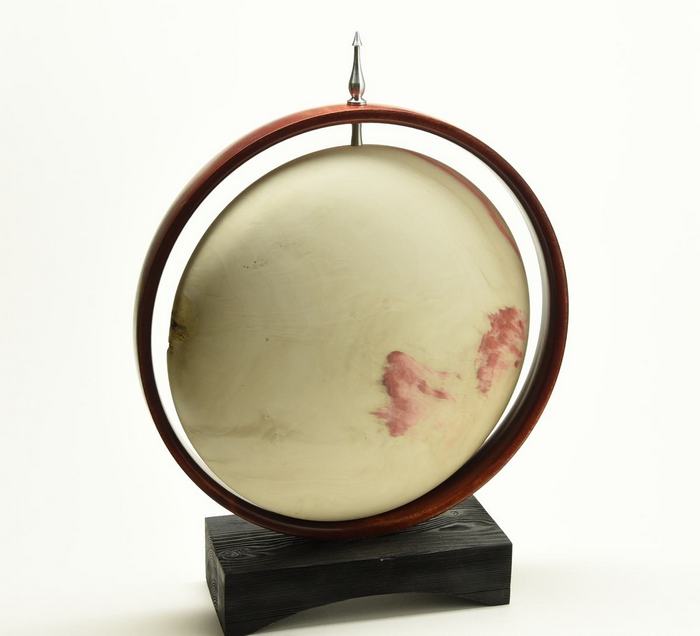
Here is a close up of the previous piece. I wanted to show you that aluminum can be easily turned using the same wood turning tools one uses for wood. | ||
 |
 |
| |
|
 |
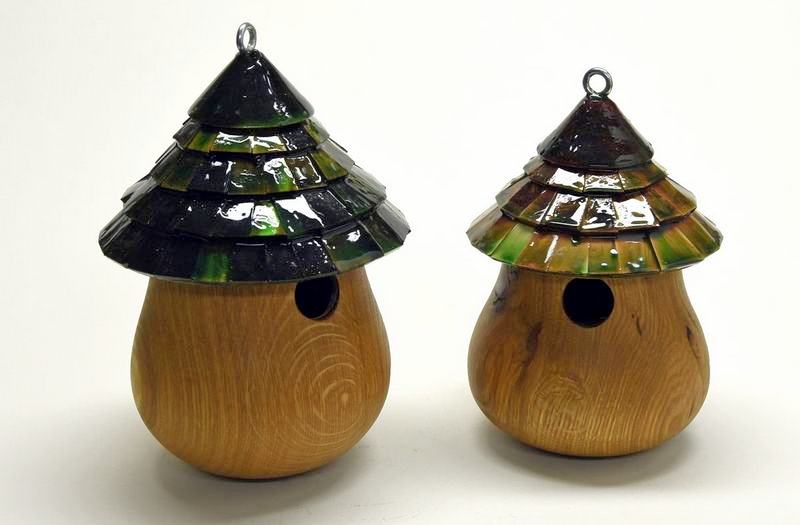 |
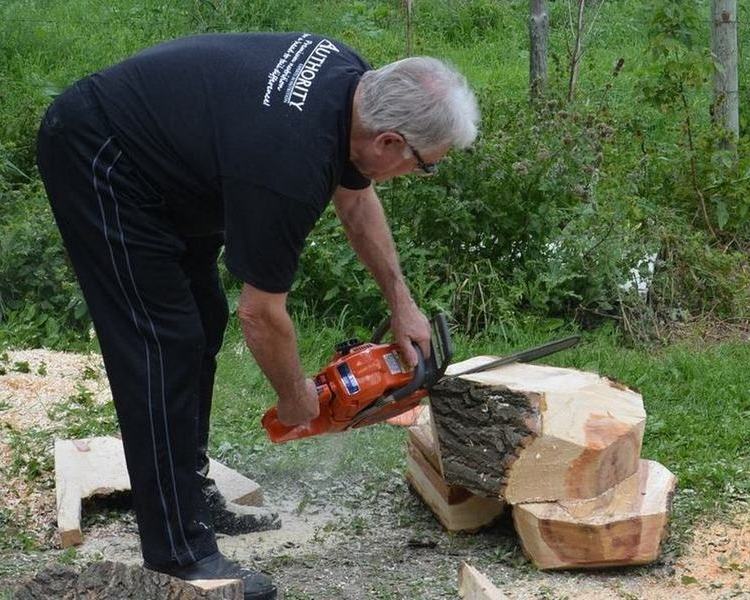
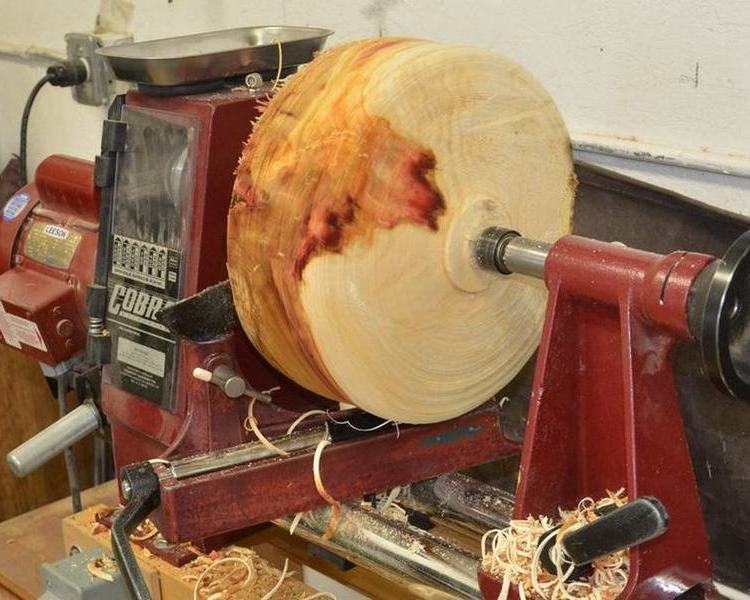
Lauren Cory also brought me some white oak logs in Texas. They are from his farm in Iowa, and were not coated or protected after being cut from the tree, so they were badly split. Oak is prone to splitting at the best of times, and the best way to prevent it is to turn it while the wood is wet and dry the roughed out pieces slowly. | ||
|
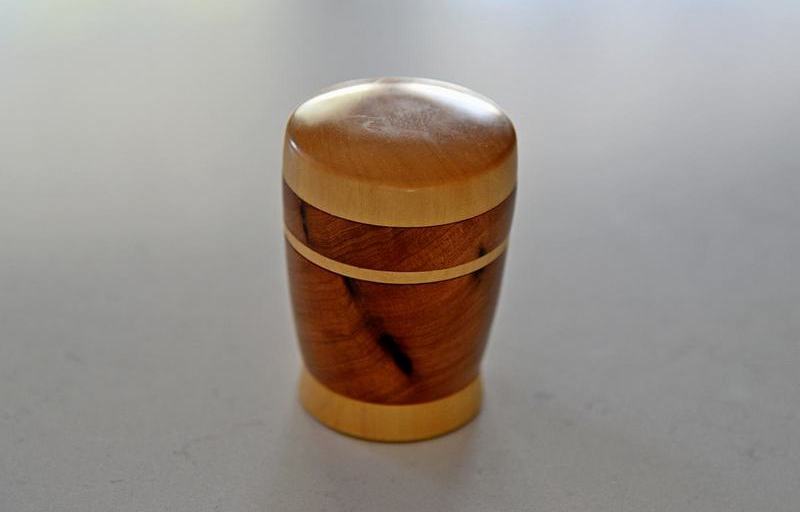
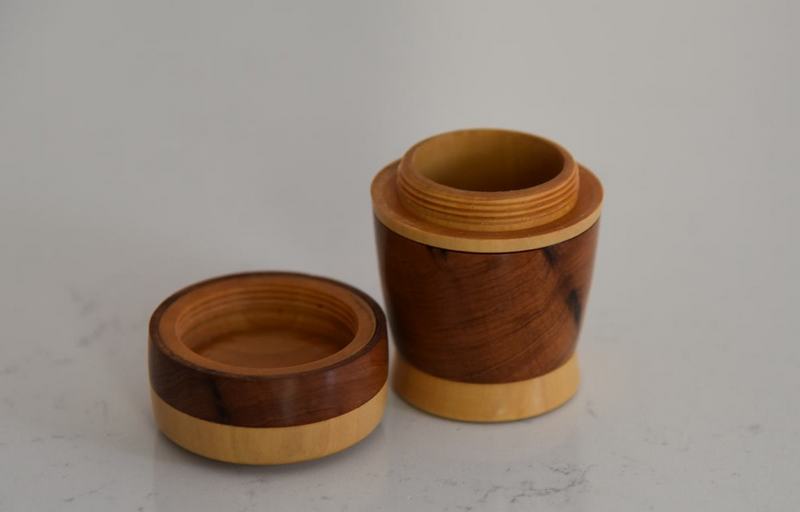
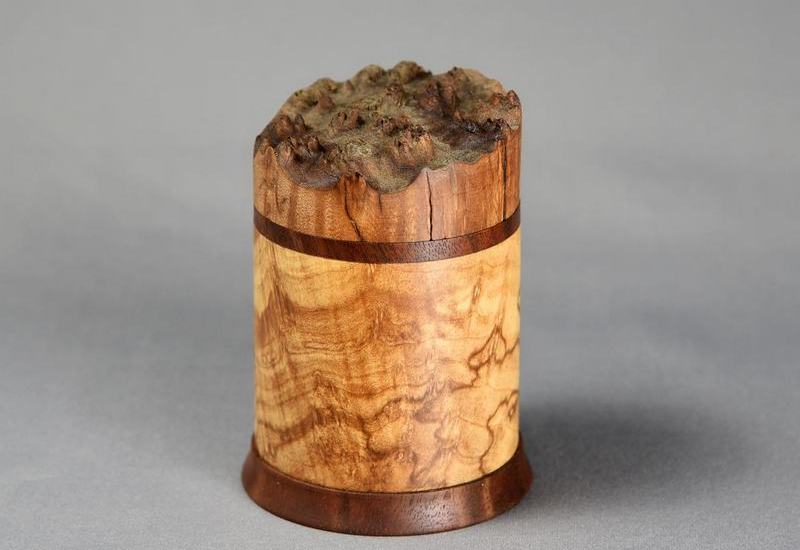
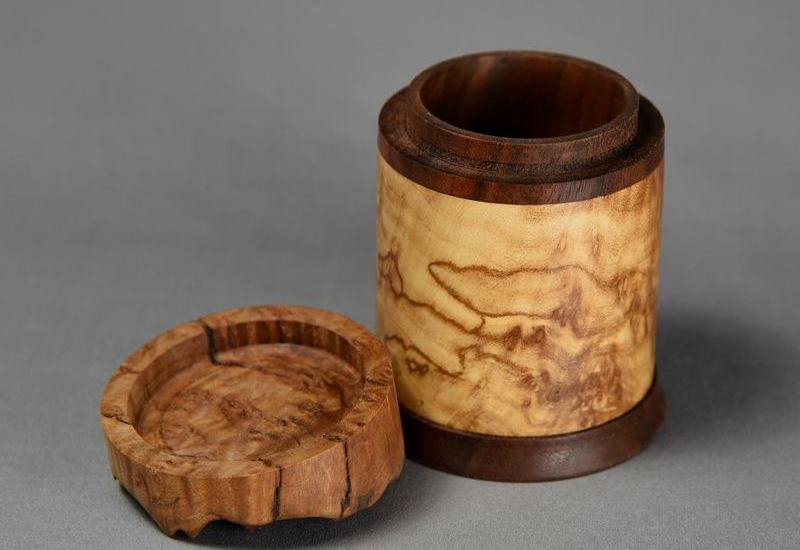
Here are two more little boxes. The top two photos are of a thuya and boxwood threaded box. In my 2017 work I included a couple of this type of box, where the inside of the box is a different wood than the outside. That is accomplished by using, in this case, a thin sleeve of thuya, turned separately, then slipping it over the bottom of the boxwood box. This is a difficult and time intensive process, because the thuya sleeve is turned thin as veneer, barely more than a millimeter. Making it more difficult, the sleeve is tapered. Also, the lid needed to have an insert of boxwood, because thuya is just too soft to be threaded. This box is about 3.5" tall. The bottom box is made in the same way, but is not threaded. The box itself is made of walnut, and the outer sleeve is of maples burl. The natural crown of the maple burl completes the lid. About 4.5" tall. His name is Bart, by the way. Go figure.,p. |
|
|---|---|
 |
 |
 |
 |
 |
Isn't this beautiful wood? | ||
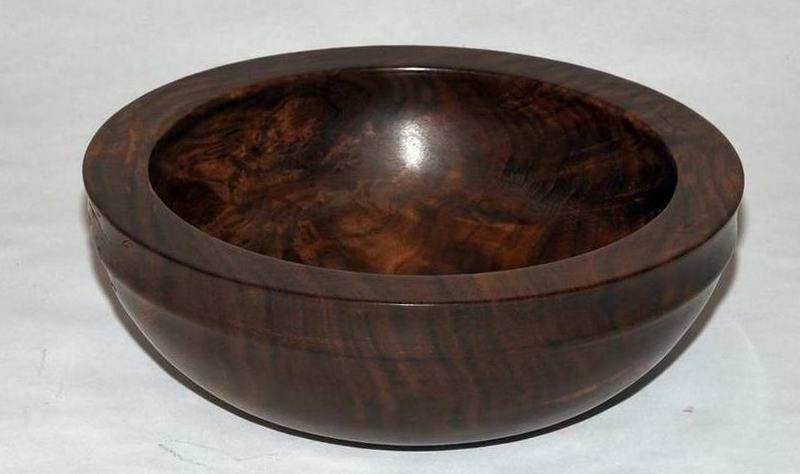 |
Probably did not need to show you two views of both of these, but sometimes the piece takes on a whole different look from a different angle. | 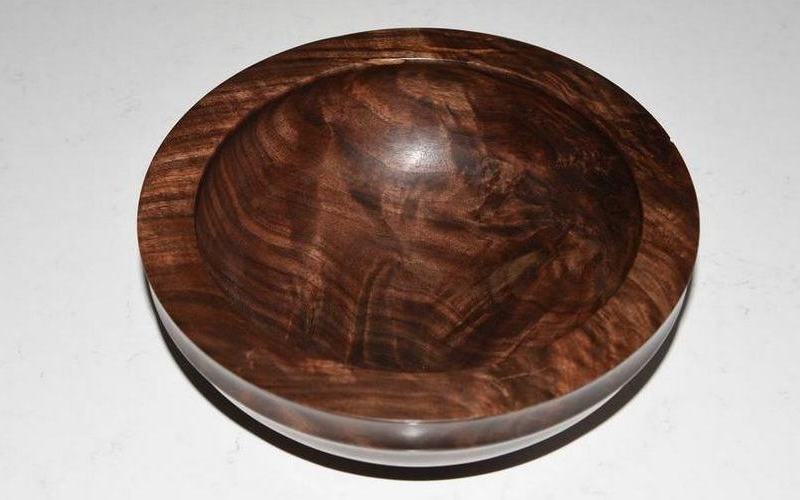 |
 |
 |
||||
|
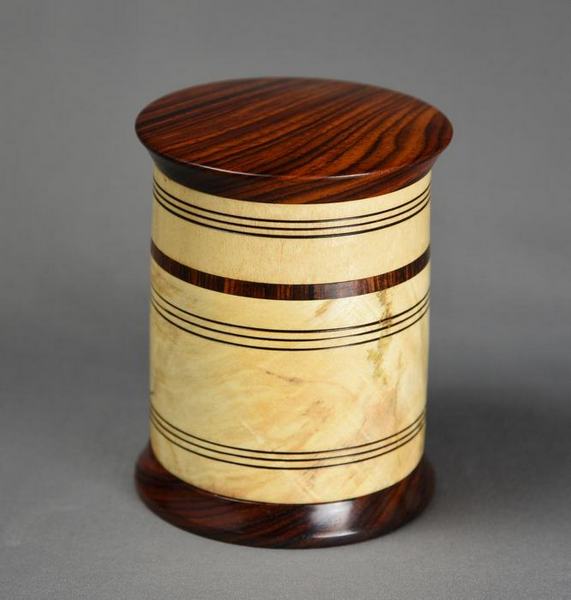
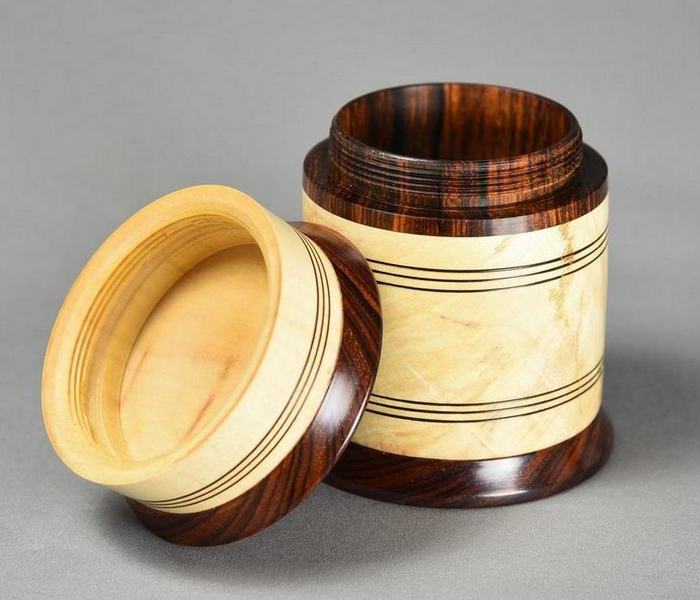
This threaded box is made of cocobolo and Manitoba maple. I'v stated before that these boxes are very difficult to pull off. Notice that the box inside is dark colored cocobolo while the outside is light colored maple. A maple cylinder is turned about as thin as veneer and then slipped over the core of cocobolo which has already been turned but not threaded. The piece is returned to the lathe and everything trued up, and the box is threaded. The piece is taken off, and the foot glued in place over the tenon on the bottom of the boc. After that, the lid is turned, threaded and fitted to the bottom, and the final step is to turn the top of the lid and glue it to the tenon on the top. What is treacherous is that the most finicky work, the threading, is done almost last, and there is no second chances in threading. Screw it up, and the box is ruined. The right hand view shows the box opened up and the threads are visible. This box is about 5" tall.
|
|
|---|---|
 |
 |
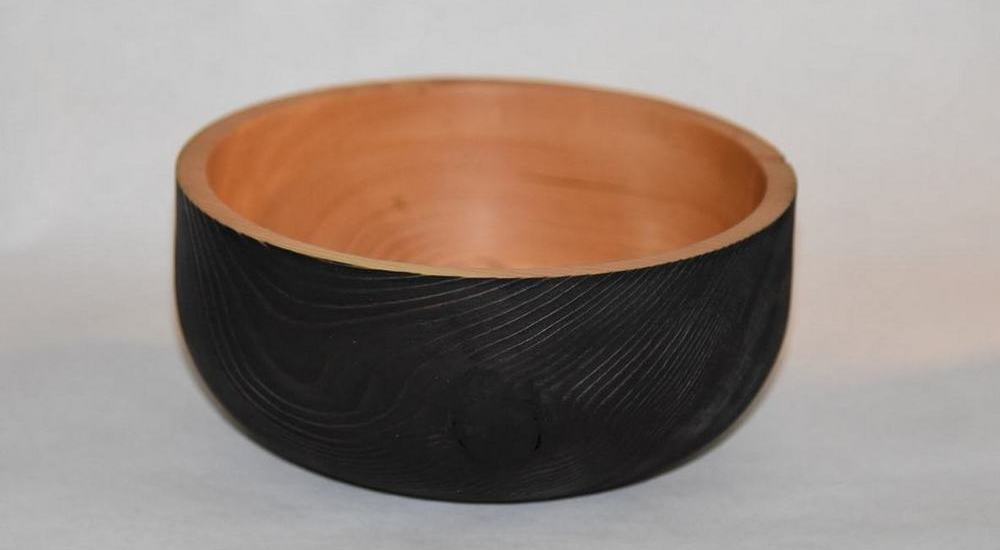 |
The upper bowl is pine, very old pine from what looked like a beam from an old building. I got the wood when we cleared out an old shed at Ed Tabachek's place after he passed away. Joanne wanted the shed removed, and asked the club to clear it out and take it down, and those who showed up could take the wood in the shed. | 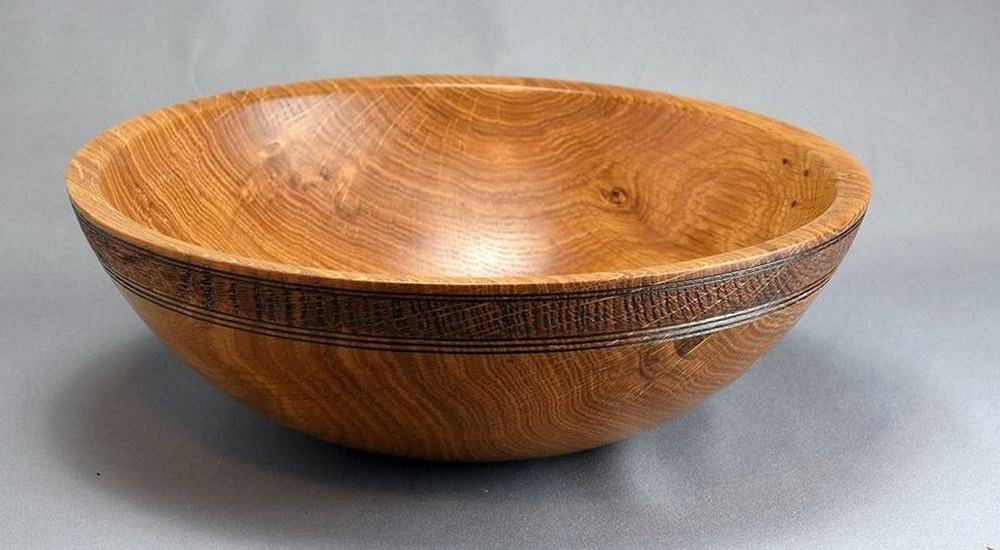 |
||
|
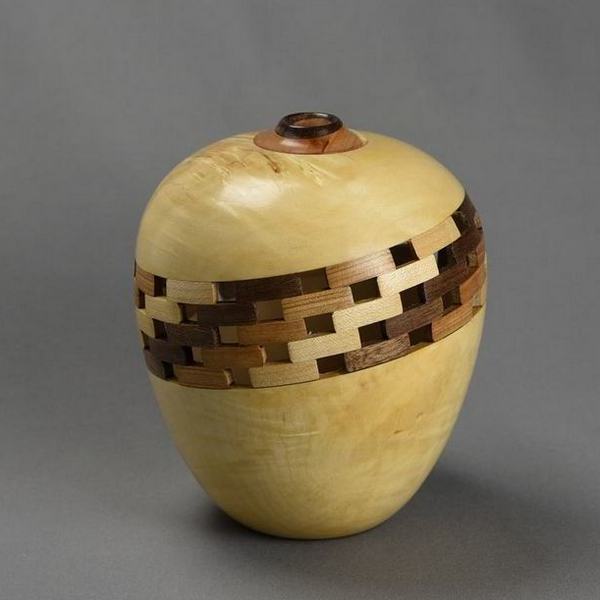
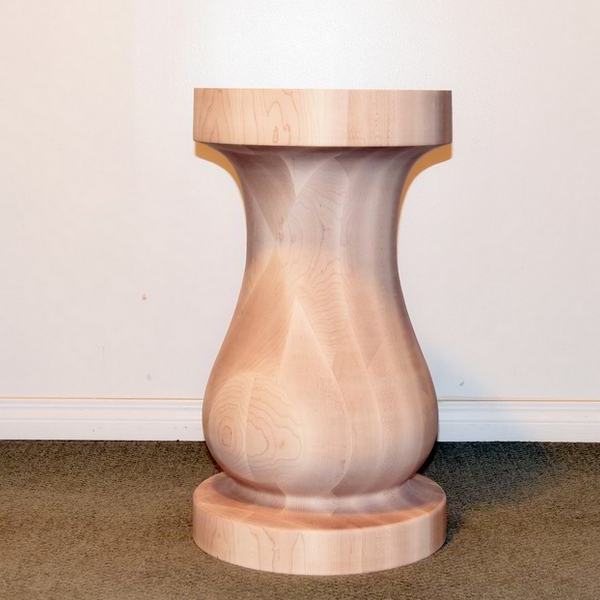
The piece on the left is a collaberation between myself and Jim Warburton. Jim likes to do open segmented things, and he showed up at a club meeting with a bunch of segmented rings, unfinished, and offered them to whoever wanted to take one. The catch was - you had to come back to the next club meeting with a finished piece that used the ring in it's construction. I figured I would do a hollow form, about 7" tall. I turned the form to rough shape, including the hollowing. Then, instead of just cutting it straight across and gluing the ring into the space, I cut it at about a 20 degree angle, flattened the saw cuts, and glued the ring in at an angle. After the glue dried, I finished turning it, and then gave it a little wonky cap glued up of the same woods Jim had used, and turned it at the same 20 degree angle and glued it in place. This turned out to be a nice piece, very light and thin. Thanks, Jim, for the great idea of doing these, and for giving me one of them. The right hand piece is a commission I received from a fellow who wanted a pedestral made for a 7 foot by 4 foot granite top table. He wanted it made of hard maple, which of course is virtually impossible to find in one piece. I considered getting the maple and gluing up the blank myself, but decided against it. Way to difficult to do unless one had large precision machinery to make the tight joints required. So he had it manufactured and delivered to my house. 235 pound block of maple, 36 inches tall and 16 inches square. This was a hard job, physically, and it beat me up pretty good. I have attached a series showing the turning of the piece, which you can see by clicking here. The finished piece stands at 27.25 " tall and 15.75 " in diameter.
|
|
|---|---|
 |
 |
|
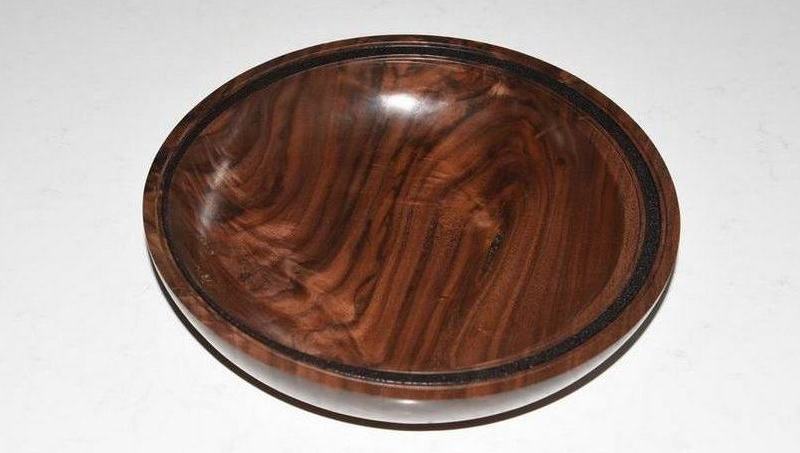
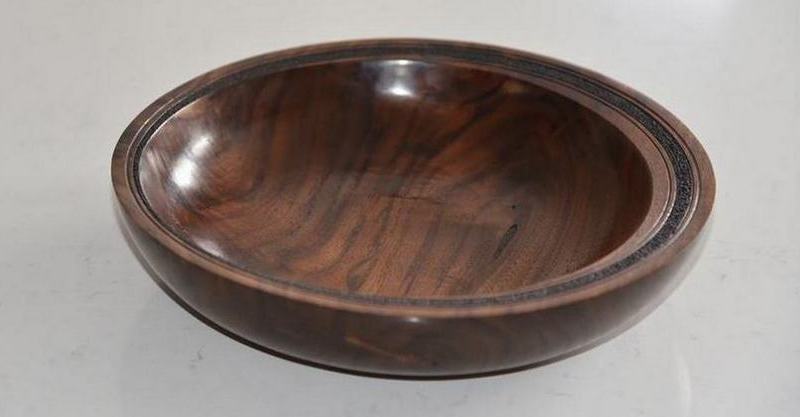
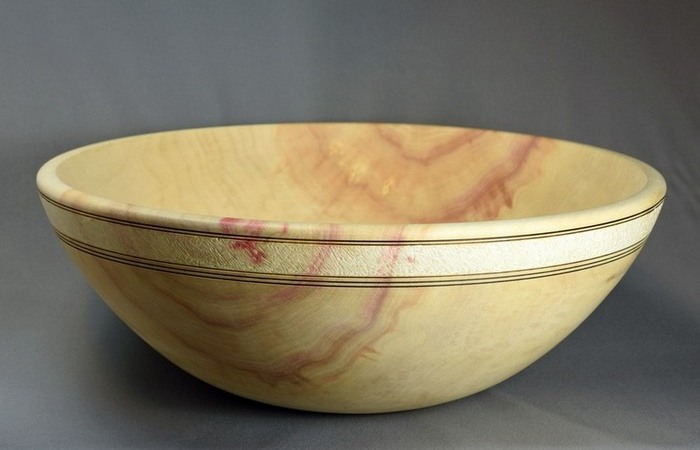
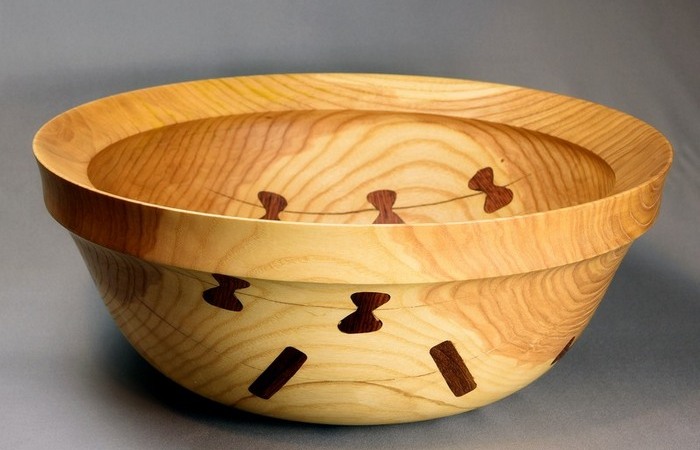
A pair of bowls. The piece on the left is a large, 18" diameter Manitoba Maple bowl. This is an especially nice piece of wood with beautiful color and figure. The bowl has an outlined and textured band at the top which has been bleached and stands out from the rest of the piece. Like most of my Manitoba maple pieces, this has a matte finish on it to retain the natural color of the wood. I have another piece of wood, similar to this that is rough turned and will likely be posted in my 2019 work. The bowl on the right is ash, and during the drying process it cracked mercilessly. Huge cracks right across the grain in the bottom of the bowl. I was about to throw it away, and then decided I needed some practice with dovetails (or butterflies or pewas - whatever you want to call them). So I put in about 20 of them of various shapes and sizes, thinking it was one of the ugliest pieces I had ever done. Karen said, "I like it. That is really different." So I put it on the Crafted sale at the Winnipeg Art Gallery in November, and it was the first piece to sell. Go figure. The bowl is huge - fully 18" diameter and 9" deep.
|
|
|---|---|
 |
 |
|
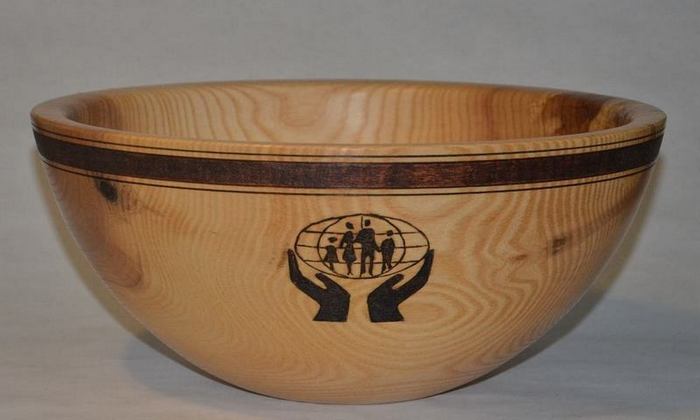
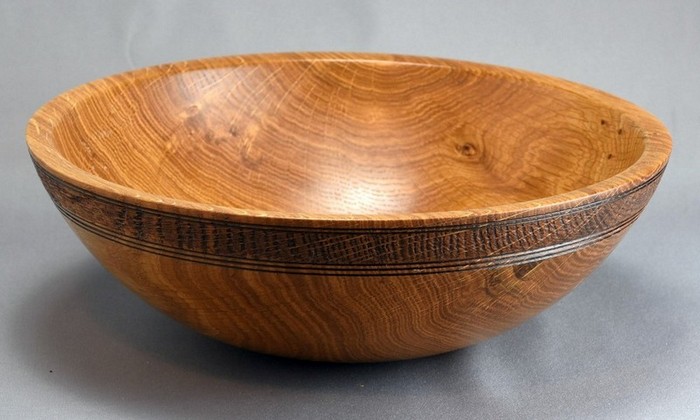
The bowl on the left was created as a door prize for our annual credit union retirees golf tournament. This year it was held at the golf course in Carman, Manitoba. I decided to create a piece each year with the logo of the system we all loved, the credit union system, and give it to someone. It always seems to be appreciated, and this ash bowl, about 15" diameter, was the one for this year. The logo is pyrography, and the band is textured and slightly stained with a darker stain to set it off. The bowl on the right is a simple oak bowl, made of local oak, with a textured and stained band at the top. The oak is rather a bland wood, so the band is added for interest. About 14" diameter and 4.5" deep.
|
|
|---|---|
 |
 |
|
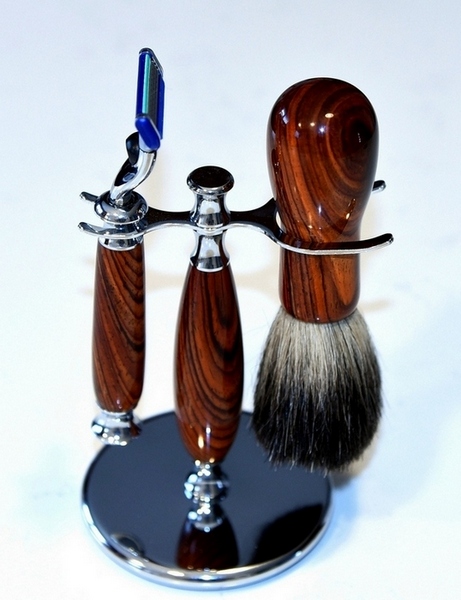
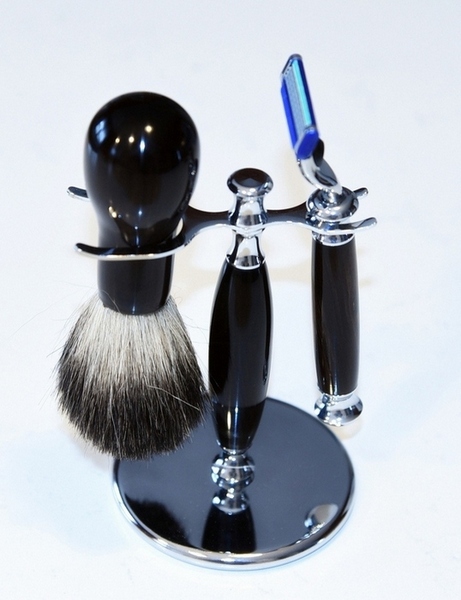
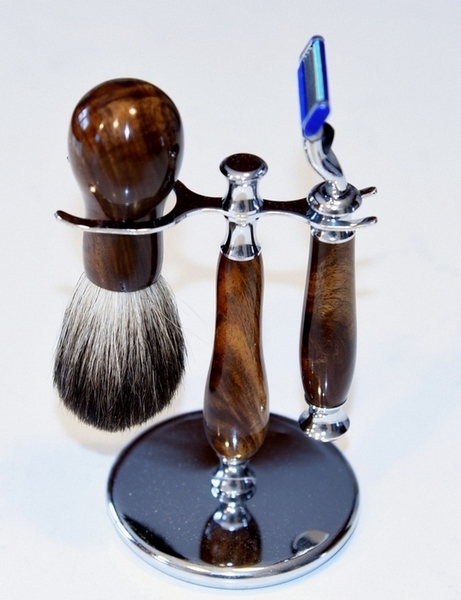
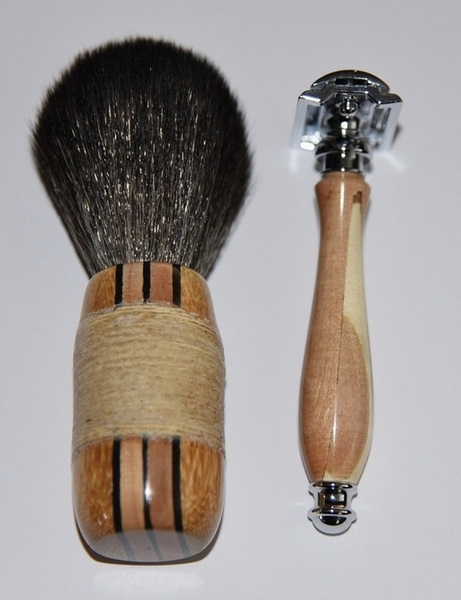
Here are some shaving kits. For years I got these kits from Lee Valley Tools, and was quite satisfied with them. But now they stopped selling the brushes, and I fail to see the point of selling the other parts of the kits without the brushes. It's not like they are hard to find, but they just stopped selling them without explanation. So I found other sources for the brush, and ended up finding far superior kits for the stands and razors, so I no longer get them from Lee Valley. They make very nice gifts, and people seem to really like them when I offer them up for sale. When I sell or give these as a gift I always provide a nice soap with it as well that I get from Jonathan at Stonefield Shaving. He sells beautiful soaps sourced mostly from Canada, and for several years now I have been making shaver handles for him. His site is really interesting and well worth visiting. The one on the top left is for my little brother Bryon. The one on the top right is for my little brother Gerald. The one on the lower left is the one I have in my own bathroom and use on a daily basis. Bryon's is made of cocobolo, Gerald's is of ebony, and mine is ironwood. The bottom right looks kinda wierd, but for reason. Here's the story. Jonathan has friend who is a cricket affictionado, with a very special connection to a cricket bat he had used for many years in the sport. When the bat finally wore out, he wanted a shaving brush and handle made out of the wood, so I tried to find a way to keep some elements of the bat intact and recognizable. One was the jute winding on the handle, and I incorporated that into the brush, dirt and all. The other was the original joint between the handle and the bat, which shows up in the shaver handle. Not really pretty, soft and difficult wood to work with, but I think he was pleased that there is no doubt this came from his beloved old bat.
|
|
|---|---|
 |
 |
 |
 |
|
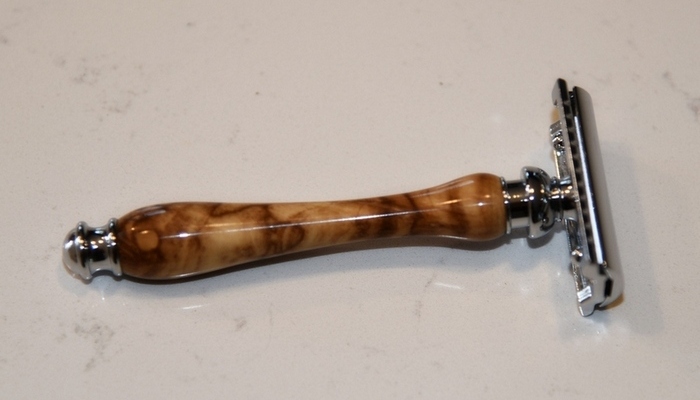
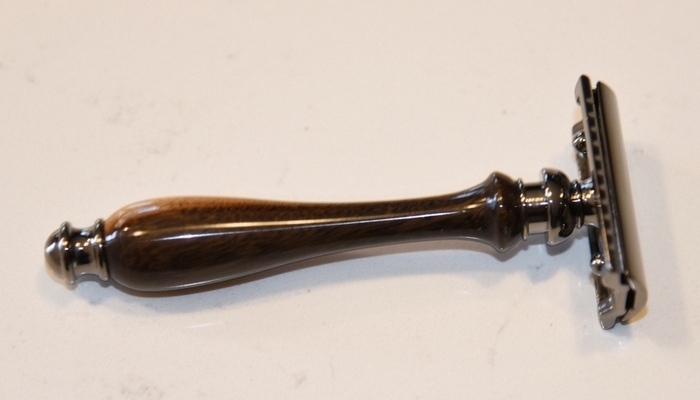
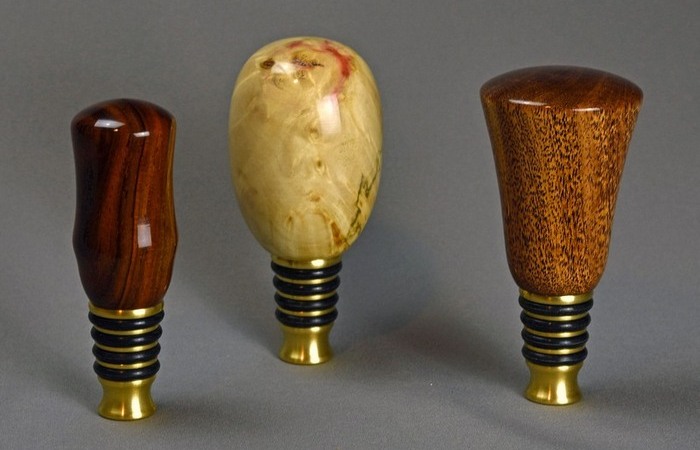
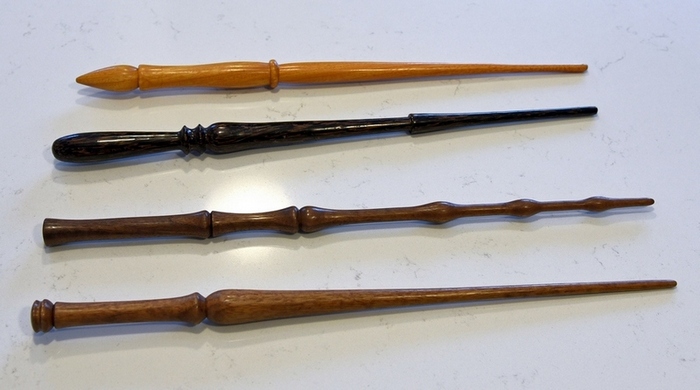
Like I said in the previous panel, I make a lot of shaving kits and make some razor handles for Jonathan. The top two photos are a couple of the handles I made for him. Not sure of the woods. Then, sometimes it is just fun to make different stuff, and the bottom two photos are just that. The bottom left photo is of some wine bottle stoppers that I sometimes sell, but often just give away to people who come to our house for dinner. The stoppers are intended for an open bottle during use, and not for extended storage. But they are attractive on the table and will keep the wine in the bottle if someone upsets it. The stoppers come from Ruth Niles. Click on her name to go to her website. Then, Tony said, "can you make some Harry Potter wands for my son's girlfriend? She's a teacher and they are doing Harry Potter stuff and she wants some wands." So, the bottom right photo shows a few of the many I made. They are fun to do, good skew practice, and can be whatever you want.< P> |
|
|---|---|
 |
 |
 |
 |
|
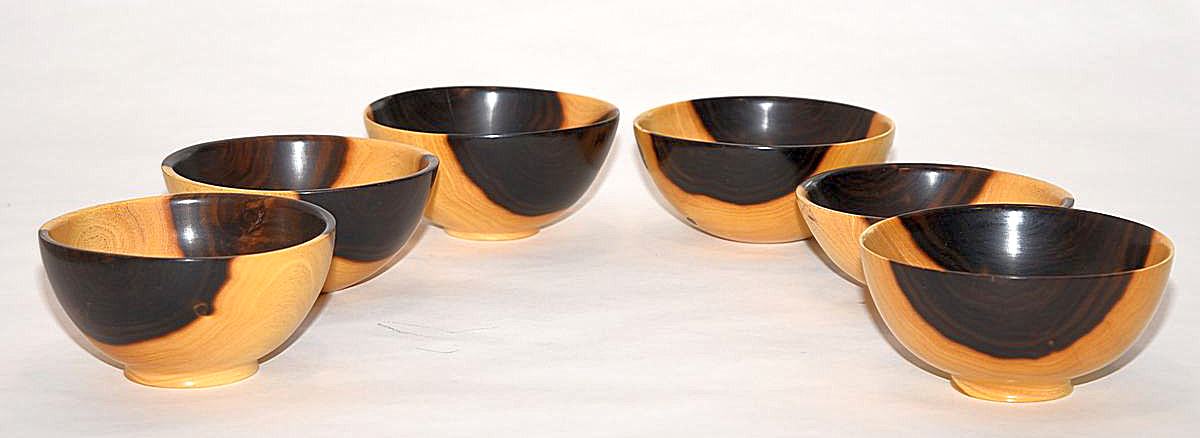
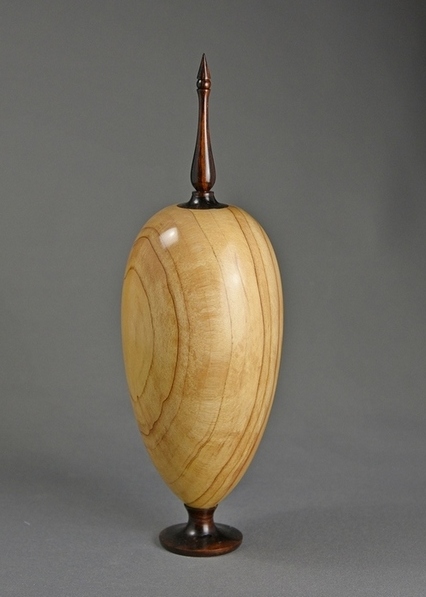
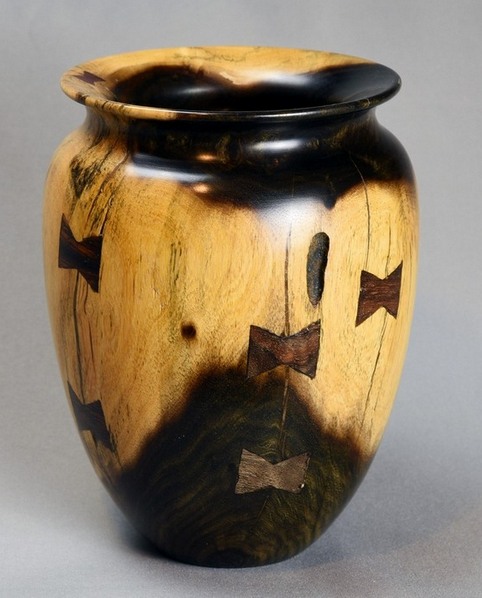
Two final items. The one on the left is a Manitoba spruce hollow form, simple and placed on a cocobolo pedestal with a cocobolo finial. About 12" tall overall. Someone knocked this off the table at a show and broke it. The vase on the right is one of my last pieces of Texas ebony, which is just a beautiful wood. A mess to turn, and a lot of cracks and stuff, but it finishes so nicely and has such character. This 8" vase has several pewas in it to hold it together.
|
|
|---|---|
 |
 |
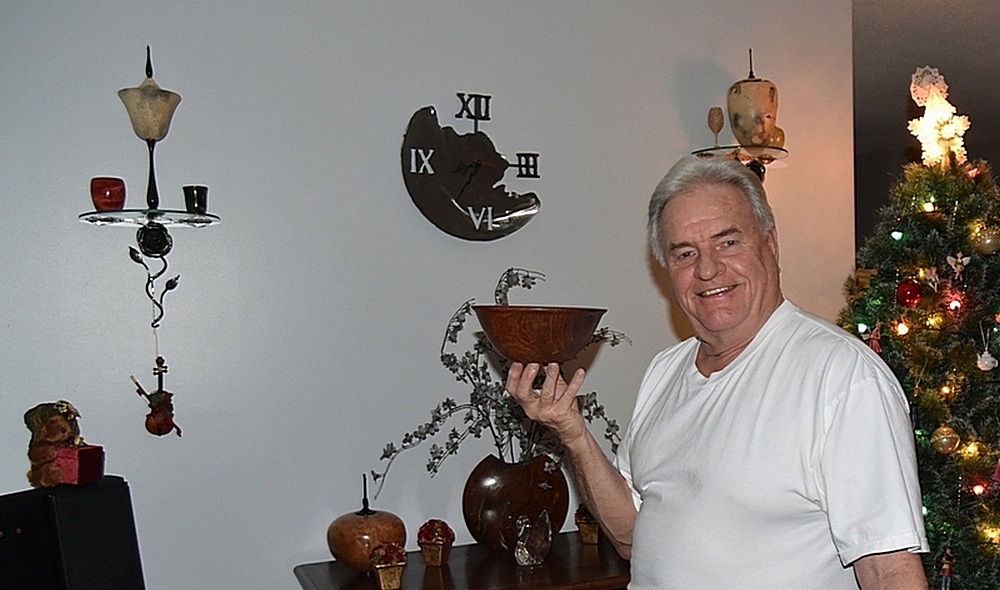 |
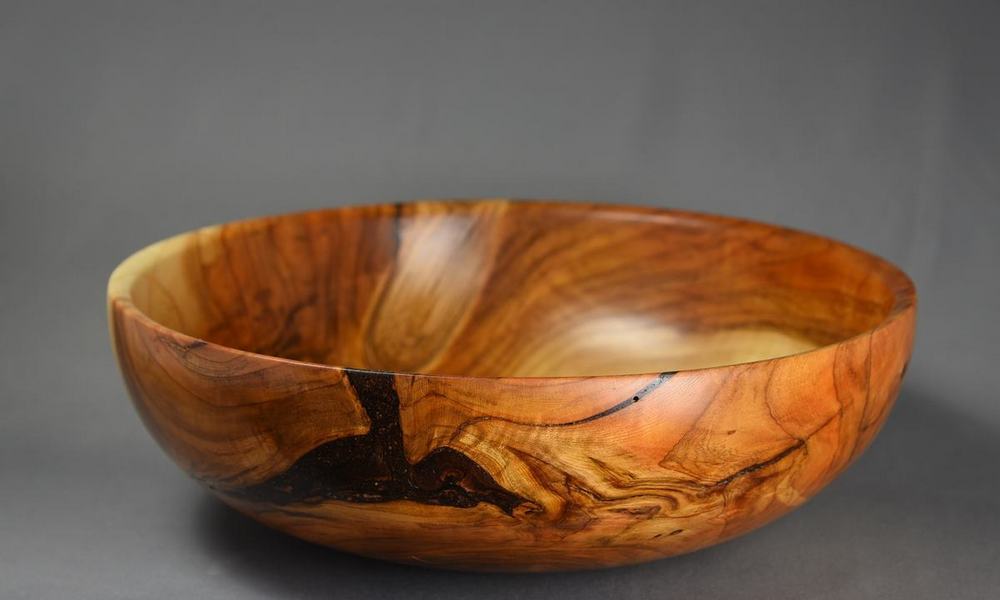
To close this off, here is a shot of the lovely mesquite bowl I got from Jimmy Tolly in Texas in a WoW swap. At most of the symposiums, World of Woodturners members will get together and swap pieces, names drawn from a hat. And at Christmas time one of our members organizes a swap by mail, and this is the one I got from Jimmy. Beautiful piece, and I am so pleased to have it. | ||