This is a seriess of 8 photos showing the various progress steps used in making the 135 pound pedestal.
|
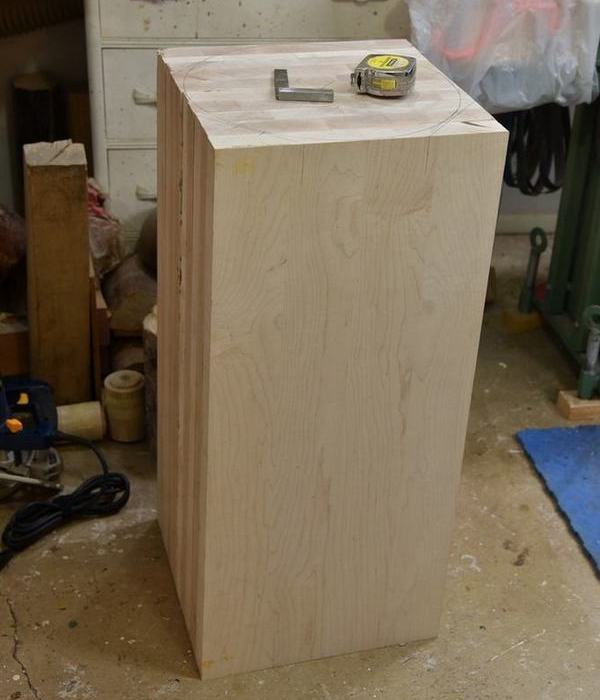
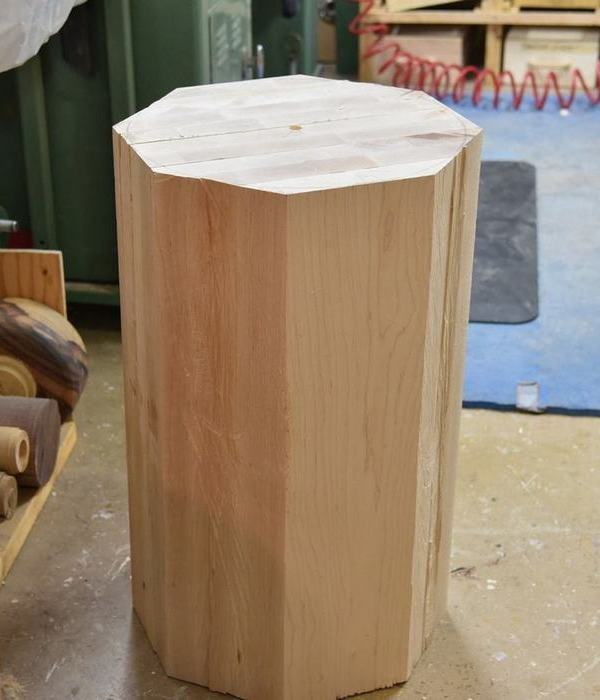
The lumber yard delivered this to the house, and we strapped it to my 3 wheeler and thumped it down the stairs to the shop. It weighed 235 pounds (they weighed it at the lumber yard, and when it went "KLUNK" on the floor of the shop I thought it would go through. This is very dense wood, but the pedestal needed to be heavy to support the granite top that was going on it. The blank needed to be trimmed, as the largest diameter I can turn is 20" on my lathe, and corner-to-corner the blank was more than that. Also, it was made overlong, so I had to trim the end down too. I trimmed it to 30 inches in length, and used my electric chain saw to nip off the corners. Not a pretty job, but effective it getting the piece into a hexagon shape to mount it. I also made shallow holes in the end for the centers to sit in to make sure it stayed on the lathe. The fellow I was making it for came over with his son and they helped me get the piece on the lathe, still at about 190 pounds.
|
|
|---|---|
 |
 |
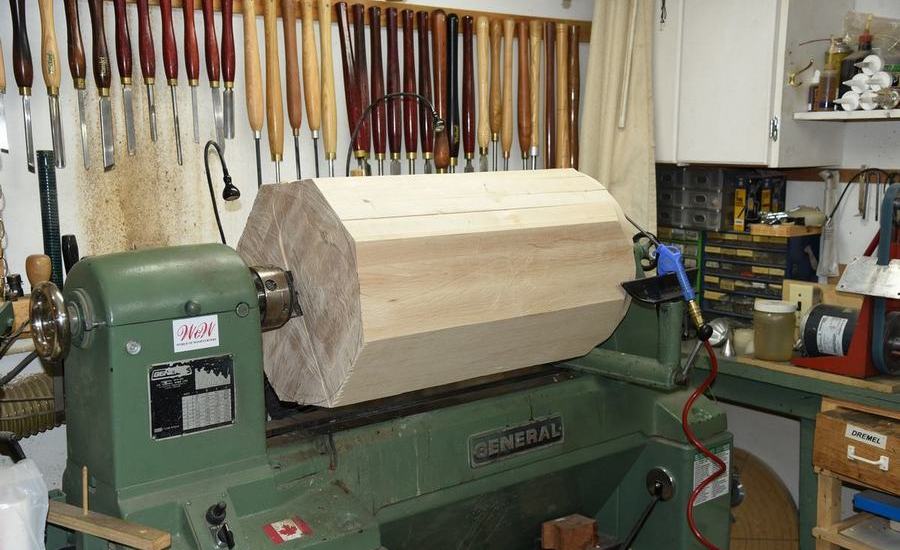 |
The piece is mounted on the lathe with a little help to get it on there. I was pleased that the piece was so well balanced when I turned the lathe on it did not wobble or vibrate at all. Pieces like this always turn better if the speed can be turned up a bit, and I was able to start this at about 500 rpm. | |
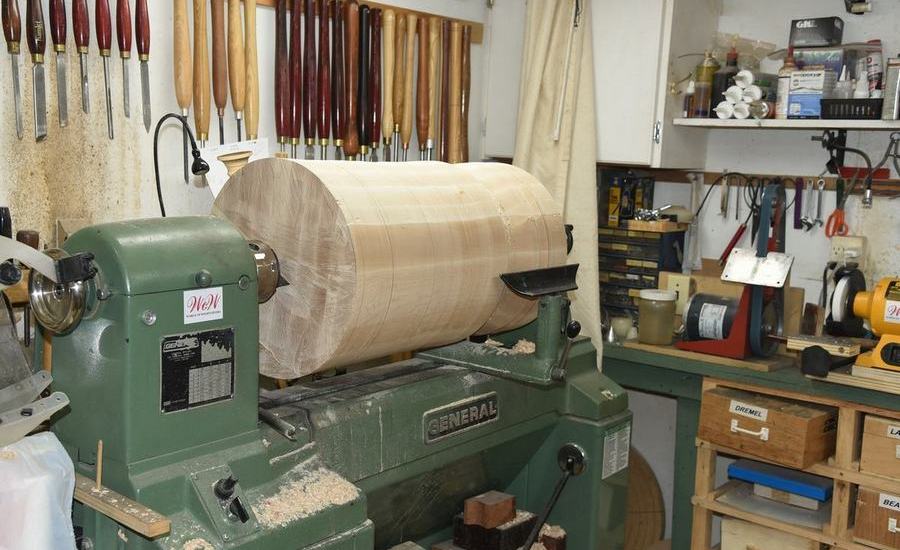 |
This shows the piece after it was turned round and a start made at the top of12:55 PM 2018-07-17 the piece. I had to turn it to a maximum of 15 3/4" so the base of my banjo could fit underneath. | |
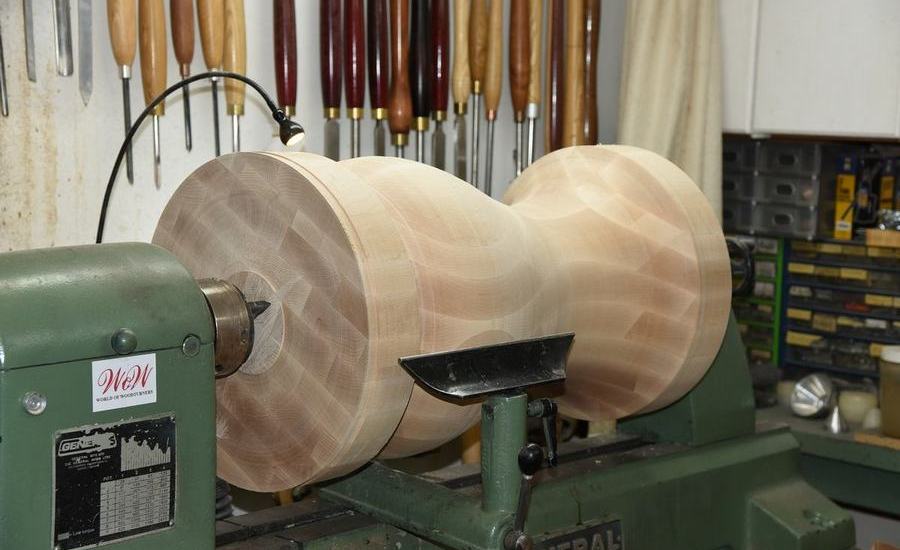 |
The piece is close to the finished shape, and basically only needed some finish cuts to complete it. | |
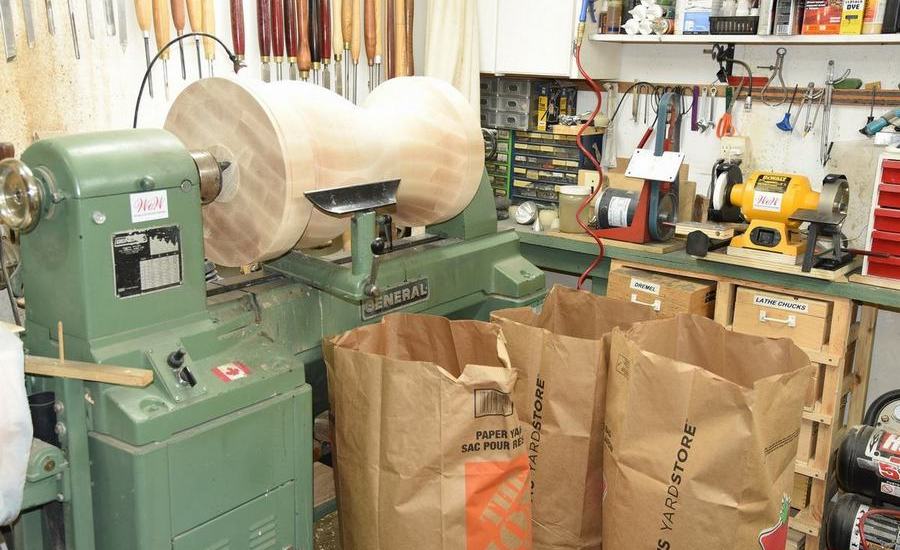 |
The same shot as the one above, except backed away to show three of the four bags of shavings that were produced. This wood does not actually produce shavings as much as it does chips. The four bags of heavy shavings had then to be carried up the stairs and out of the house to go to the city compost. | |
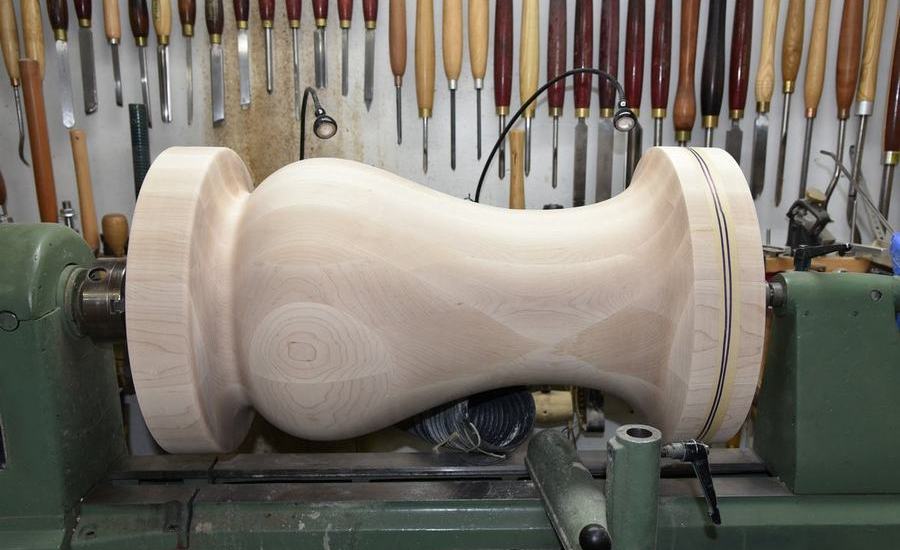 |
This is the finished piece on the lathe. After I completed the top of the piece I wrapped with a layer of masking tape and drew on the final height so as I completed the rest of it there was a visual reference point for the finished height. I needed that to turn the correct shape. Except for the lowest curve on the cove. I could start the sanding at 240 grit, the surface was that nice. | |
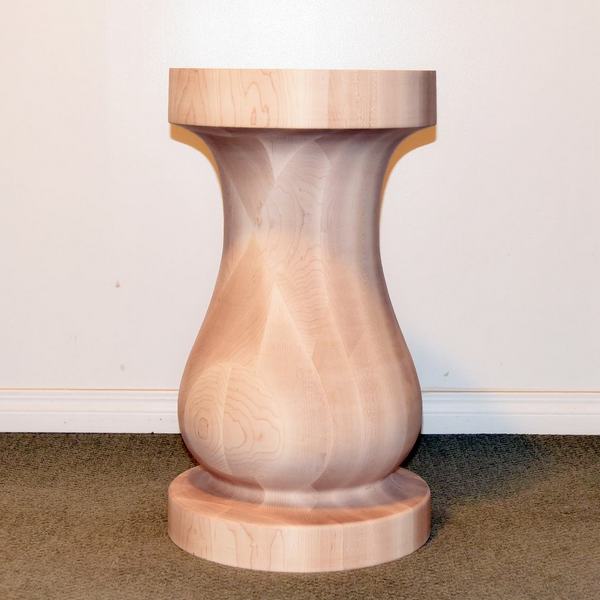 |
So here it is, finished and sanded for the owner to come and get. They will stain the piece a dark cherry color, I think, and match it to the rest of the furniture in the office where it will end up. | |