
2021 Turnings |
|---|
What was a problem that it was not possible to get what I made into any kind of marketplace and keeping it all becomes a problem. Like - where do you put it? The crawl space boxes are full. Thankfully, I was finally able to get a few things back into the galleries, and I hope to participate in the Crafted show at the Art Gallery this year, something I have missed in 2020 and 2021. Maybe it is time to try selling online, but I hate all the packing and shipping involved. Not my schtick, I'm afraid.
2021 was a laid-back year, but I am still surprised at all the stuff I was able to do. So, I hope a few of the items I have to show you and talk about will hold your interest. By now you are completely aware that, for me, the story is as important as the creation.
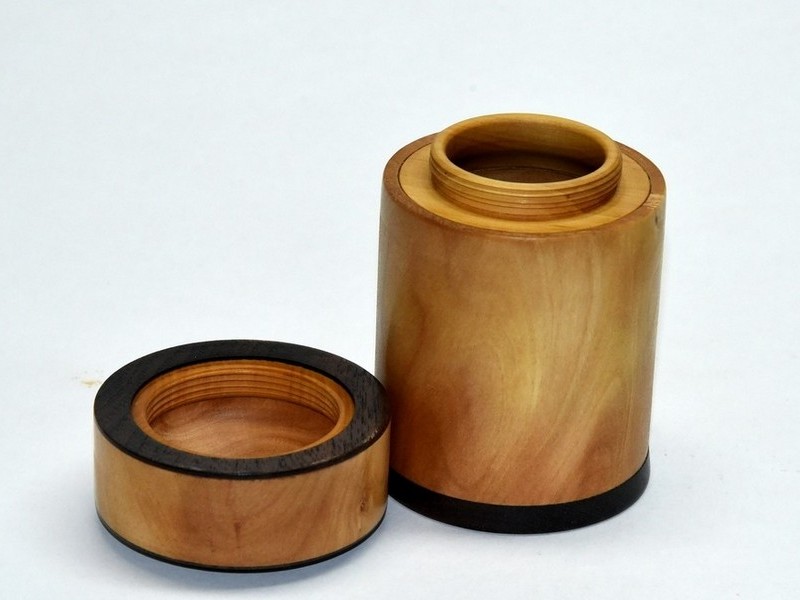
I did manage to put a short tutorial in here about how to make bulk threaded inserts.
Again, I will say, join me on this trip through 2021 and I hope it can be a little relief and distraction from real life for a moment or two.
I love hearing from you, so feel free to let me know you were here.
It's about time to get my 2021 page online, since it is already February 2022. I don't even want to talk about the state of the world for the past year, except to say that I am grateful to be retired and a bit of an introvert, so staying at home was not very difficult.
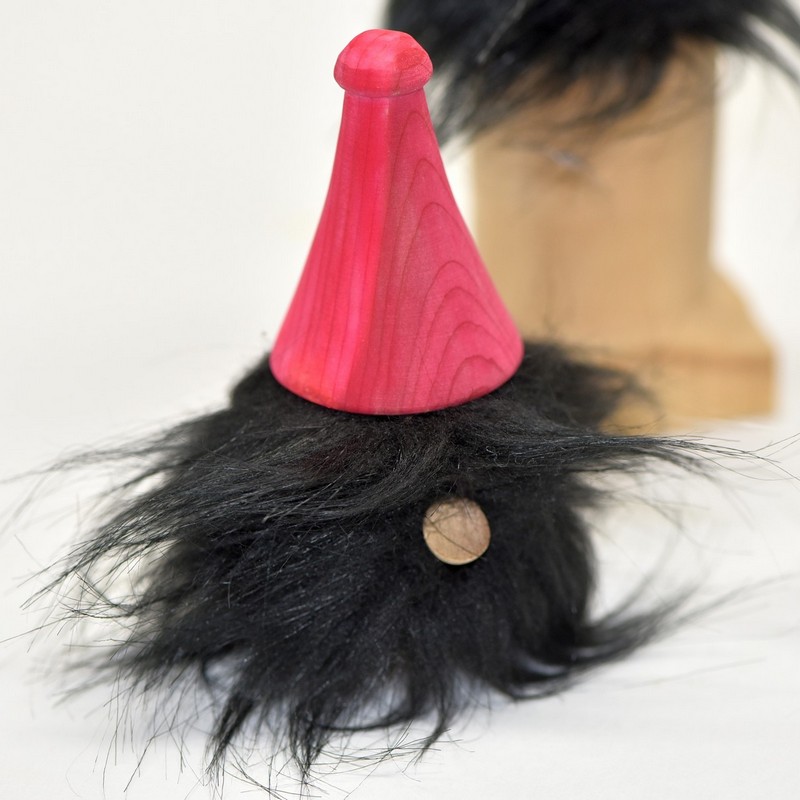
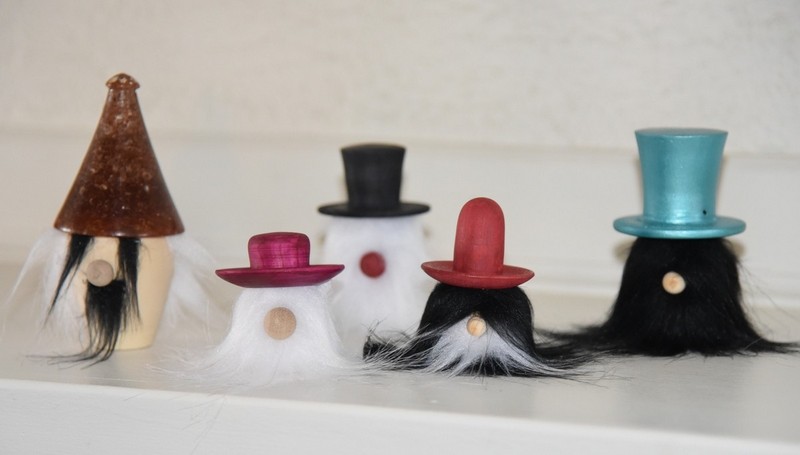
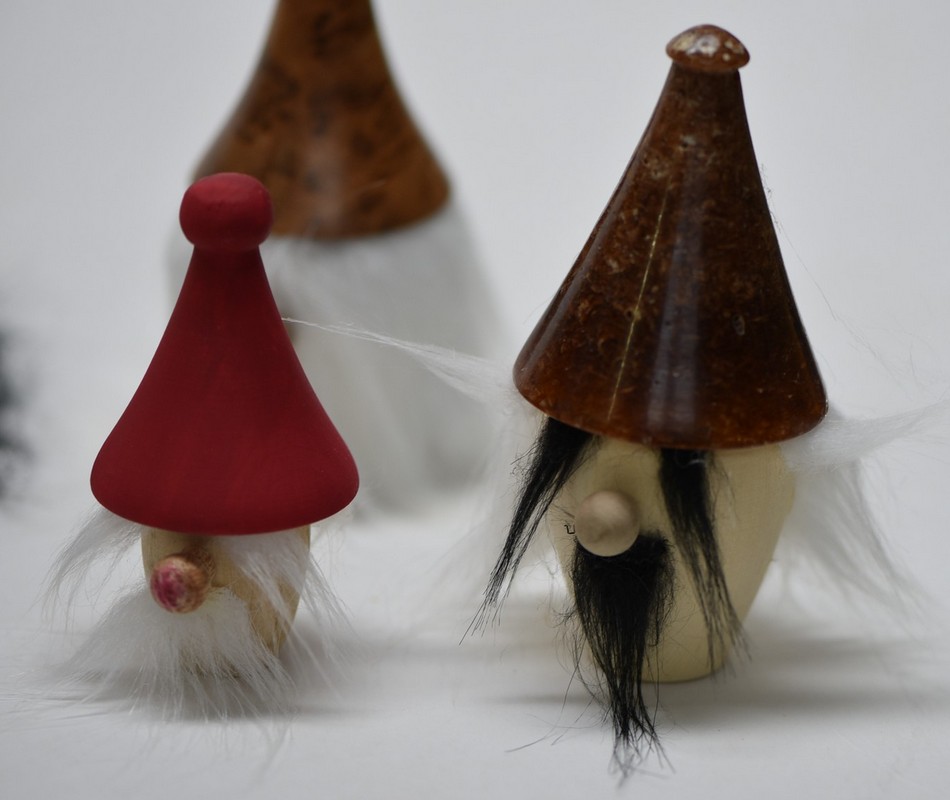
Let's start with the end of the year first. Gnomes or elves, or whatever you want to call them. These little people are fun to make, and the little guy to the right is the first one.
|
 |
|---|---|
 |
 |
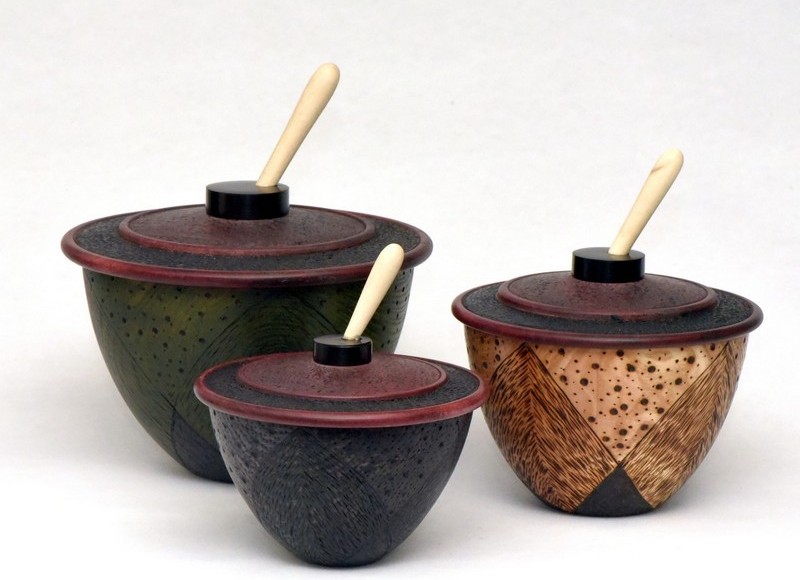 |
I was intrigued by some of the work I saw on the World of Woodturners, particularly some of the ginko turnings of Bill Clark. So, I thought I would try a little design of my own and came up with this set of three - 6", 5" and 4" in diameter. The design is identical on all three. | ||
|
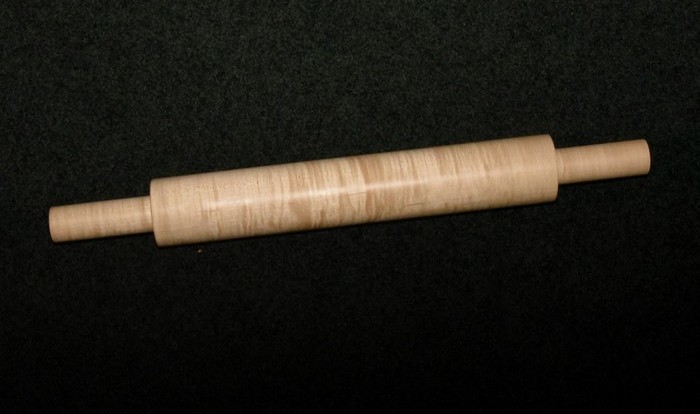
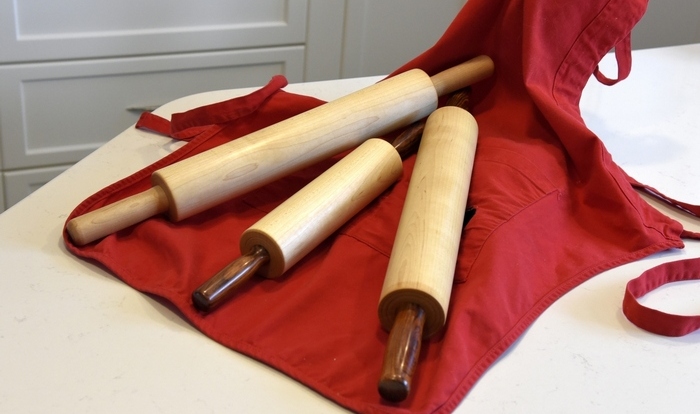
I got a phone call and subsequent photo from a lady who said her sister had a rolling pin that her grandfather had turned for her grandmother. But it was given to her sister, and she would like to have one like it. It had to be maple, and the dimensions had to be exactly the same as the original. And the handles had to be the same piece of wood. The pin on the left is the result. Then she said she wanted one for her daughter, but not the same. So, I turned another one of cherry, but it is not shown. I thought I might as well use some pieces of wood I had lying around to make a few more, and the three on the right are the result. They are smaller, and a wee one for the grandkid to use if anyone ever buys them. But they were fun to make.
|
|||||
|---|---|---|---|---|---|
 |
 |
||||
|
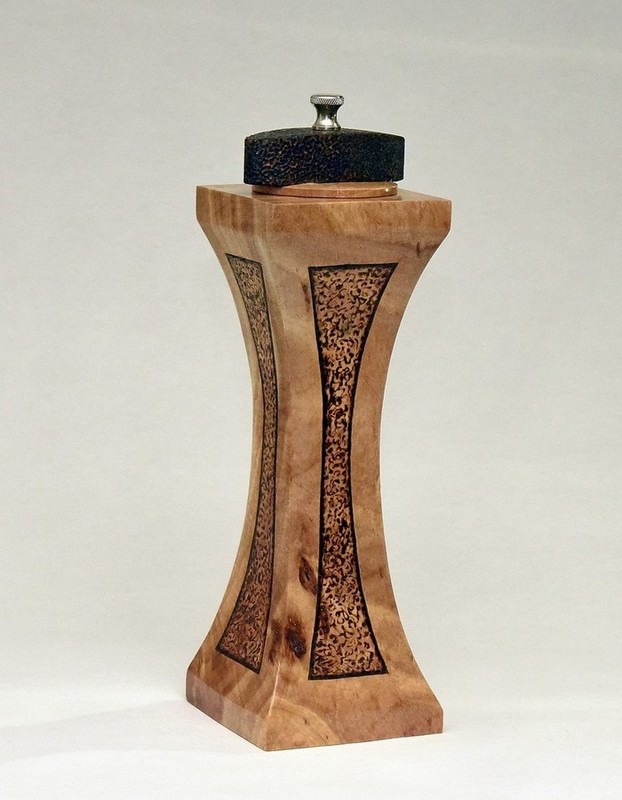
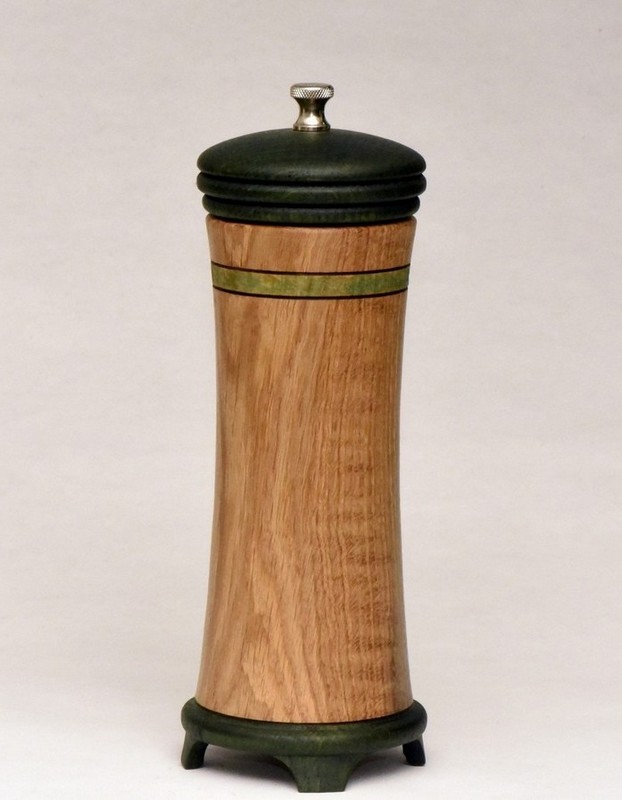
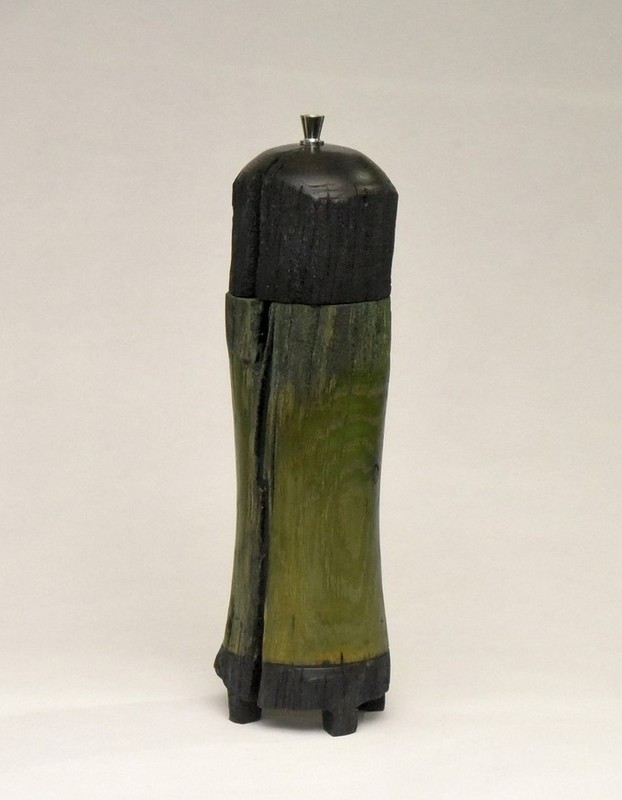
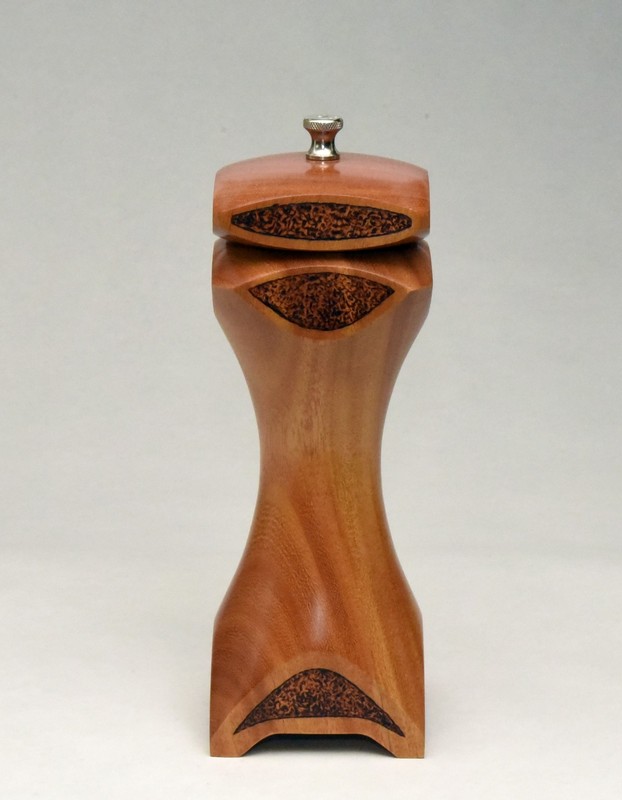
2021 was the year of the peppermill for me. I have seen hundreds of peppermills, and made many, and they all seem the same. Maybe because they are intended for function, makers have not really thought of them as art opportunities. I have begun trying to think outside the normal box for peppermill design, and some of these may show that. In previous years I did mills that retained bark and branch nubs poking out the side of them, or made from seed pods, but the overall shapes were still similar. The top left is a departure from normal. I saw a video of someone restoring a hundreds year old anvil. It was a square piece of steel with a tapered stem that was stuck into a hole drilled into a stump. The flat top became the anvil. He was restoring both the anvil and the hammer. When I saw that, I thought "why not design a peppermill like two anvils end to end, and square? And then, instead of a normal top make a top that looks like the hammerhead?" Ergo, this design. The inside is round but follows the shape of the outside. I got it very thin in a couple of spots (could almost see through it) so I had to cheat a bit and build up the inside with some epoxy for strength. And when it was done, I thought the sides could use some embellishment, so I went to work with the burning pen. Then, the hammer head did not seem right, so I textured it and stained it black. The top right one was inspired by a box made by Bill Clark on the World of Woodturners site. I loved the shape and colors of the box and thought they might work on a peppermill. And especially with oak. And why not put it on feet? So, this is what I arrived at and it has been a hit with everyone who sees it. I have more ideas in store for this kind of mill but need to find the wood to make them. This mill is 8" tall. Bottom left is a 10" peppermill made of pear and walnut. I had pre-drilled the interior of the round blank to get rid of the pith in the center and separated the top from the base. Then it was set aside to dry with the two parts in the same bag. After a year the bottom was fine, but the top had a vertical split down the side. I thought it was ruined, but then decided to glue a wedge of walnut into the split and add walnut as accents for the foot and between the "feeted" base and the top. Then simply let the color of the wood do the rest. The piece on the bottom right was once an oak fencepost on my brother's farm. I got it from him, probably 20 years ago, and just ran across it again. I left it natural as far as the shape and surface is concerned, but since I had just done the other oak piece with some green on it - and I like green - I dyed this one too and put a black top on it. The rustic look, with the split down the side and square feet, is intentional. It's different, but is smooth and effective as a pepper grinder. I always turn the centers of my mills. The normal mills are made by just drilling out in the center and leaving it that way. Mine are turned and sanded smooth and follow the outside shape. It's just a matter of pride for me and attention to detail, and it makes a mill with way more capacity. That makes a huge difference considering the rapidity with which we go through pepper in our house.
|
|
|---|---|
 |
 |
 |
 |
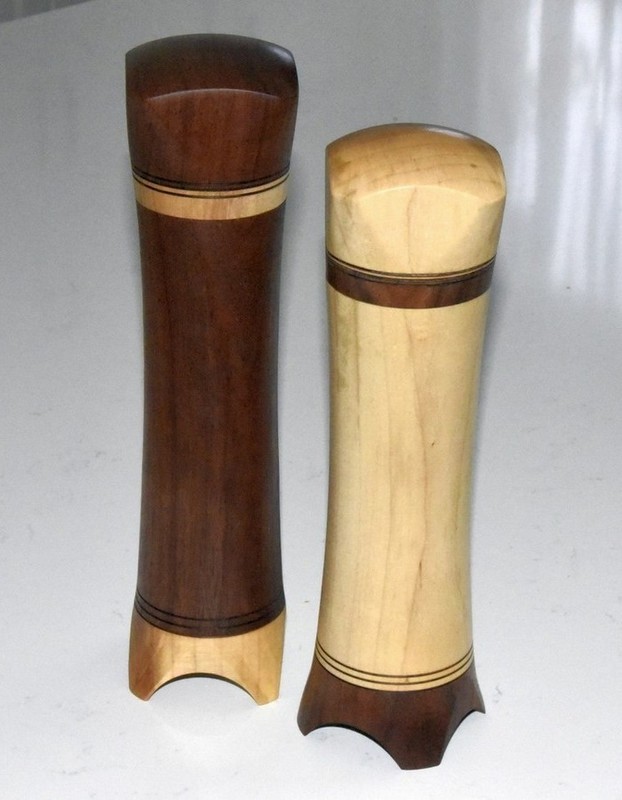 |
This is a set of mills, one pepper (the dark one, of course) and one salt (the light one, of course). The mechanisms in these are made of ceramic, and therefore either can be used for salt. Metal mechanisms cannot be used for salt as the salt with eat at the metal. 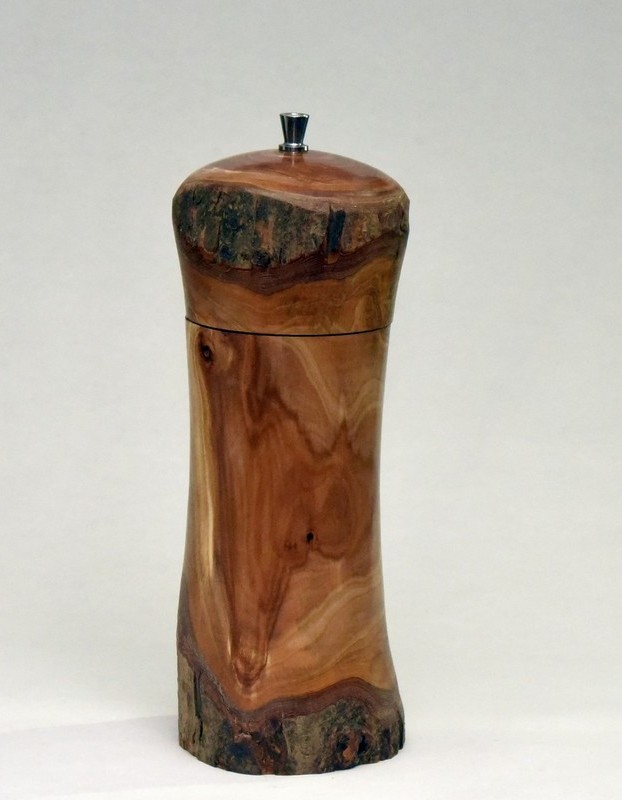 |
|
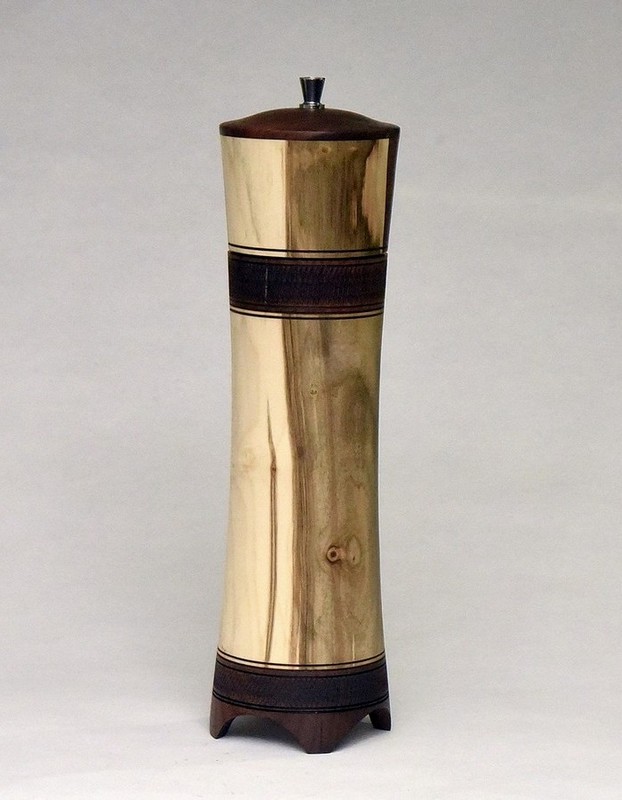
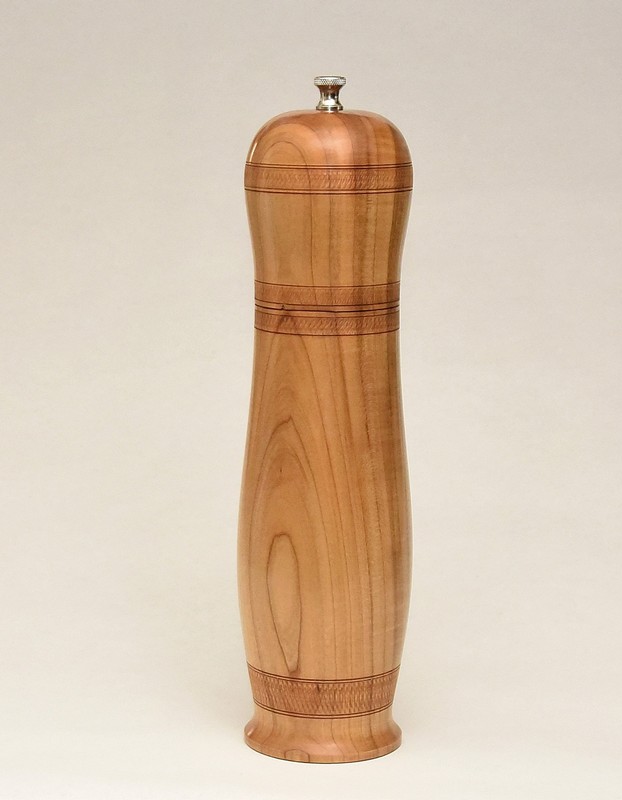
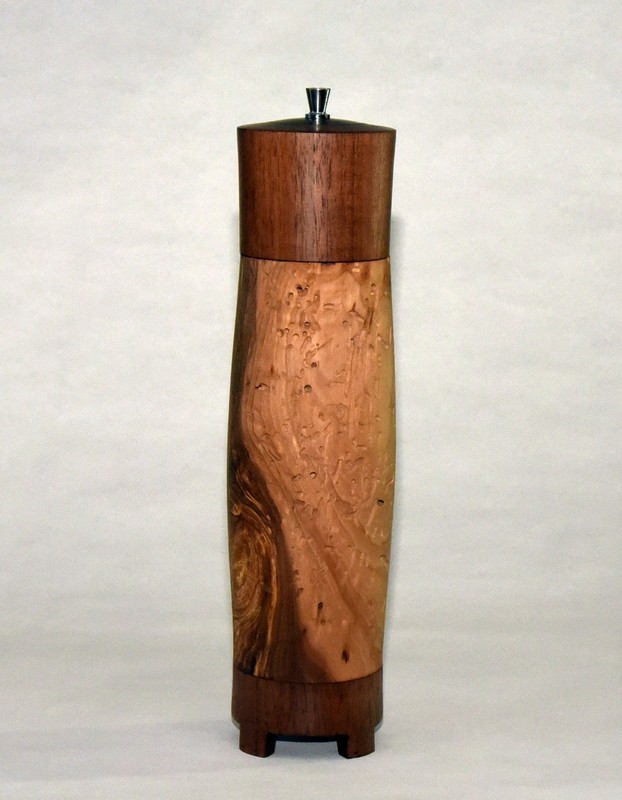
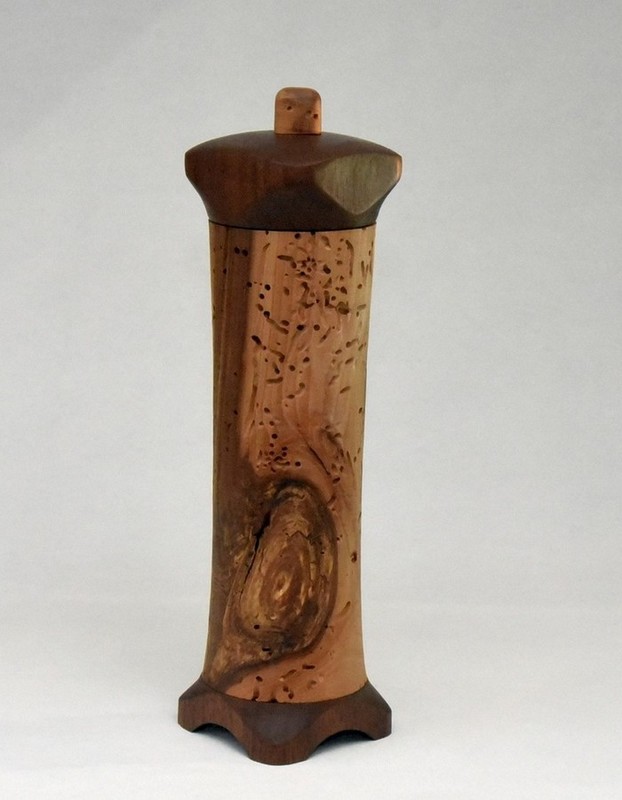
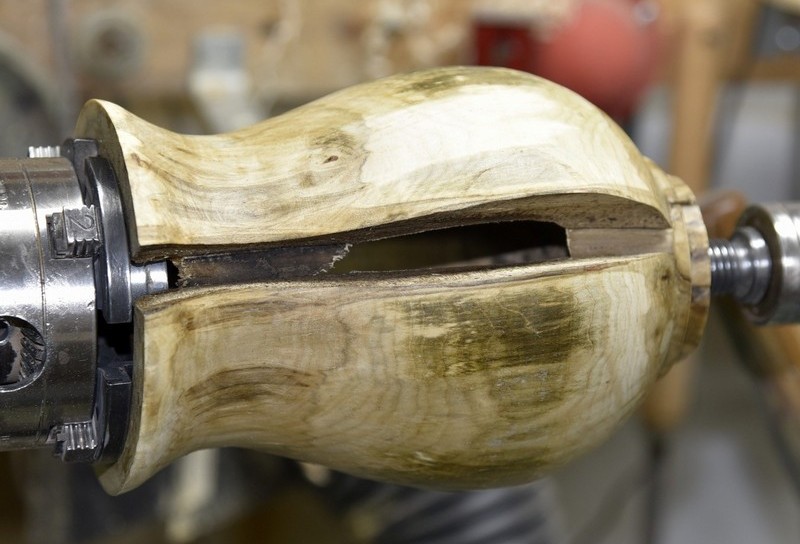
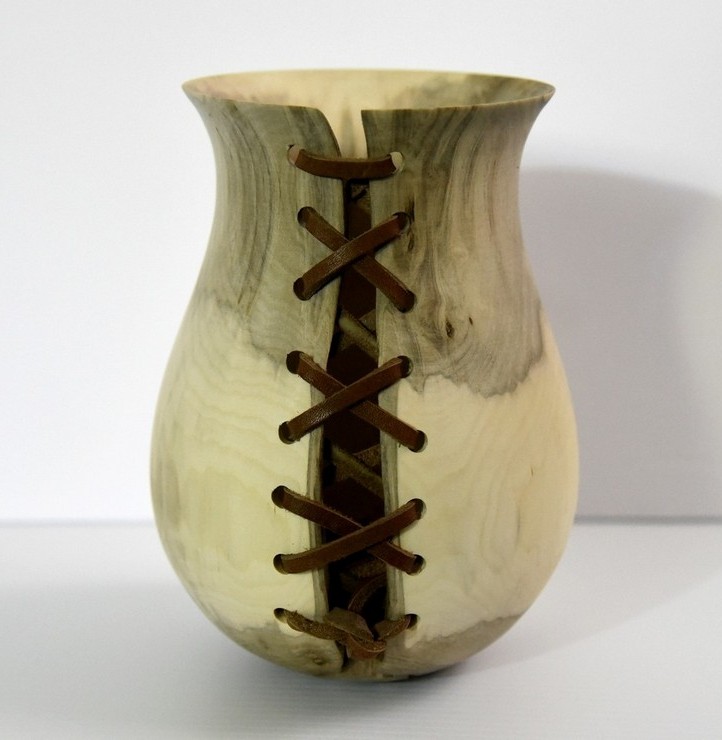
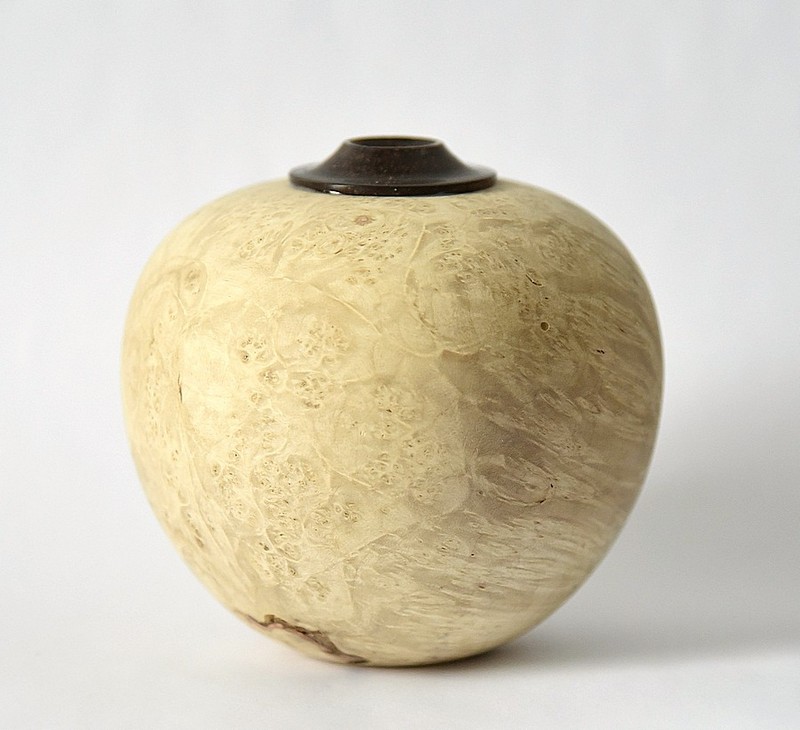
Last four peppermills, I promise. Top left is an 8" mill of osage orange, which I found, rather surprisingly, at a local Windsor Plywood. They do not often carry this sort of wood. It is in the design of the anvil peppermill above and was an attempt to change it up a little with a round center and squared off base and top. Not sure if I like it. Top right is a more traditional style but with a little design just to add some interest. I burned some lines with a wire and then used a texturing tool, that I got from Terry Scott in New Zealand, to put some knurled texture between the lines. I like the effect of the texturing, although I have not used it much. The bottom two are wormy apple. At a club meeting someone had left a large chunk of wood at the door and when I left, I asked about it. I was told someone had brought it but no one wanted it because it had holes in it. I jumped at the chance to take it, since wormy wood is one way of just letting nature do the artwork for you. These two mills came from that piece of wood. Both have walnut accents on the top and base, and both have Crush Grind ceramic mechanisms in them. The one on the bottom right has the silver screw on top hidden in a wooden apple block. I have never liked the silver knob on top of peppermills, and when one is trying to make a bit of an art piece the last thing needed is a shiny distraction at the top of the piece. From now on, most of my mills will have that wooden screw hidden.
|
|
|---|---|
 |
 |
 |
 |
 |
 |
| |
 |
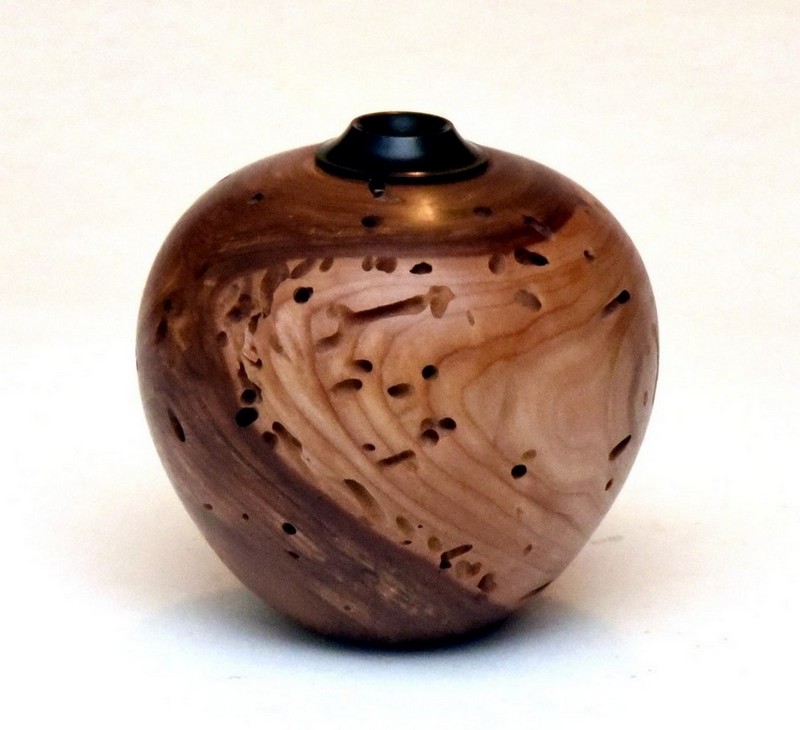 |
| |
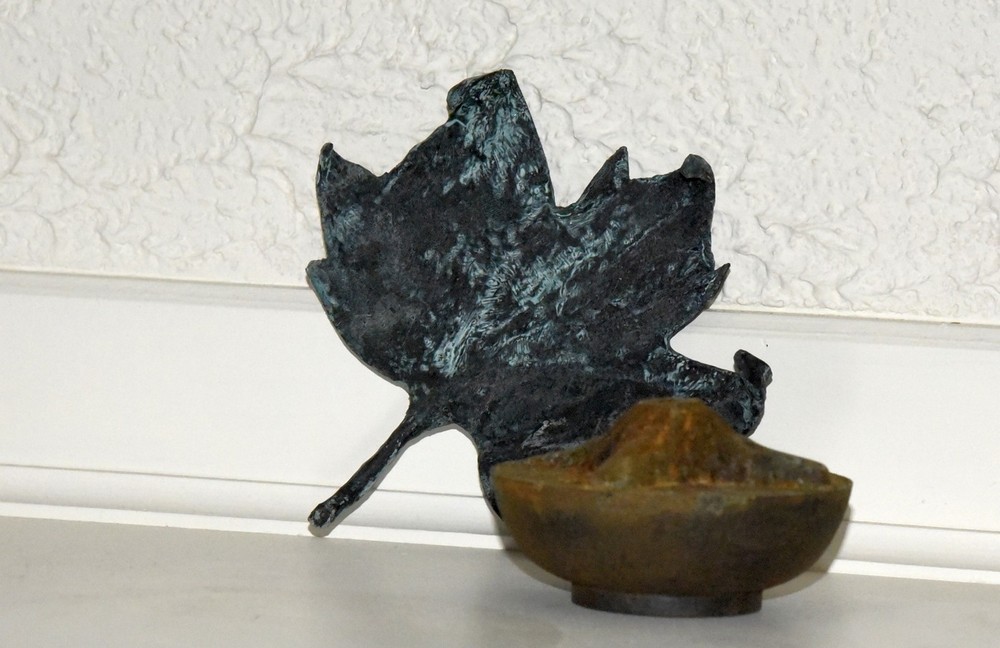 |
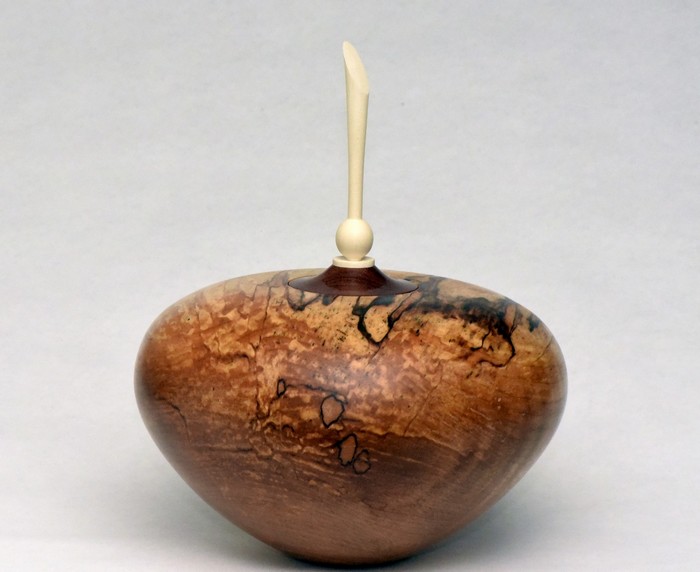
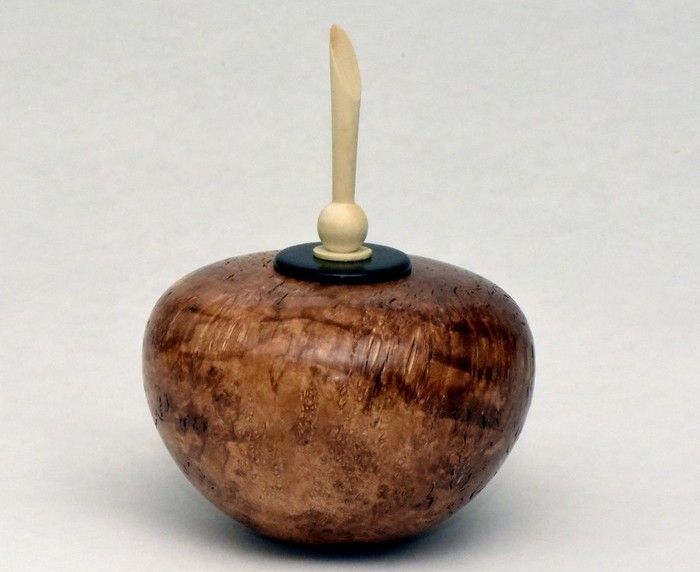
These are the two pieces I received in the swaps for the hollow forms I showed in the previous panel. | ||
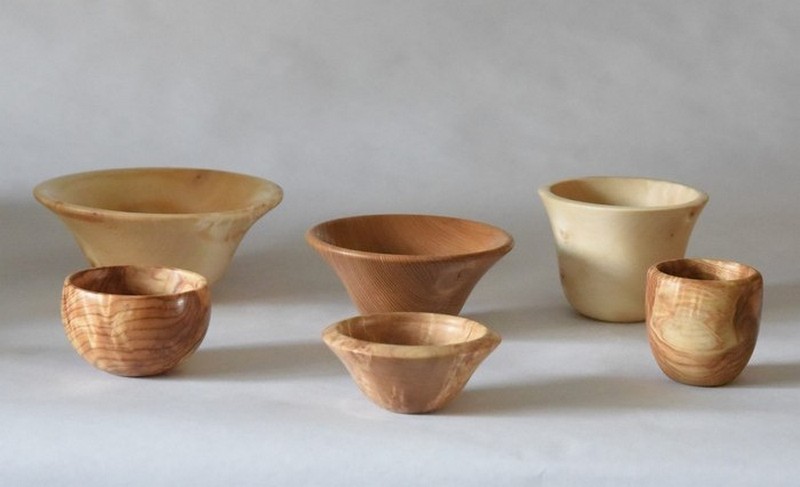 |
Last year I showed a bunch of little bowls made from scraps I have left over from other projects. It is a perfect way to experiment with shapes and form for bowls, and I often encourage my students to do small bowls for practice.
I also found, at the various craft shows and sales events, that little bowls are snapped up. Whether people use them for nuts or for dry ingredients when cooking or for holding other small objects, I don't know. In our house, all of the above. | 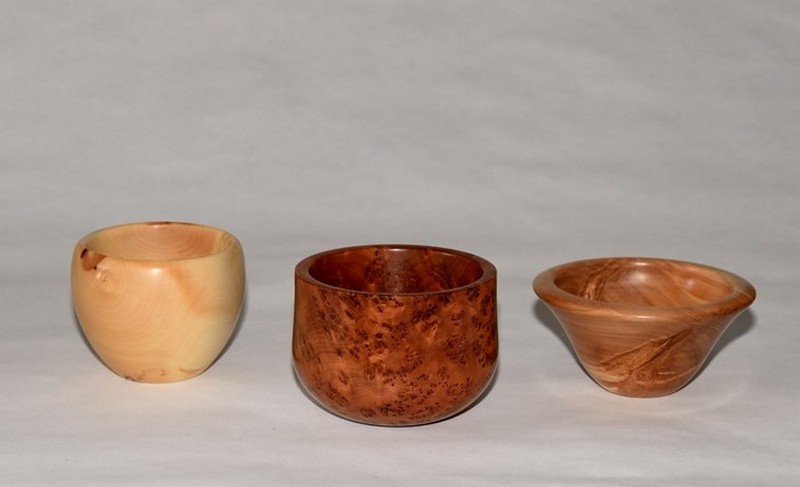 |
||
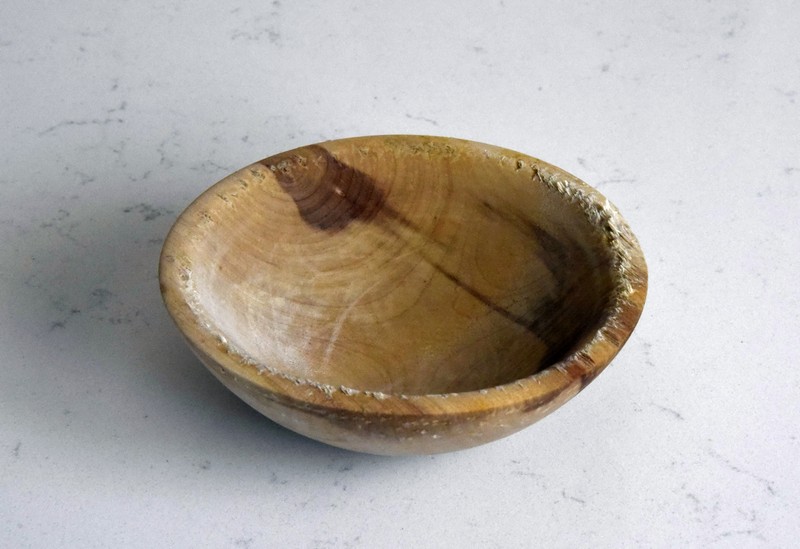 |
Here is Dolly's little dog dish. Every woodturner starts out their turning journey making what is jokingly called a "dog dish", which is usually a large flat bottom shallow bowl with straight sides. Sort of like a small frying pan. But this one is after turning for 20 years already. It is 3.5" across. | ||
 |
 |
| |
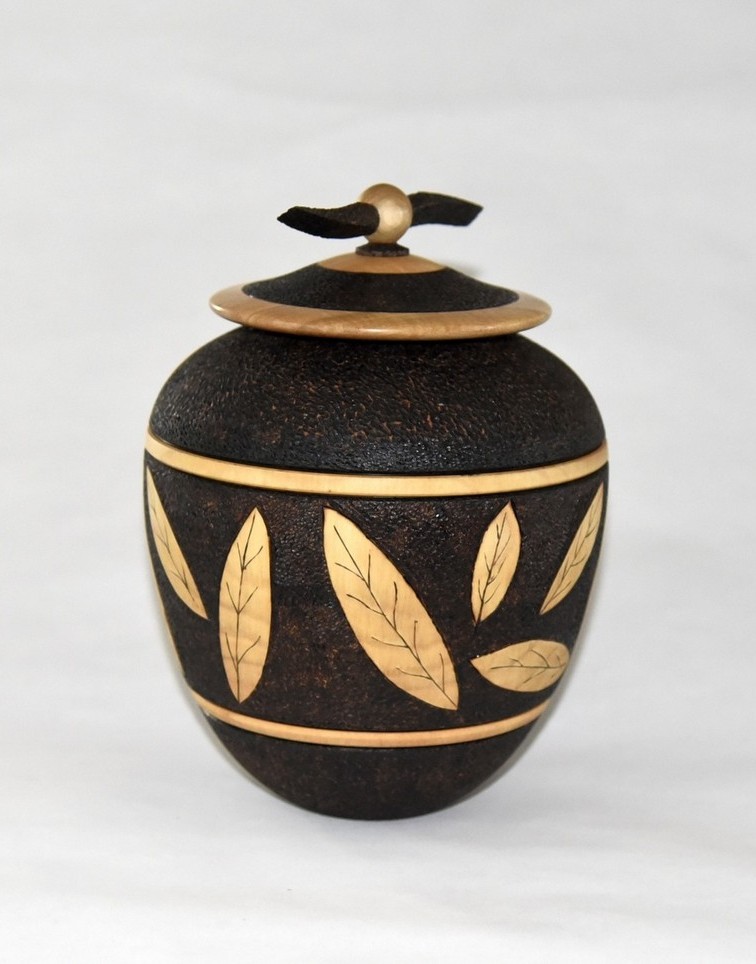 |
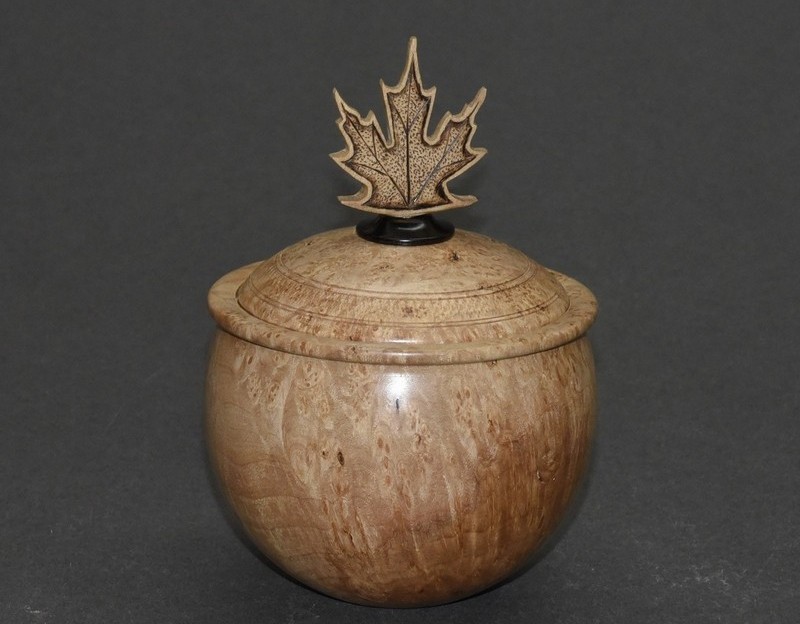
Another form inspired by the ginko pieces of Bill Clark on the World of Woodturners site. I absolutely loved the forms he was doing and decided to try something similar. | ||
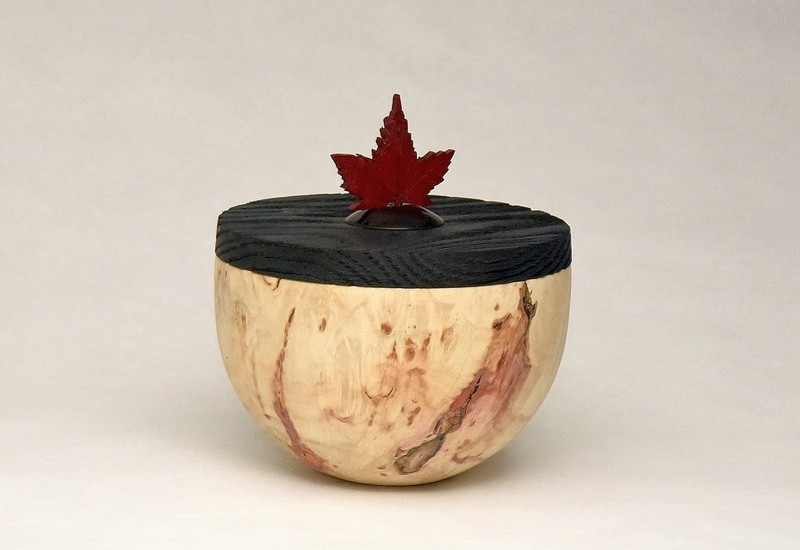 |
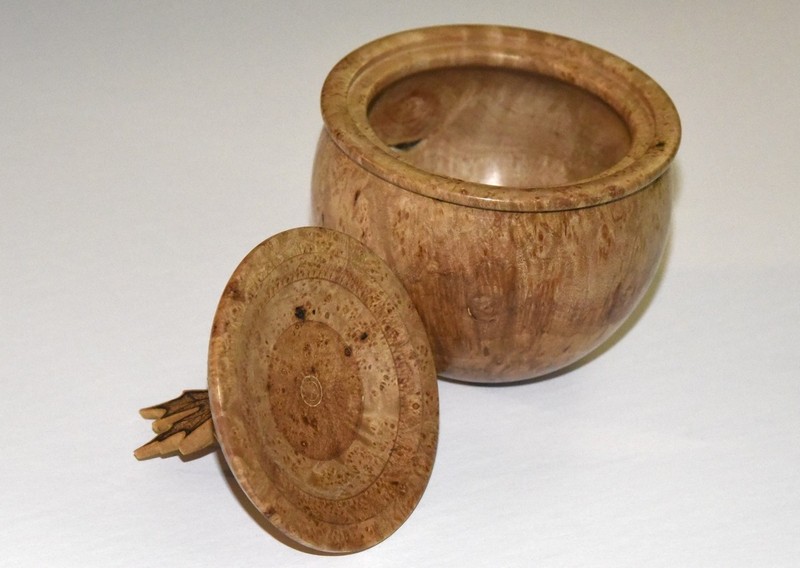
The top photo is a maple leaf box about 5" in diameter. The only finish is Krylon matte spray finish, so it looks like there is no finish at all. But it is protected. For the lid, I used oak, but then heavily wire brushed it to take away some of the softer wood in the grain. Then dyed it black and used the same matte finish on it. | 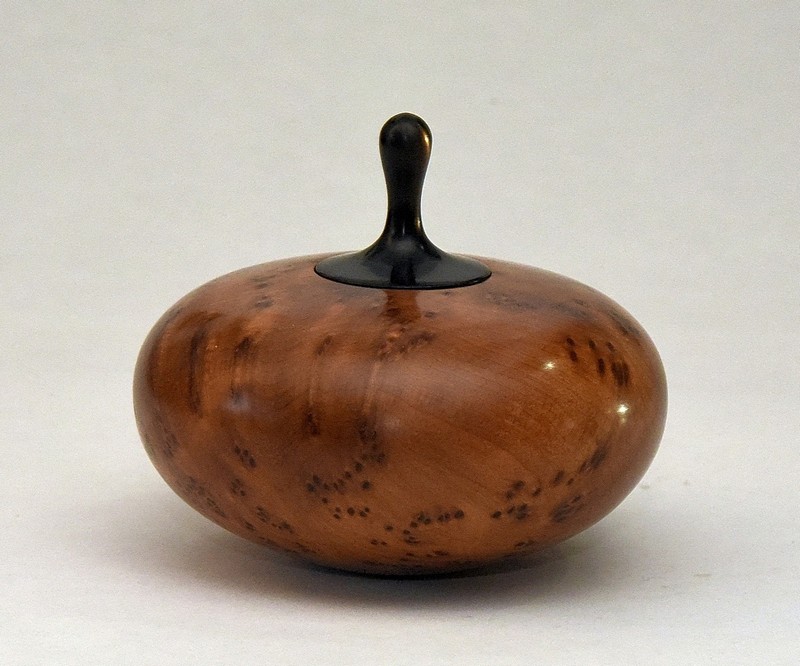 |
||
|
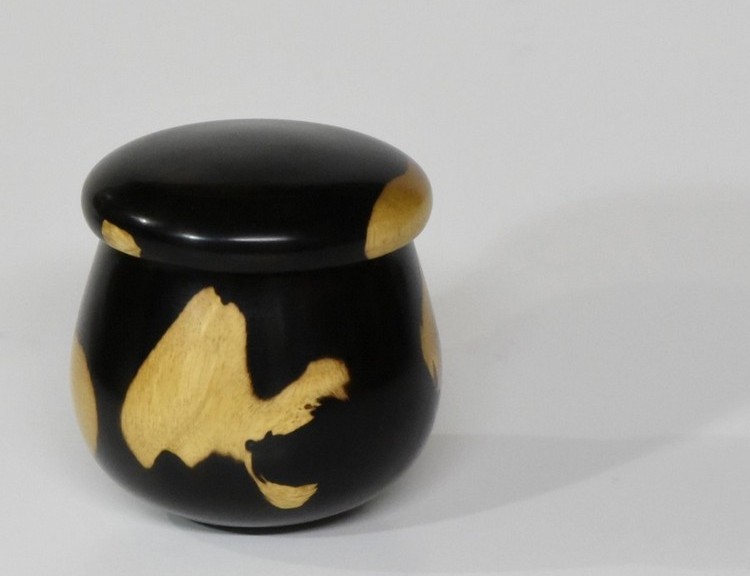
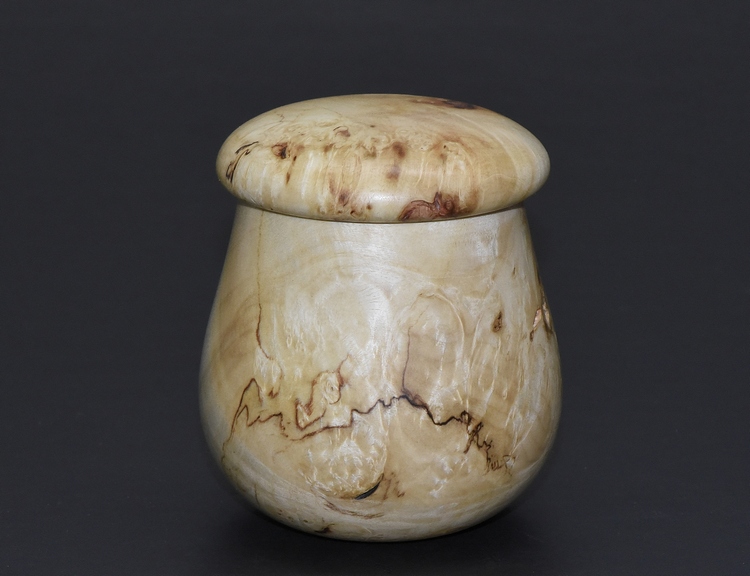
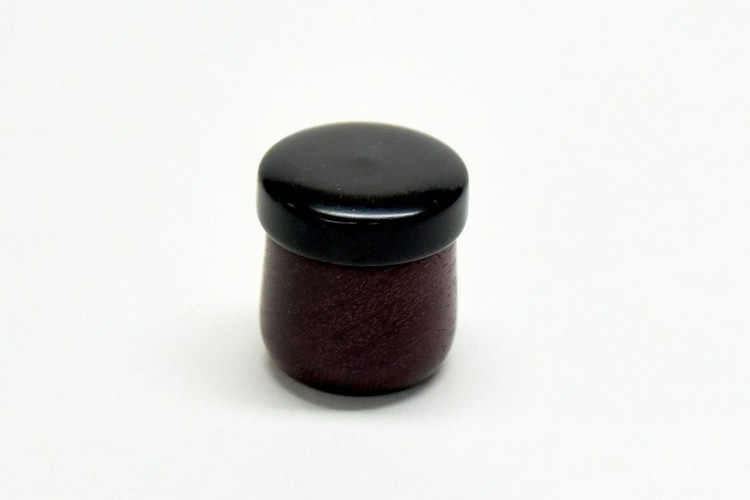
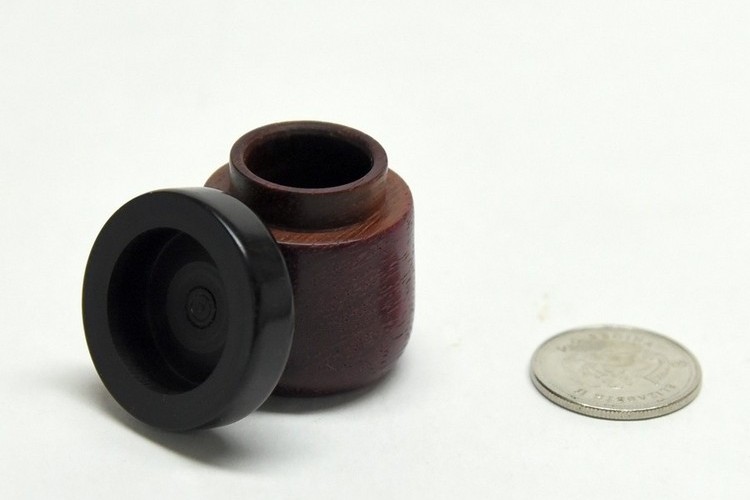
Kelly Dunn, from Hawaii, is one of the finest woodturners around, and he has a keen understanding of the forms of the Hawaiian islands, especially the calabash and umeke forms. Kelly is a character and is renowned on the World of Woodturners for his unusual musings from the "armchair". Sometimes philosophy, sometimes, not. Kelly is a friend, and when he sent me the little lidded umeke of African ebony (top left photo), a tree that he planted and grew, I was absolutely delighted. It is perfect in every way, form, finish and proportions. And I will treasure it in my little collection of the work of others. So, I tried the form as well, but quite a bit larger, with a piece of Chinese elm from my neighbors back yard. Mine is 6" tall, and Kelly's is about 3.5" tall. I am pleased with my effort, but it certainly does not have the pizzazz of his little ebony piece. Oh well - try again. Bottom left is a tiny little purpleheart box with an ebony lid. You can see the size in relation to the quarter coin. On the right the little box is open. Just turned for fun, but people like little boxes.
|
|
|---|---|
 |
 |
 |
 |
 |
 |
| |
|
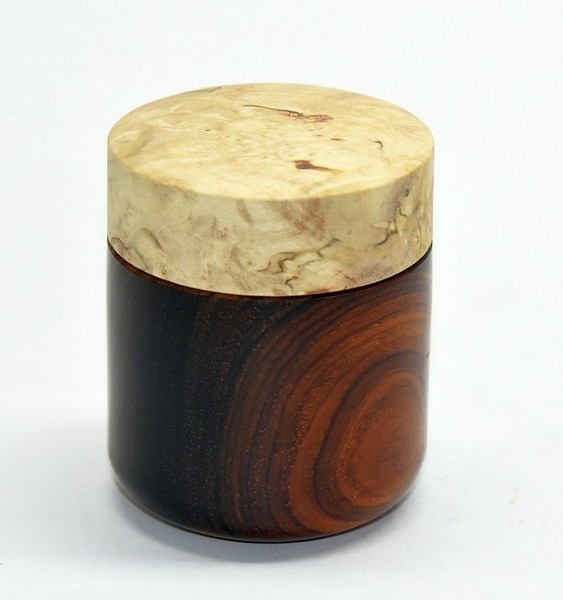
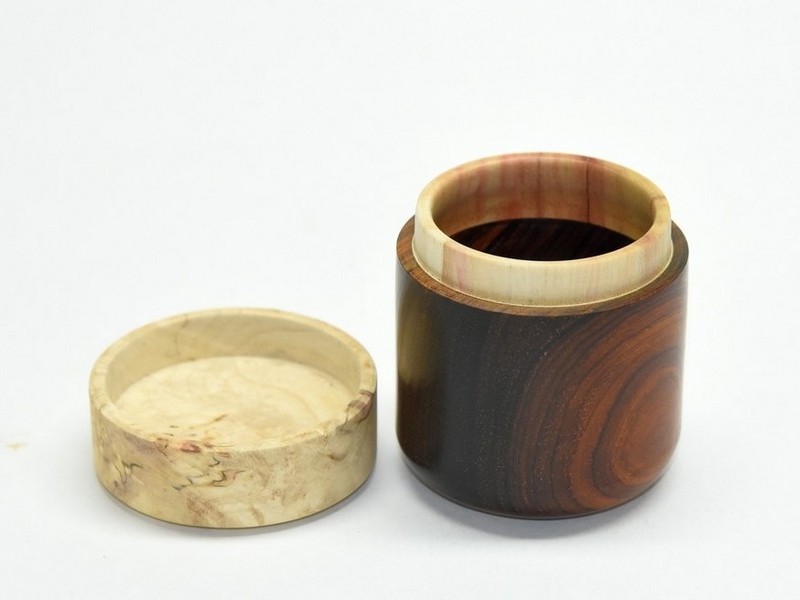
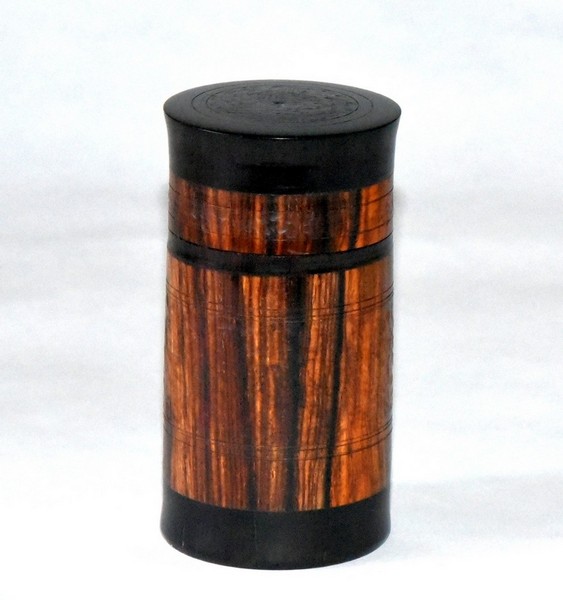
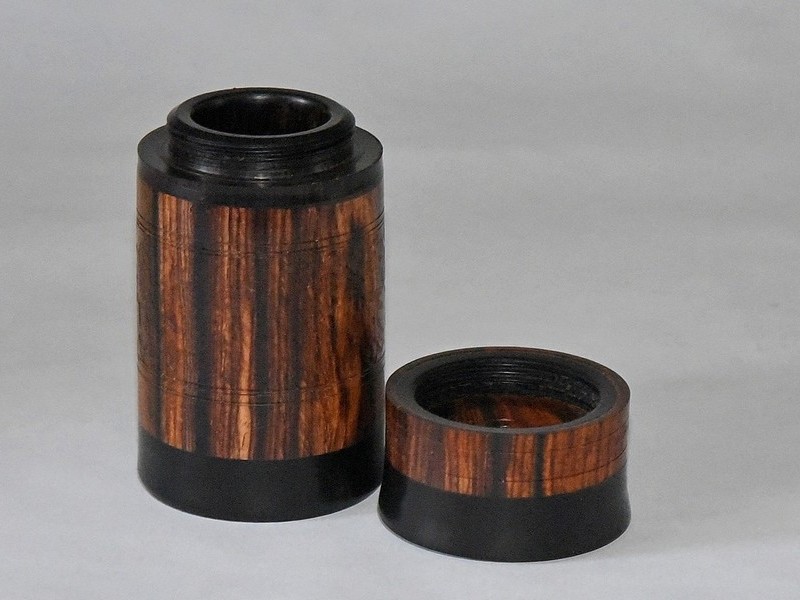
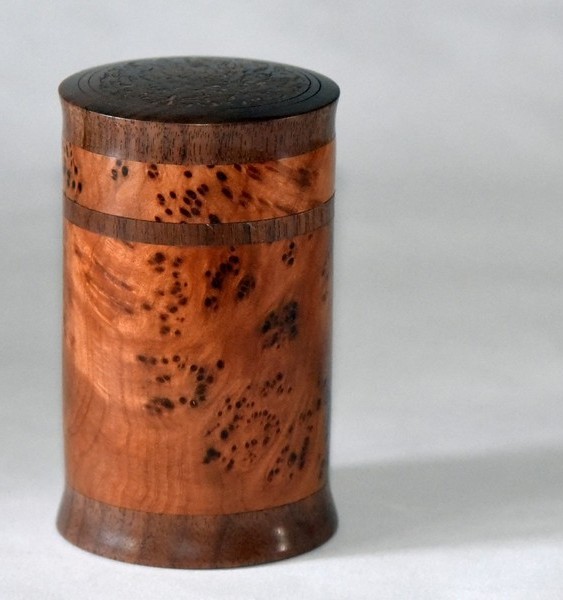
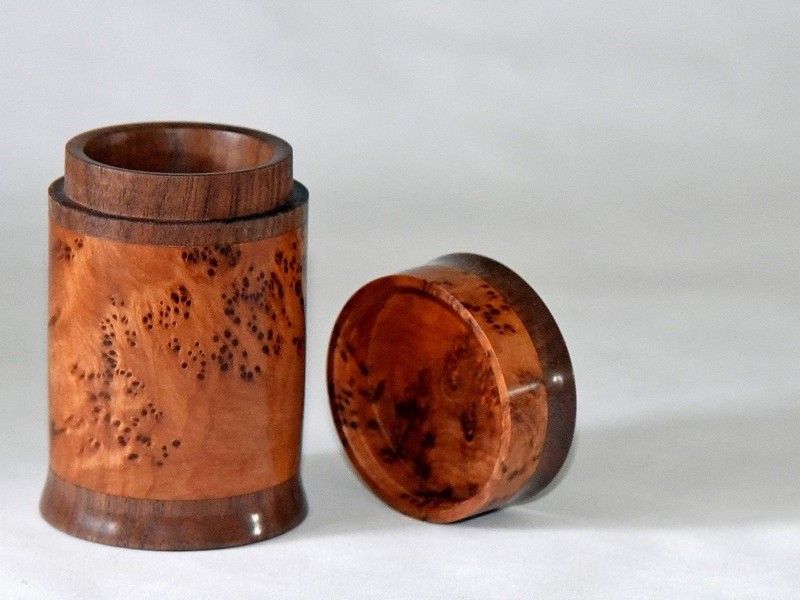
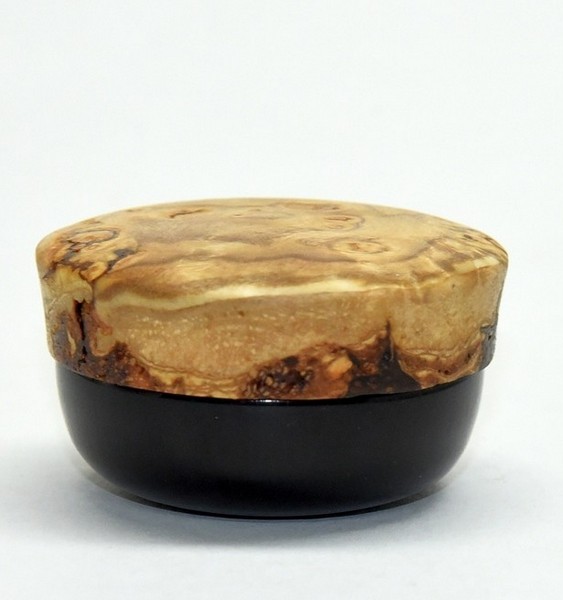
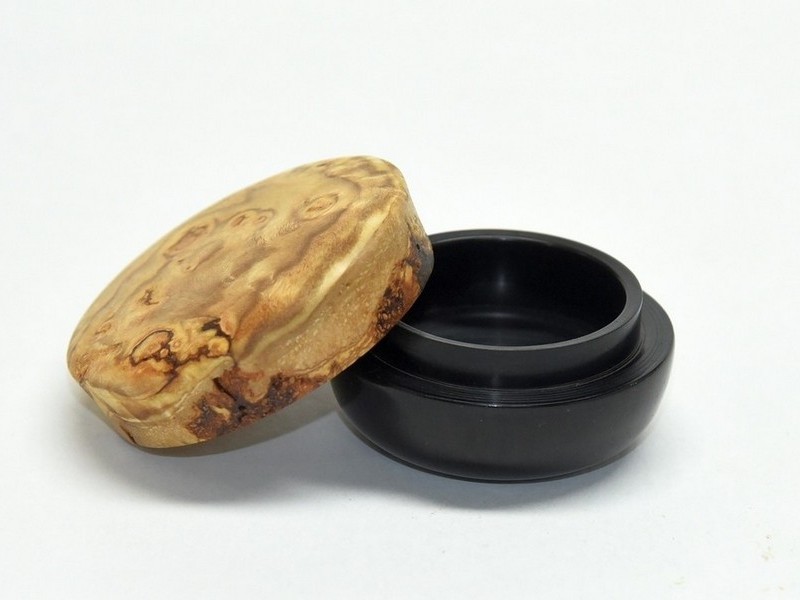
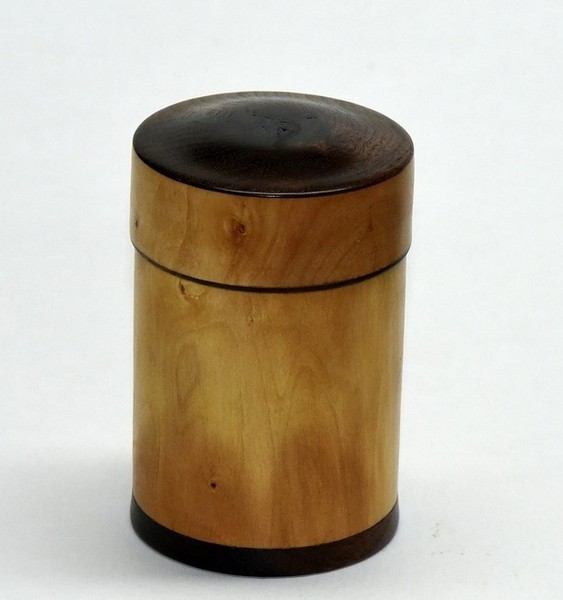
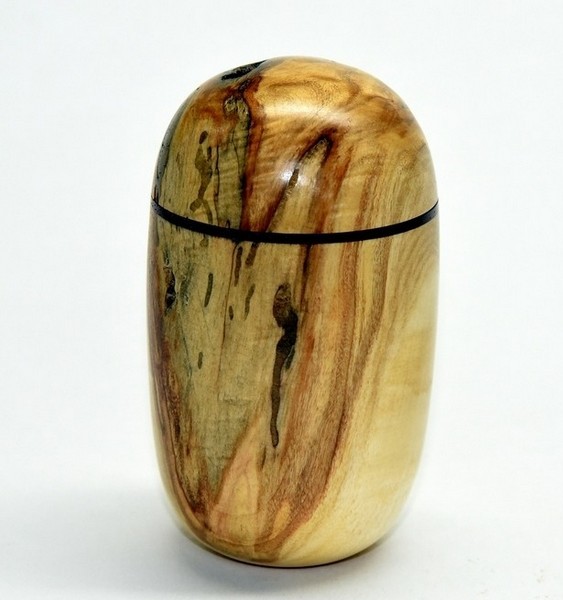
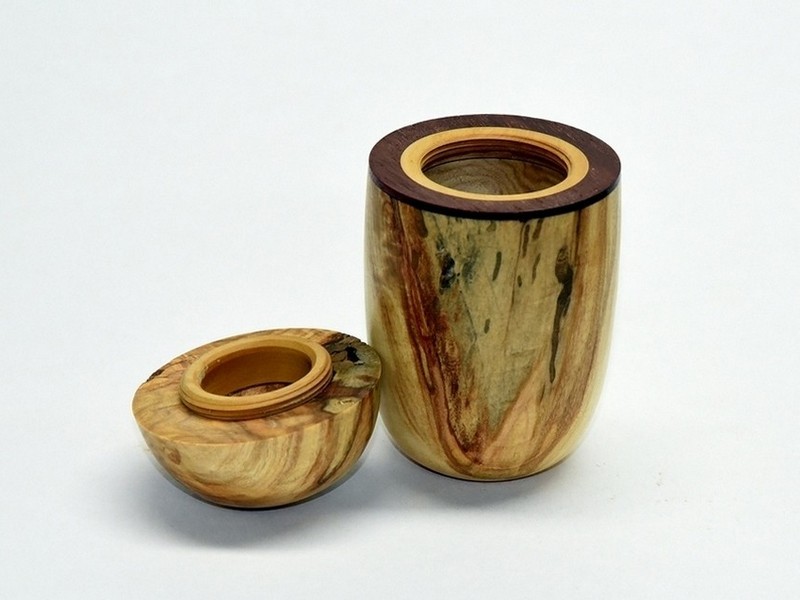
Here is a whack of little boxes. First - A cocobolo box with a suction fit maple lid, 3.5" tall. Second - An ebony box with a cocobolo exterior. The cocobolo sleeve is about 1mm thick. Hand threaded lid, 4.5" tall. Third - A walnut box with a thuya exterior. The thuya sleeve is about 1mm thick. Suction fit lid, 4.5" tall. Fourth - Tiny little ebony box with a Manitoba Maple lid. Suction fit, barely 2" tall. Fifth - A cherry box with a walnut cap and using a threaded insert as the cherry is too soft to thread. 3.5" tall. Sixth - A similar box of elm using a threaded insert as the elm is too soft to thread. 3.5" tall. I have a separate page with a detailed description of how I make the threaded inserts in bulk. Click here for photos and instructions.
|
|
|---|---|
 |
 |
 |
 |
 |
 |
 |
 |
 |
 |
 |
 |
 |
 |
| |
 |
 |
| |
 |
 |
| |