
2020 Turnings |
|---|
For Karen and I, being asked to stay at home does little to change the lifestyle we already have, by choice. We are retired and are at home all the time anyway, and readily acknowledge it is our favorite place to be. The only difference is that we are restricted in our movements in the community, and we can't go and visit with friends and family, nor can they visit us.
I am so thankful, not just now, but always, that I have my "happy place" in the workshop and Karen has her "happy places" in her library and her kitchen. It took awhile to get used to the new rules, and for the first while I could not get motivated in the shop, but that is getting better. I noticed on the World of Woodturners website that a lot of new work is being posted, and a lot of people are doing things they never tried before. The same is true for me, as I have done my first carved feet on a piece, done my first relief carving ever, and am experimenting with different finishes and ideas.
So that is the silver lining, even though my heart breaks for so many people who have, and are, suffering loss. My prayers are with all people at this time, and that our society will emerge from this stronger, nicer, more tolerant and more giving.
So, join me on this trip through 2020 and I hope it can be a little relief and distraction from real life for a moment or two.
As usual, I love hearing from you, so feel free to let me know you were here.
So here we are, middle of April, 2020, and in the middle of the most upset I have ever seen the world in my time. Almost the entire world is being asked to stay at home and to avoid contact with other people, and the longer this goes on, the more heartbreaking it becomes.
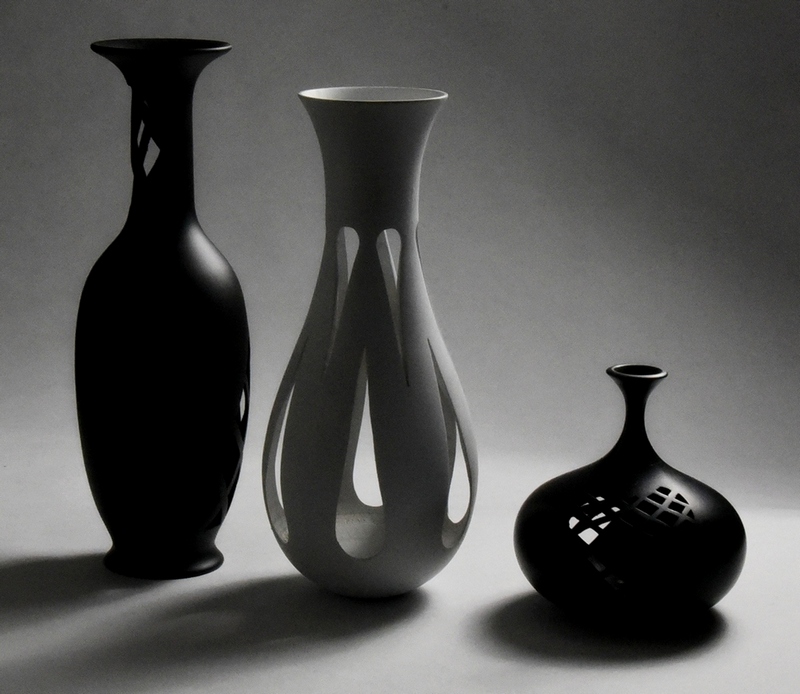 |
Last year I started on a series called "Silhouettes", basically turnings to demonstrate pure form, which is why they are painted black. That way, there is no wood grain or color to detract from the form of the piece. The only enhancement is the addition of "negative space", which is basically holes carved into the sides of the piece. For Silhouettes I used a diamond theme, and the color black. | ||
|
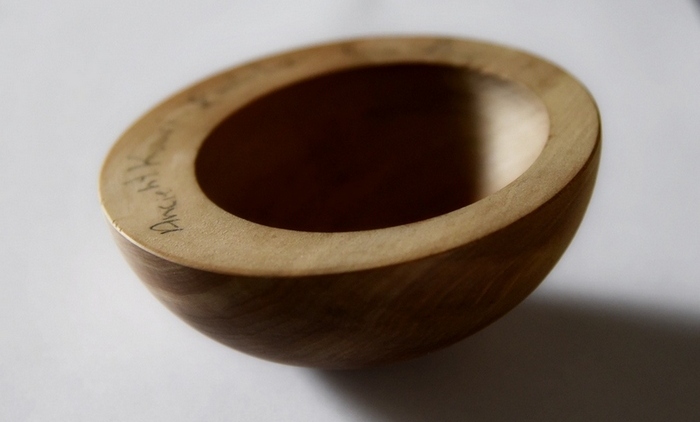
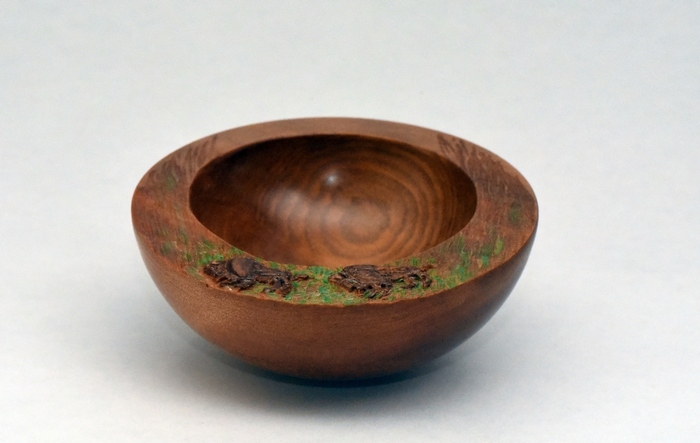
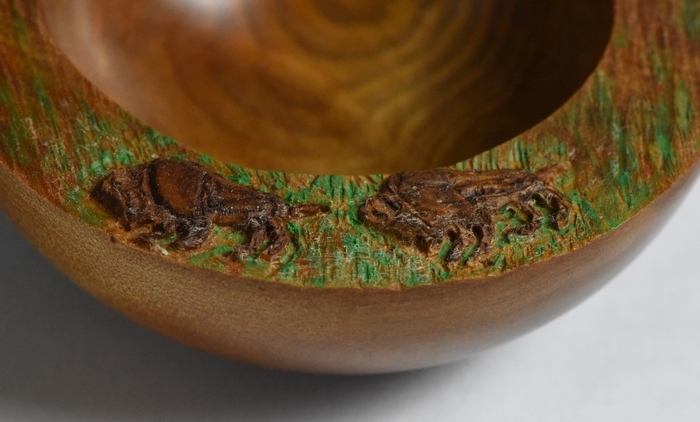
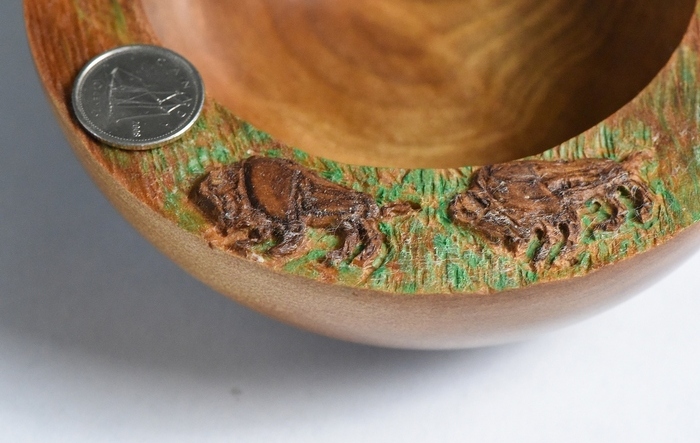
The second order of business is this tiny bowl of ancient kauri wood, somewhere between 30,000 and 40,000 years old. It comes from New Zealand where it was buried underground centuries ago, and many of them are being dug up and processed. There is an excellent business called Ancient Kauri Kingdom that specializes in reclaiming and marketing this wood. For photos of this huge tree and what can be done with it click here So my friend, Terry Scott in New Zealand, sent me this little bowl, already turned but unfinished. Now, Terry is one of the finest carvers and creative enhancers of wood turnings that I have ever seen. He will tackle anything, so when I looked at this little bowl and saw what he had written on it - "embellish this rim" - I was immediately terrified. I have never carved anything in my life, and my Powercarver dental carver has never been used. Sat on the shelf for years. I immediately thought that I would like to do something to connect Manitoba to New Zealand and thought of our provincial emblem - the North American bison. For two years I thought - no action, although Terry prodded me. He said, "Herm - just start carving, don't let fear of failure stop you." So here it is, finally. Top left is the original bowl. Top right, as I completed it, bottom left a closeup view from the top, and bottom right, with a dime on it for perspective. A little bit of green for them to eat.
|
|
|---|---|
 |
 |
 |
 |
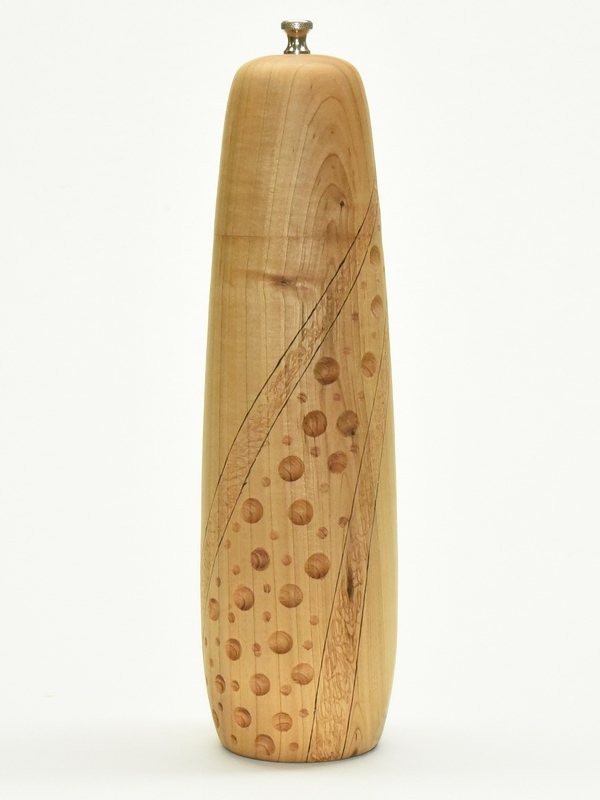 |
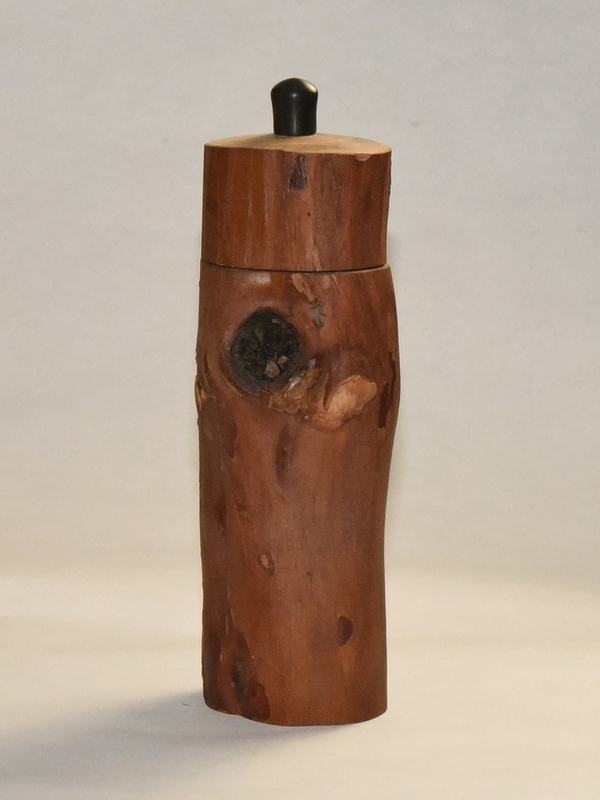
Here are a couple of peppermills. The one on the left is a 10" mill made of cherry. I decided to enhance this one a little bit with some texturing/engraving, done with a ball bit in my Foredom carver, and with some pyrographed lines. |
 |
||||
 |
 |
| |
 |
 |
| |
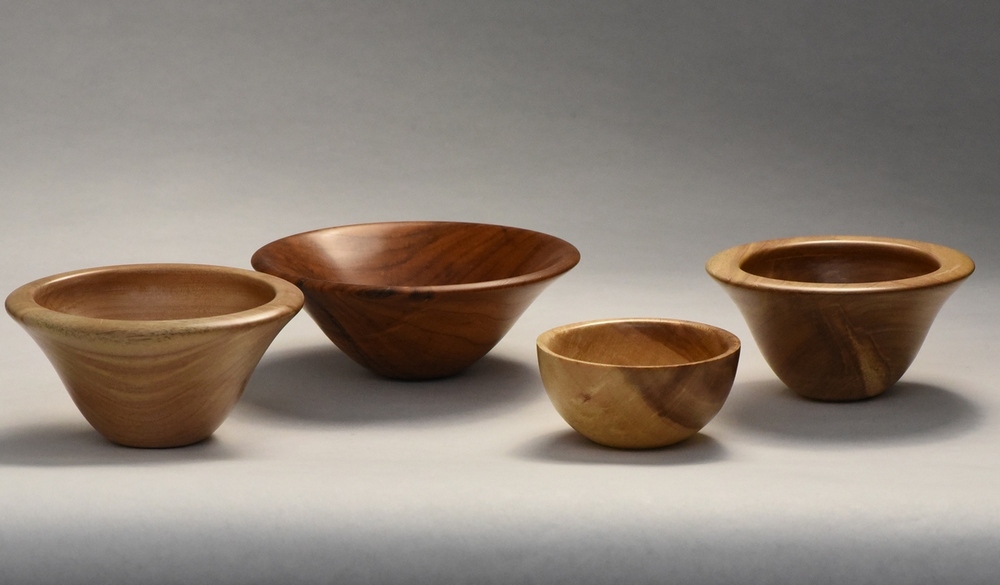 |
Sometimes I spent an hour or two just working with little bits of wood I have left over from other projects. It is a perfect way to experiment with shapes and form for bowls, and I often encourage my students to do small bowls for practice. | ||
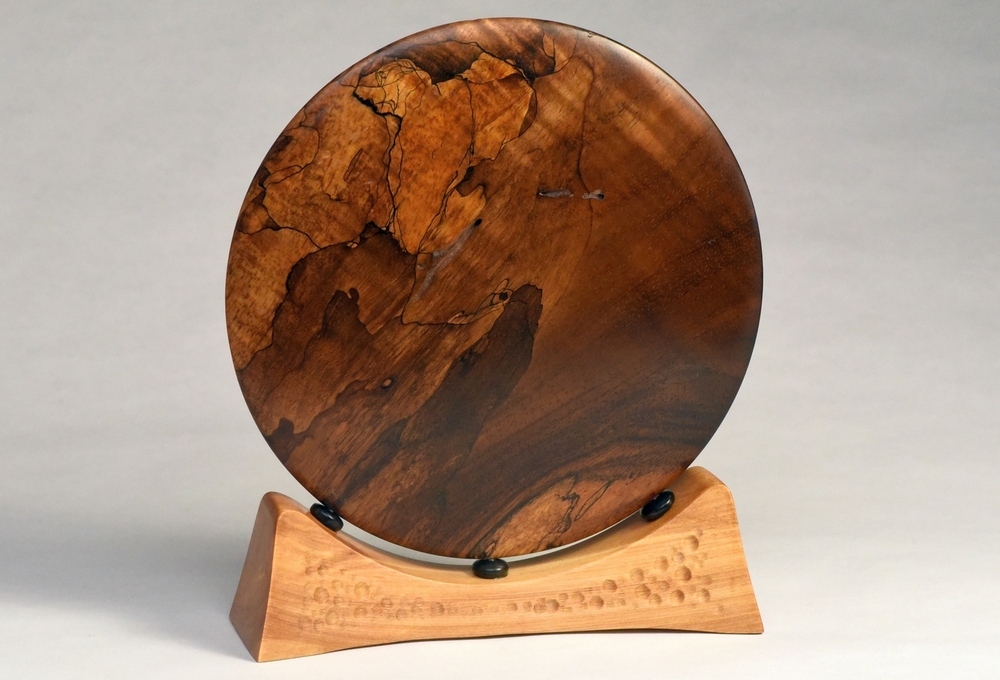 |
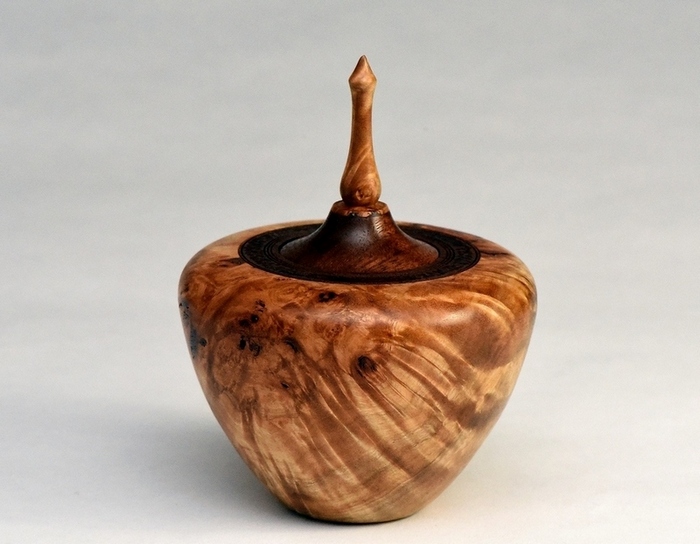
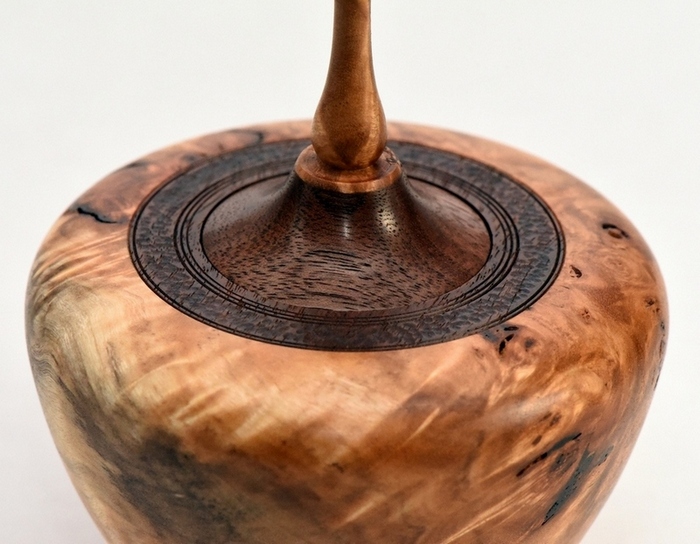
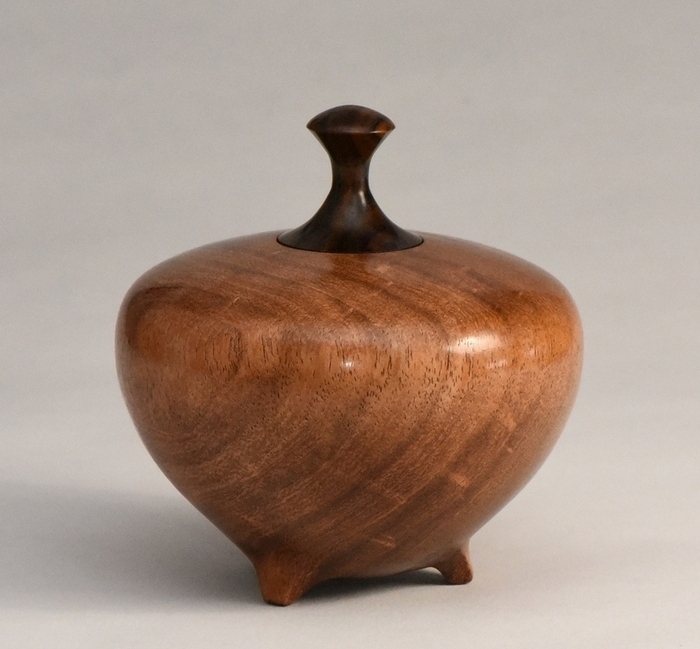
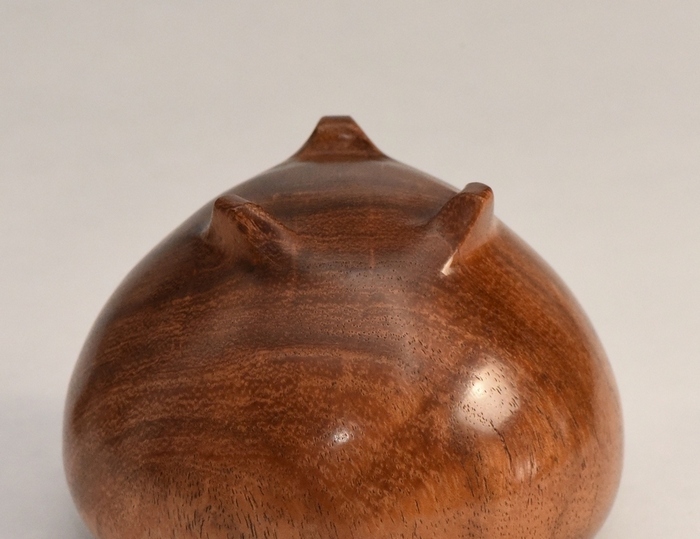
A fine woodturner and friend from the World of Woodturners (WoW) sent me a little package of wood. In the package of rare teak from the deck of the USS Missouri, and teak from the Bowfin submarine, was a small piece of Hawaiian koa. I had seen a lot of koa turned by other Hawaiian friend on WoW but had never laid hands on this beautiful wood. | 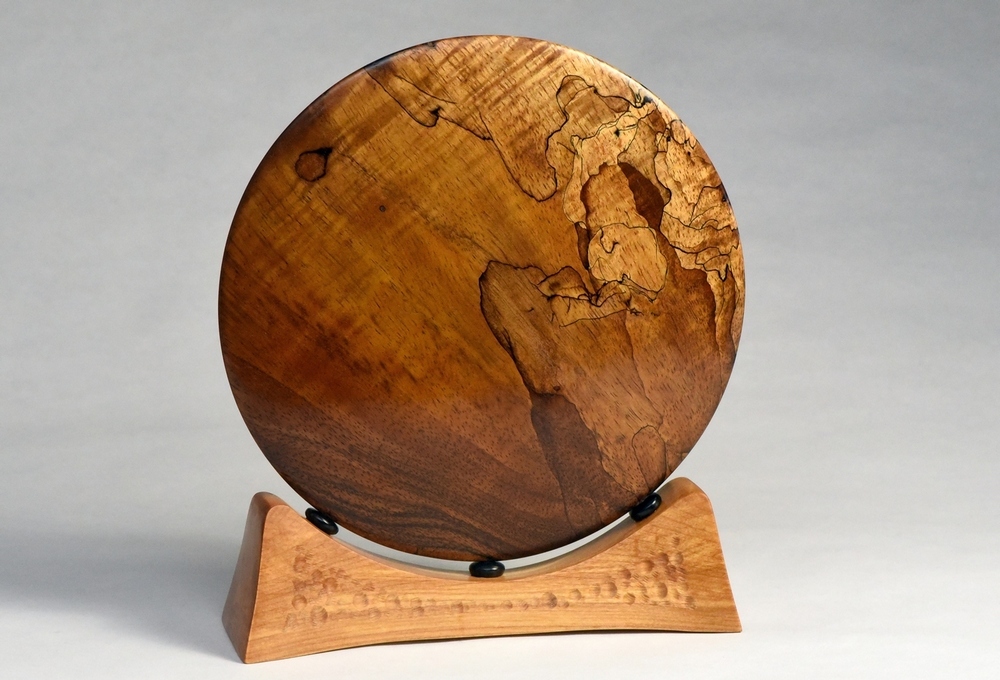 |
||
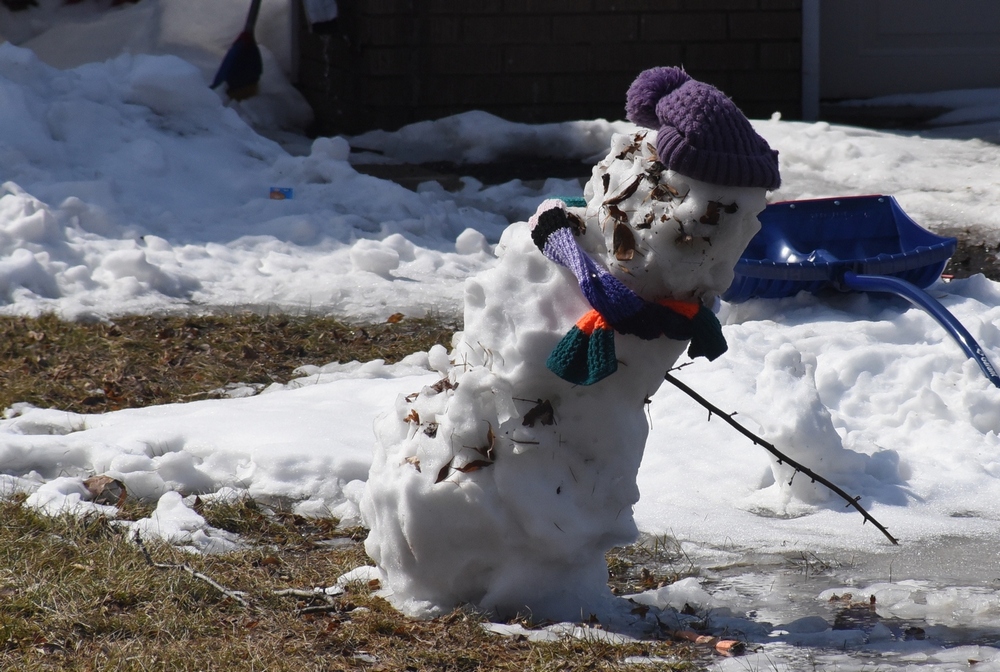 |
We had winter early here in Manitoba, as we had a huge snowstorm in October of 2019. But then, very little snow all winter, until this spring when a small storm came through. The neighbor kids could not resist the wet spring snow, and it was fun watching them through the front window building this with their mom. He is beginning to show the stress of some warm sun, and I was sad to see him go. | ||
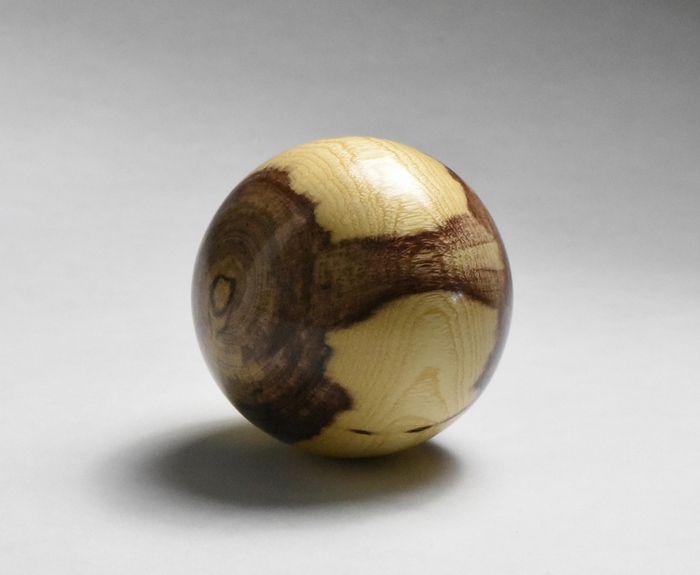 |
|
| |
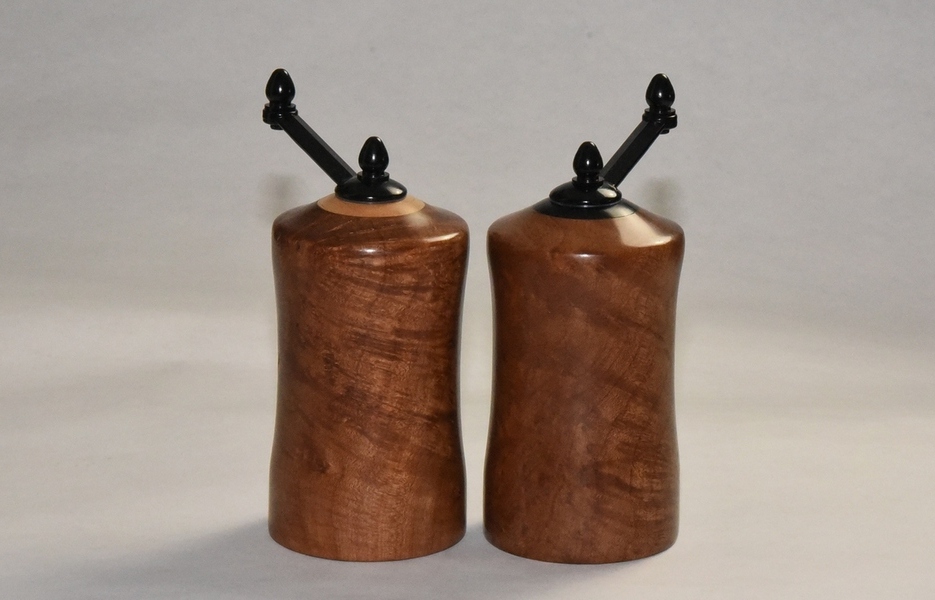 |
I ran across the small kits for salt and pepper mills for the dinner table and decided to give them a try. These are only 4" tall, and that very pretty wood is madrone burl. Madrone that I got years ago from Black Forest Woods in Calgary, after they rescued it from the barn in an estate sale. It had been in the barn for more than half a century. | ||
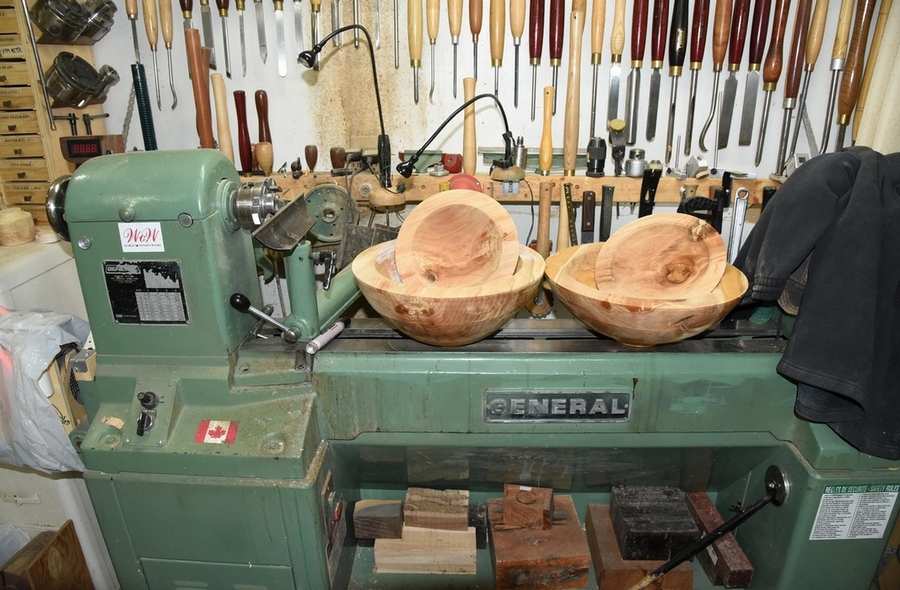 |
I got my hands on a section of apple tree and decided to turn some bowls from the wood. Apple, being a fruit wood, is notorious for moving and cracking as it dries. Left in a log it would probably crack so badly it would unusable. So, I generally turn the wood while it is still wet. The "roughing out" process reduces the thickness so the wood dries much more quickly, and the cracking and movement can be somewhat controlled. I control it by using log end-sealer (Anchorseal by another name) and take the extra precaution of storing the sealed bowls in a paper bag, too. It still is a crap shoot as to whether the bowl will crack or not. | 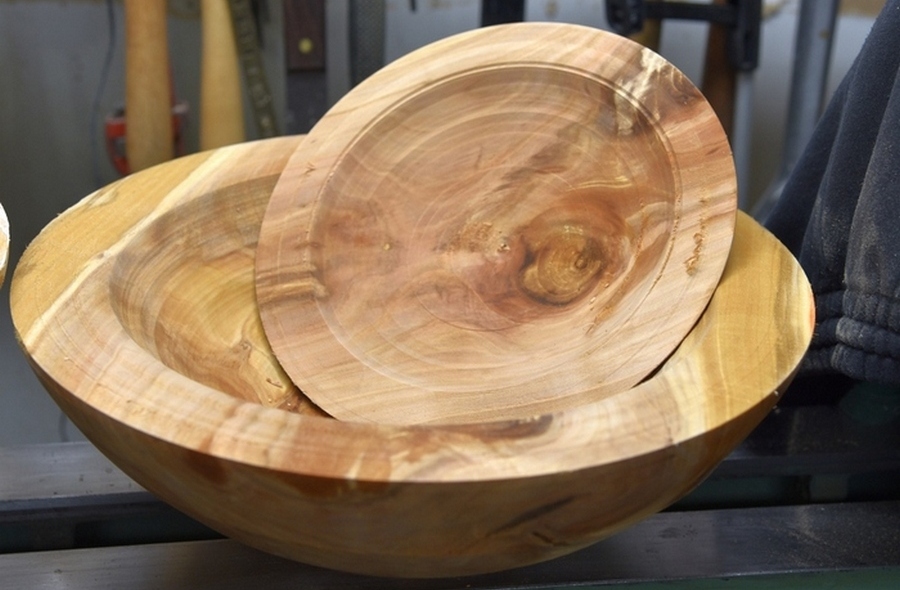 |
||
|
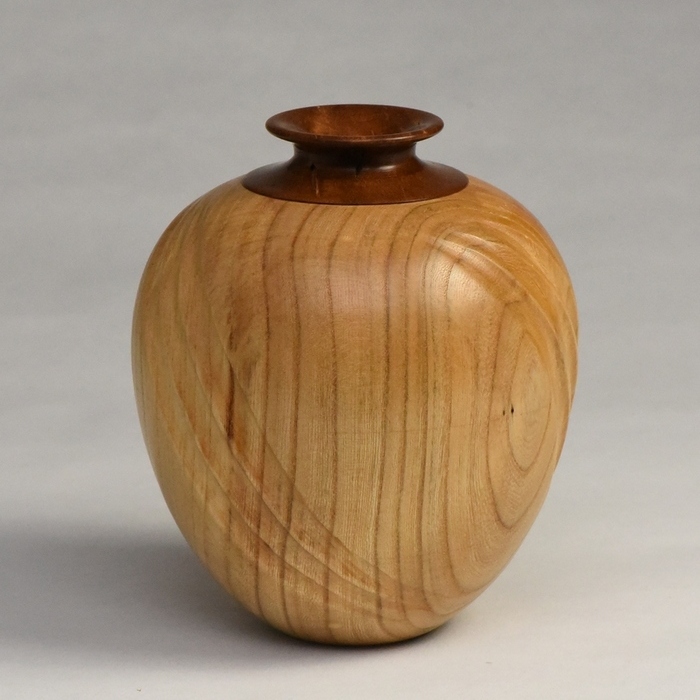
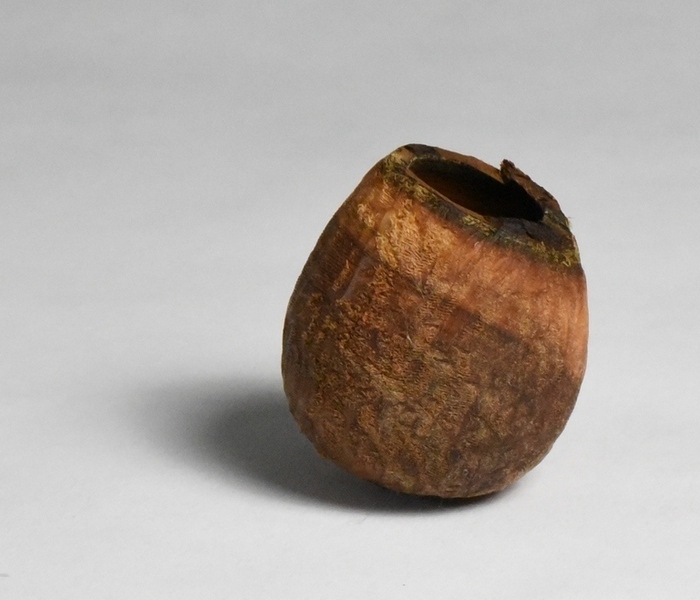
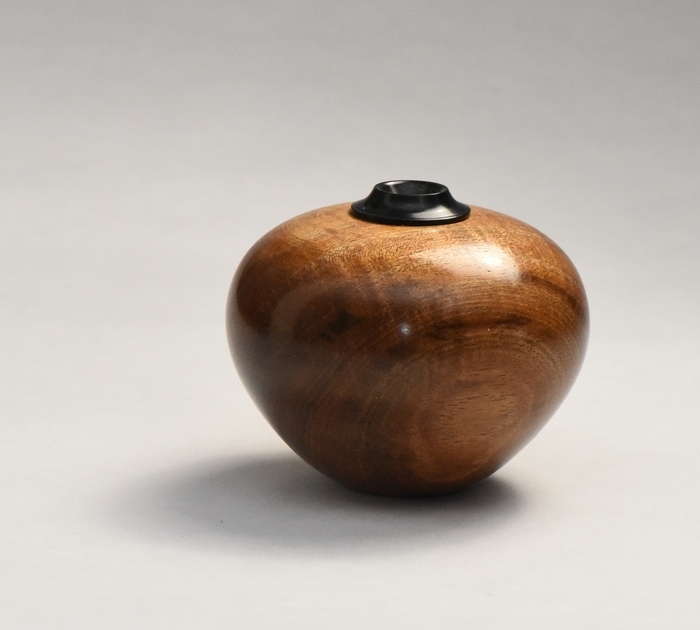
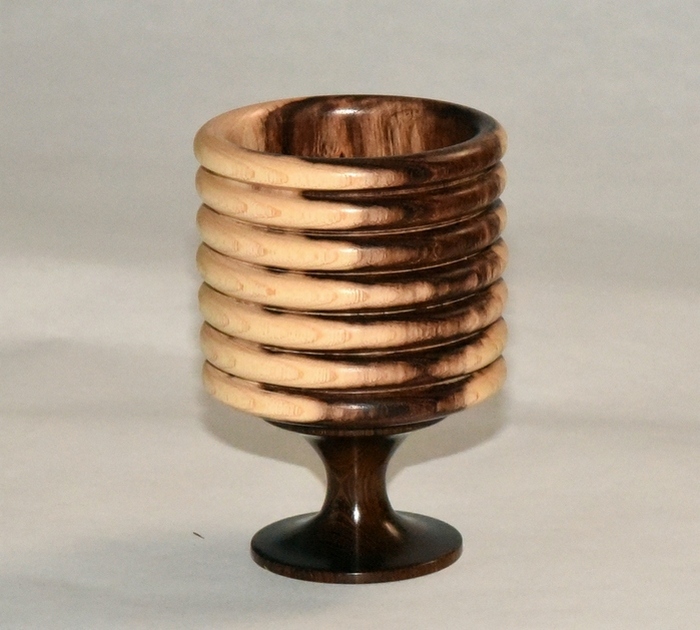
Here are four different pieces with no relation to one another. Just a series of "stuff" I made. The top left is a Schubert chokecherry hollow form, 5" high, on which I carved a few spirals. I used the spiral technique a lot more in the past, after seeing Dave Schweitzer demo the process at an AAW Symposium in St. Paul. The process is not that difficult but requires a deft touch and more than a little sanding to finish the spirals properly. I have always liked the look, especially in sets of 3, because they enhance the grain of wood with little undulations where the grain crosses the spirals. The top right is a tiny (2" tall) little hollow form of an unknown wood I found lying on the bench in the shop. I have no idea where it came from except for a vague recollection that someone gave it to me to see if I could do something with it. The exterior is textured with the Foredom carver. So, here it is, a tiny, round bottom little form that has no purpose whatsoever except to sit there and rock and look cute. Bottom left is a small (3.5" diameter) hollow form, very thin, very light. The block of wood was sent to me by Karen's cousin, who lives in Australia. She called the wood "fiddleback acacia", and this little piece took most of the block of wood. It is intended to be sent back to her, and I really love this wood and the beautiful finish it takes. The cap is of ebony. The piece on the bottom right was me practicing with a home-made tool - a bead cutter. This was made from a used-up bowl gouge Being a cheap sort, I re-ground the bit of tool that was left to make a beading tool. I don't do enough of it to warrant spending a lot of money on a commercial tool, and I rather like that I can make my own. The wood local caragana, which is gorgeous. The little cup is less than gorgeous, but the experiment worked - sort of :).
|
|
|---|---|
 |
 |
 |
 |
|
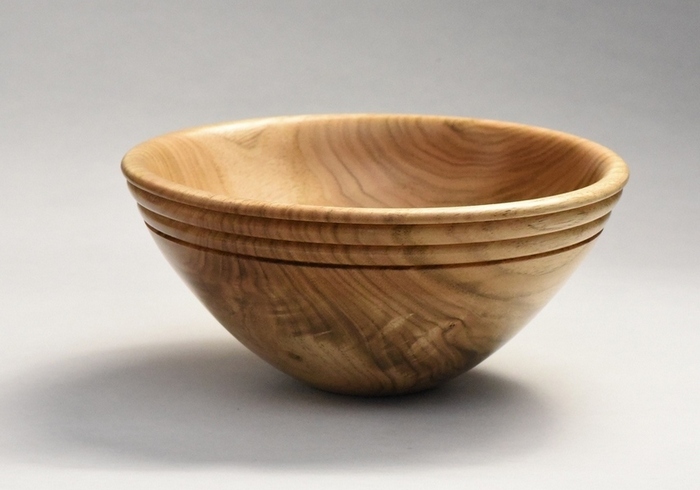
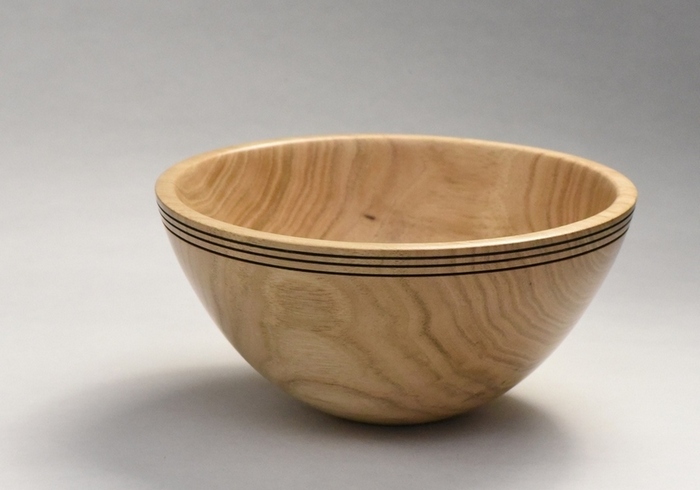
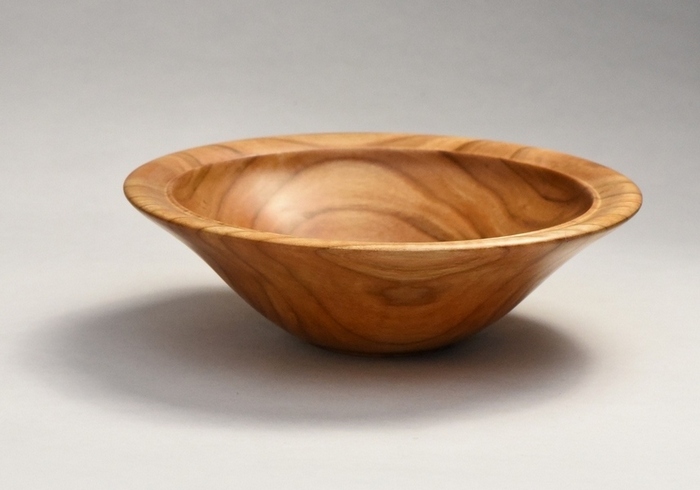
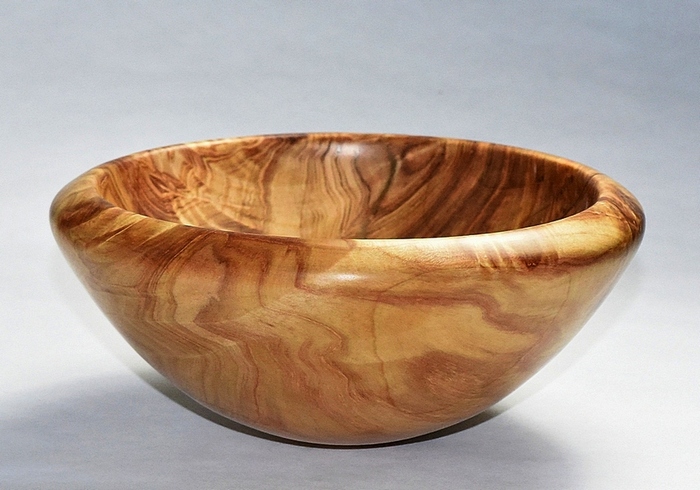
Just a series of four bowls - not neccessarily salad bowls, but could be. The two on top are both of ash and came from a tree the neighbor was taking down. My ear is very closely tuned to the sound of chainsaws in the distance, and I always follow the sound. This neighbor was probably a block or so away, and cheerfully gave me a few pieces of the tree. I turned a salad bowl for him and returned to his house a year later to give it to him. There I found out his baby girl was just born and few moments old. He was on his way back to the hospital. I used the beading tool, described just above, to create the rings at the top of the one on the left, and another home-made tool, the point tool, to cut tiny grooves in the bowl on the right, before burning the grooves with a wire. The first three bowls are all about 11" diameter. Bottom left and right are Schubert Chokecherry bowls. The one on the right is a round bottom and thick sided rocker bowl. It is about 7" diameter.
|
|
|---|---|
 |
 |
 |
 |
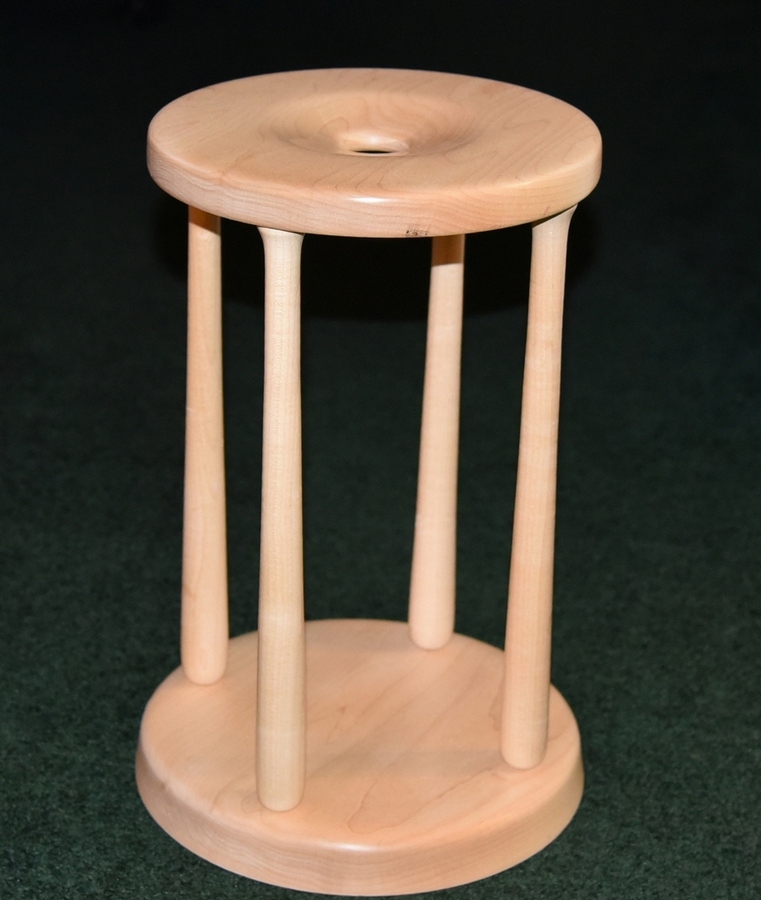 |
This last item was actually made in January as a commission piece for a lady that spins her own wool yarn and asked me to make this for her. I understand it is of Japanese origin and is called a "Kumihimo". Do not ask me how it is used. I worked from a drawing with measurements on it and a photo she had. | ||