2014 Turnings

It's December, 2015, and I just finished the 2013 page. With a little luck and some hard work I might even get 2014 and 2015 finished in a couple of weeks.

Seriously, it is a lot of work to keep up a web page, and I have now been at this for almost 20 years. There really is quite a history of my woodturning journey in all of these pages, even though only a fraction of what I actually turn makes it here.

But there is also the risk that what I continue to show the world is boring and jaded, and if that is what you feel - well, I'm sorry. But in reality, if that is the way you felt you probably would not be reading these words in the first place.

A couple of weeks ago, I met Mike Hosaluk at the airport in Winnipeg and took him to our house to stay with us for a couple of days while he did a day long demo for our local woodturning club. Although I knew Mike from before, it was good to get to know him in a different way, and I think we parted friends instead of just acquaintances.

At any rate, I confessed to Mike that my muse - my mojo - was beginning to wear out. I was looking at my stuff and thinking, "this looks just like what I did yesterday, or last month or last year. Isn't there something wrong when the tool in your hand hardly needs your guidance any more and just follows the same patterns and curves, again and again?" Mike was encouraging, saying that was the lament of the artist that has to produce work to put food on the table, which is not my case. I do this for fun. However, the compulsion to make stuff is what binds the woodturning community together, and every woodturner will probably understand what I am saying if they have turned long enough.

So maybe I am not a great artist or even a well-known one. But that is not what drives me. I drive myself, so perhaps I need to reach further, try harder and take more chances to become the artist I want to be - to be the best I can.

As usual, I love hearing from you, so feel free to let me know you were here.


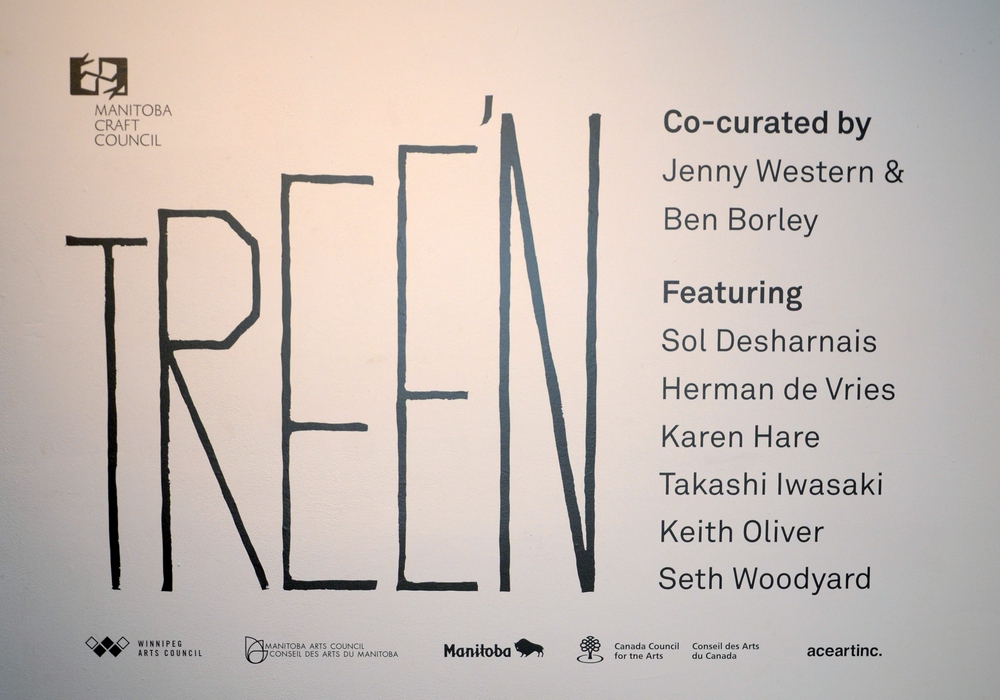
I got a call from Jenny Western and Ben Borely, a young couple that was putting together a show of wooden art, and along with several others I participated in the exhibition called "Treen". It was a lot of fun getting together with the other wood artists and talk about the types of wood art that fascinates us and turns us on. The show was put together under the auspices of the Manitoba Craft Council, and was well attended.

Here is the large poster that announced the exhibition with the names of the artists shown.

Treen Exhibition

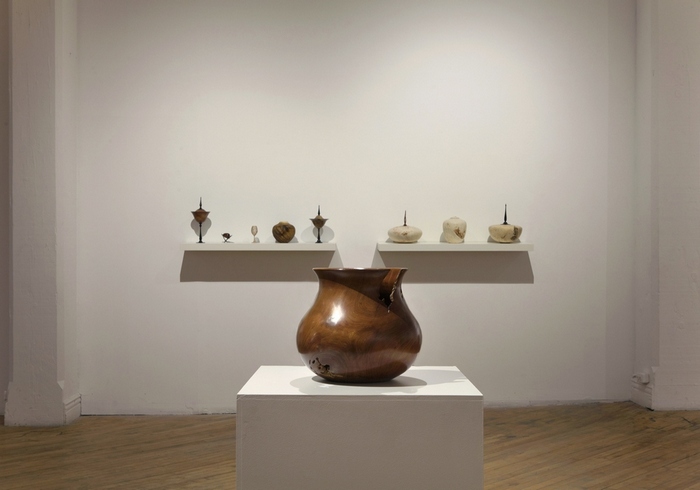
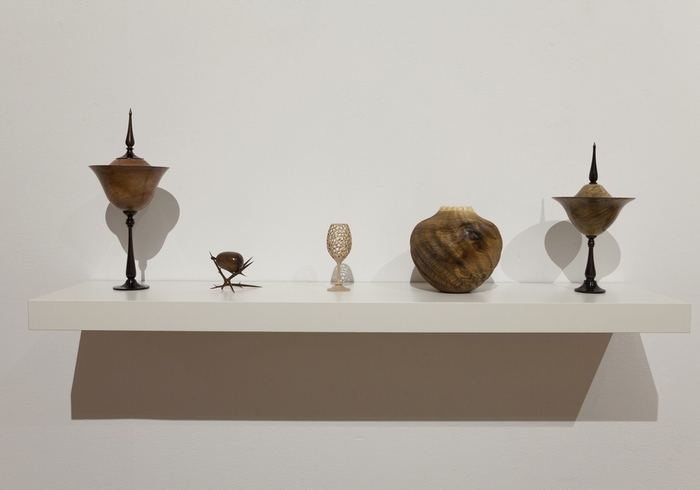
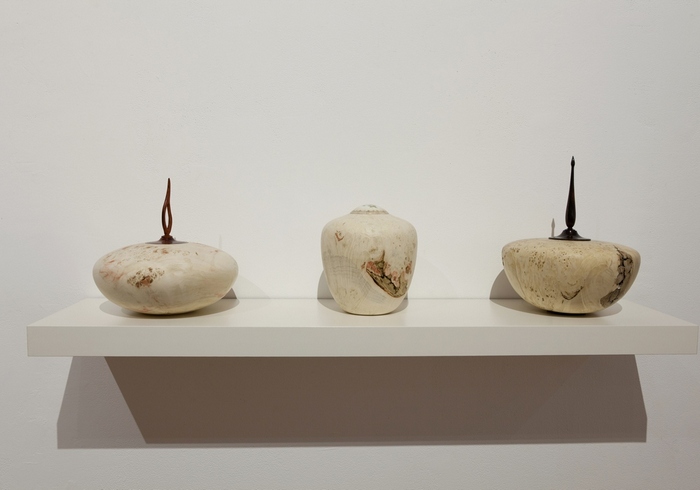
Here are some photographs taken by Treen of my work at the Exhibition. There is nothing quite like having some of your work recognized and put in a show like this, and I really appreciated the opportunity to participate in Treen.


Treen 1

Treen 2

Treen 3

Treen 4

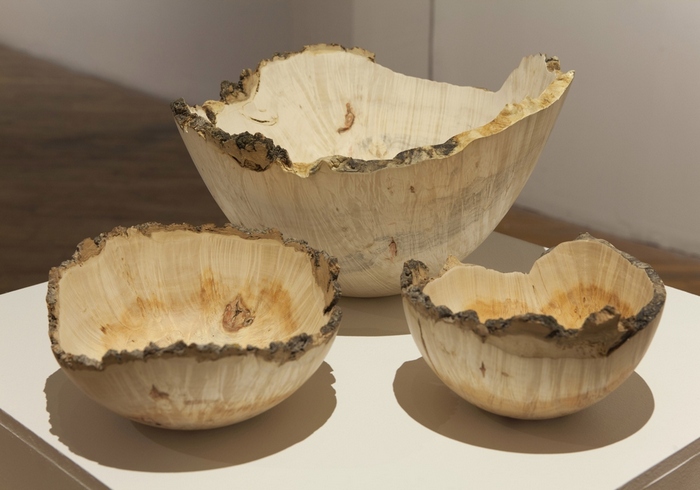
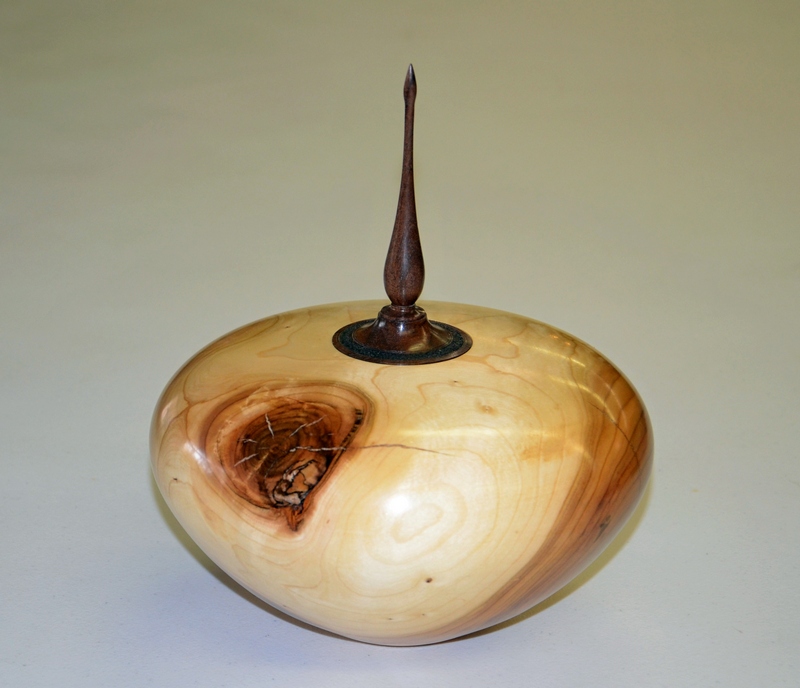
Box Elder Vase

This is another of the split form vases that I have begun to make. When Mike Hosaluk saw these, he said he thought they would sell well. I have given a number of these away and people seem to appreciate them.

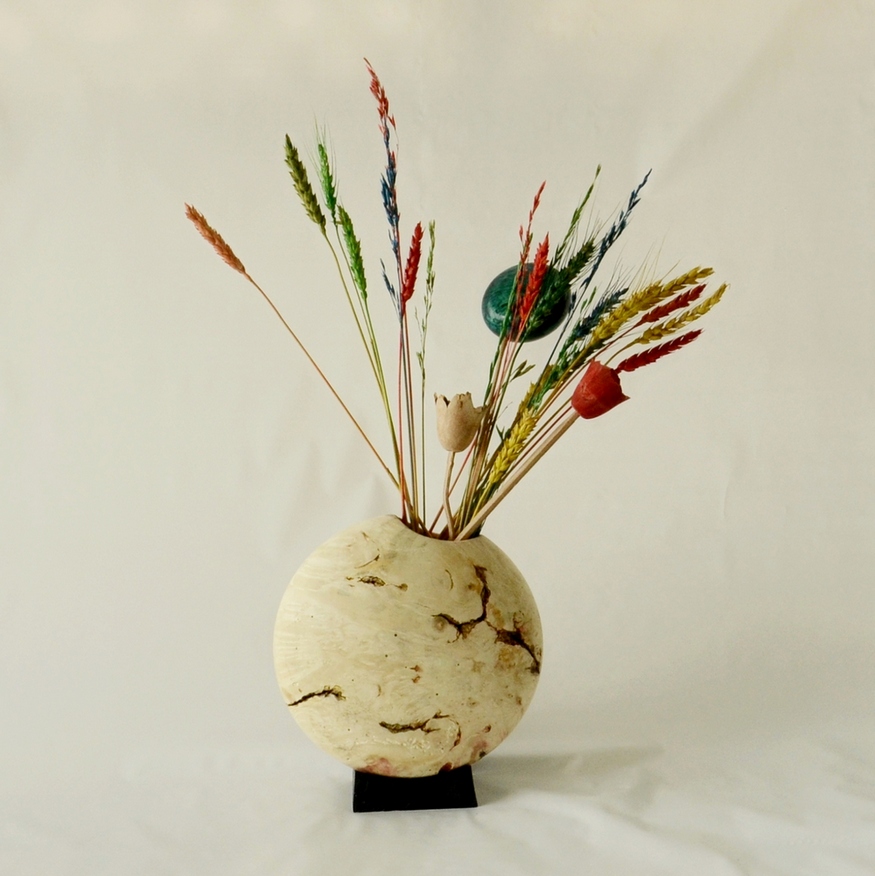
This one is a bit different. I turned it in the shop in Texas and there was a bit of interest while I was doing it. But then I began to make some of the colored hollow balls and natural edge big leaf maple as "flowers" and some guys thought I was going a bit daft, I think.

I don't care - I like the results of the contrast of the bleached Maple with a Krylon matte spray finish, and the airbrushed wheat and grain and the colored ball. The piece sits on a base on a peg, and the peg can be adjusted to different holes to change the angle.

The vase is about 10" in diameter, not very big.

Karen's Mini Pot's

We were in a restaurant having dinner and Karen spotted a display consisting of some weird little ceramic vases with slanted openings and connected together. She pointed them out and asked if I could make something like that in wood.

I was intrigued, and immediately thought of weed pots of varying wood and the opportunity to join them as one unit.

So, I made the weed pots and got her to come down and tell me how she wanted them arranged. She immediately said, "where are the wonky tops?"

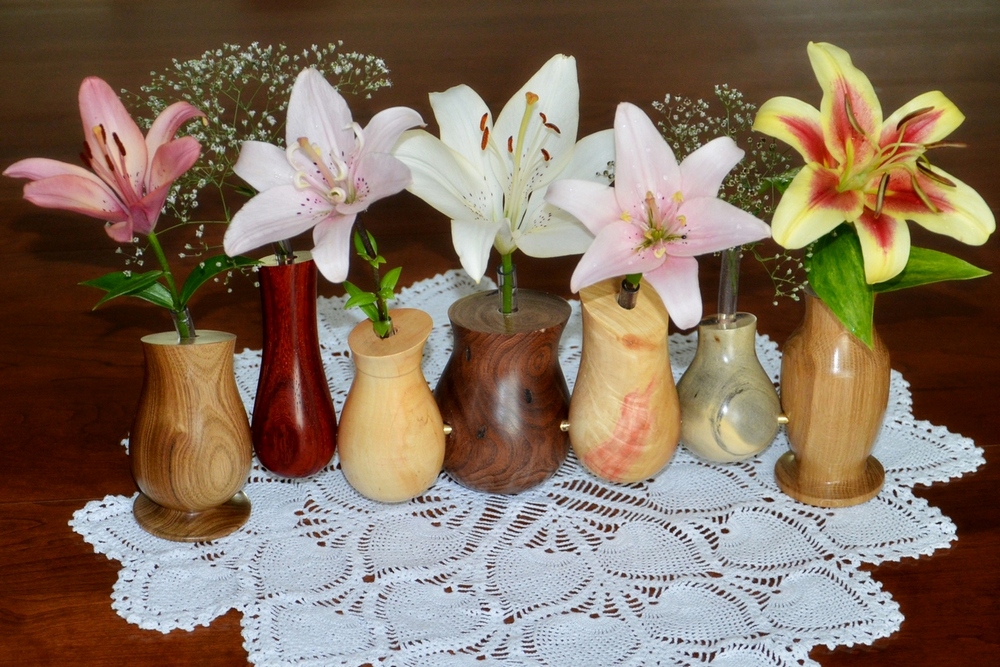
So, to the disk sander they went and the tops got sanded at a slant. Then I joined them together on one long brass rod, but only the middle one and the two end ones touch the table (which Karen ended up liking). She thought she was going to put dried flowers and sprigs in there, but I also made little waterproof tubes so she could use real flowers in them for a centerpiece.

Here it is shown with some of her lilies in the tubes. From left to right they are butternut, redheart, box elder, mesquite, box elder again, buckeye and chokecherry.

Collaboration

I have often mentioned that the fellows in the park shop here in Texas are continually ragging on me for liking to turn solid wood instead of segmented bowls. They do not understand why I am not intrigued with gluing up little pieces of wood, instead of big noisy pieces of tree trunk. They have actually been critical of using "real" wood because it is "hard on the lathe".

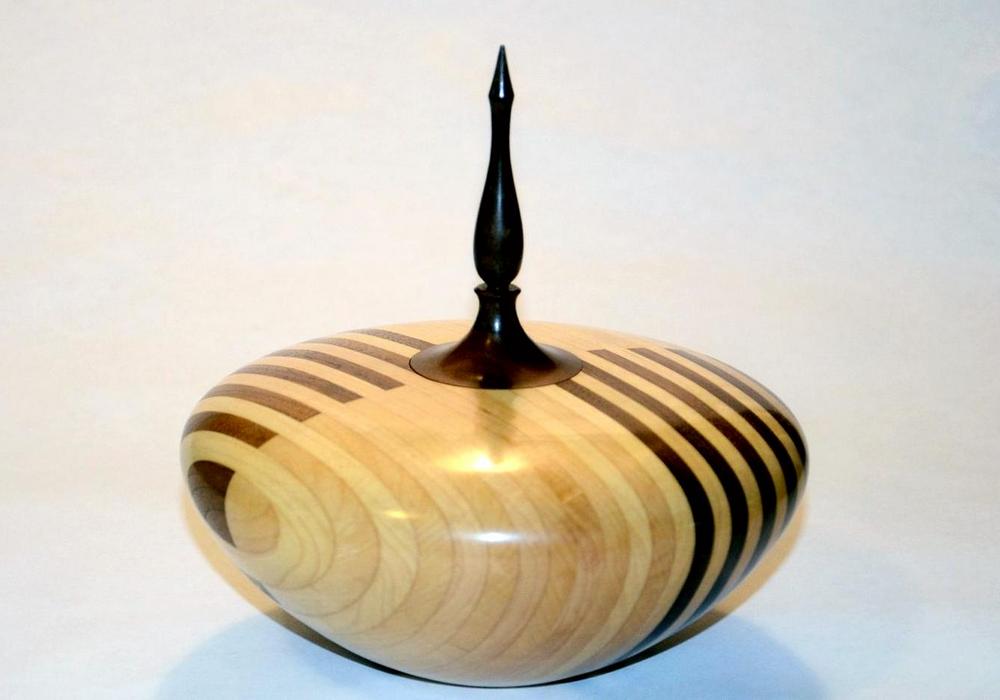
I happen to think there is a basic misunderstanding of what the lathe was created for, and how many hundreds of years it has been turning solid wood instead of glue. For the most part, the ribbing is in fun. One day Joe, who was the head honcho for the shop, came to me with a 10" square blank glued up of maple and walnut, and asked me to turn something out of it. He was curious to see what kind of "bowl" I would make.

So, I turned this urn instead of a bowl like he was expecting, and we auctioned this one off at the annual "Dog & Suds" show at the park to raise money for the shop. I think Joe was happy.

Purpleheart Keepsake Box

I have often explained the purpose of these keepsake boxes as being a place to keep something precious. My granddaughter kept her colorful stone stash in one, my ex-mother-in-law her jewelry, and one at home has the ashes of our precious little Pomeranian, Jazzy, in it.

This one is of purpleheart. I spotted a 2x4 of purpleheart a number of years ago with some nice sapwood on it, and I bought it just to make these little boxes. This one is about 3½" in diameter, and it is being saved for the ashes of another Pomeranian, our little Kira, when she goes.

Mahogany Pedestal Platter

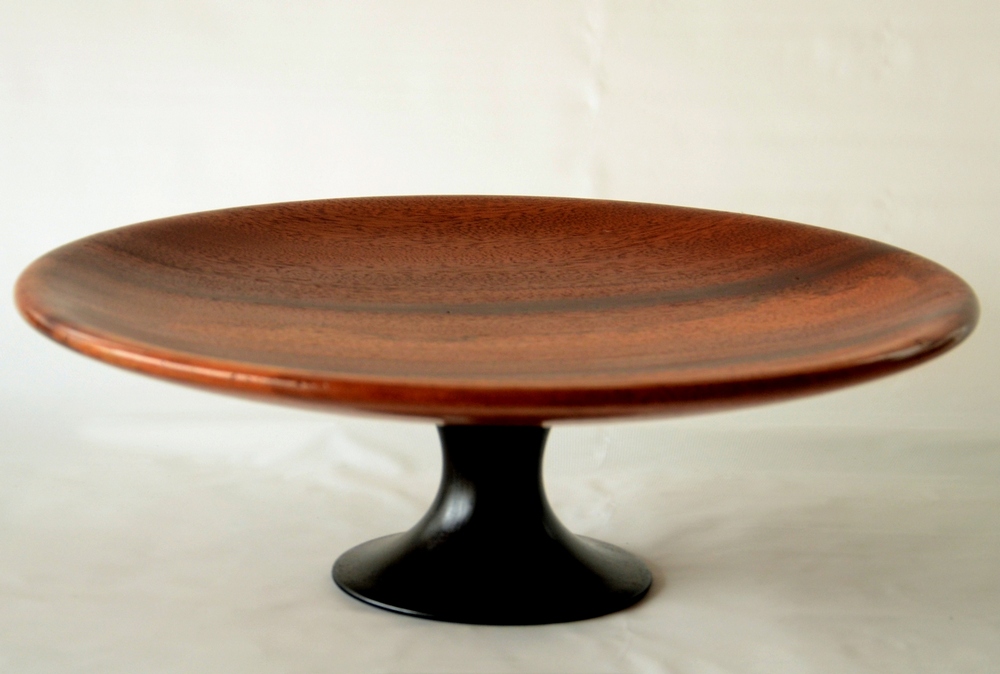
Here are two pieces turned in the shop in Texas in late 2014. The top one is a 13" platter turned from a hunk of mahogany that my friend, Roger, gave to me. I had been helping him with some turning lessons, even though he is an accomplished carpenter and incredible furniture builder. He had several pieces that he had put together for a project, and it was just platter size. I decided to put this one on a black walnut pedestal.

This is finished with wipe on poly and buffed.

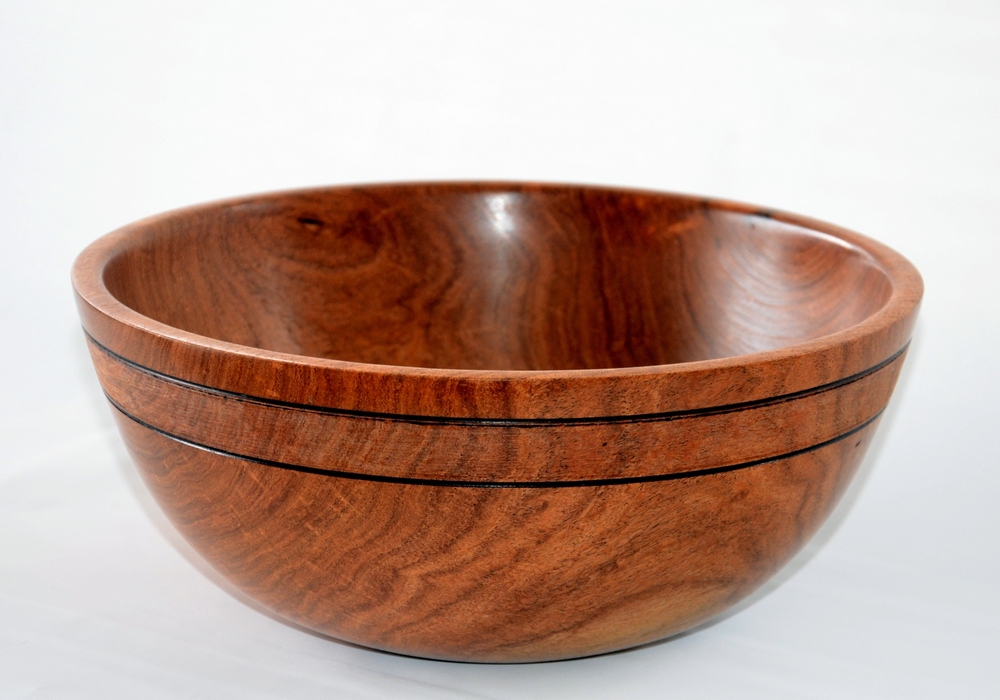
The lower bowl is mesquite. On the way to Texas we were invited by Johnny and Marcia Tolly to stay with them. We did and, although we did not have time to play in the shop, Johnny and I spent a little time out there talking and looking at wood. He gave me this roughed out mesquite bowl, pristine, and this is what I did with it..

The shape was largely defined by the rough turning, but I could still form it a bit to my own form, and I added the textured ring to give it a bit more interest. The bowl is 12" in diameter and is finished with Danish oil.

Tolly Mesquite Bowl

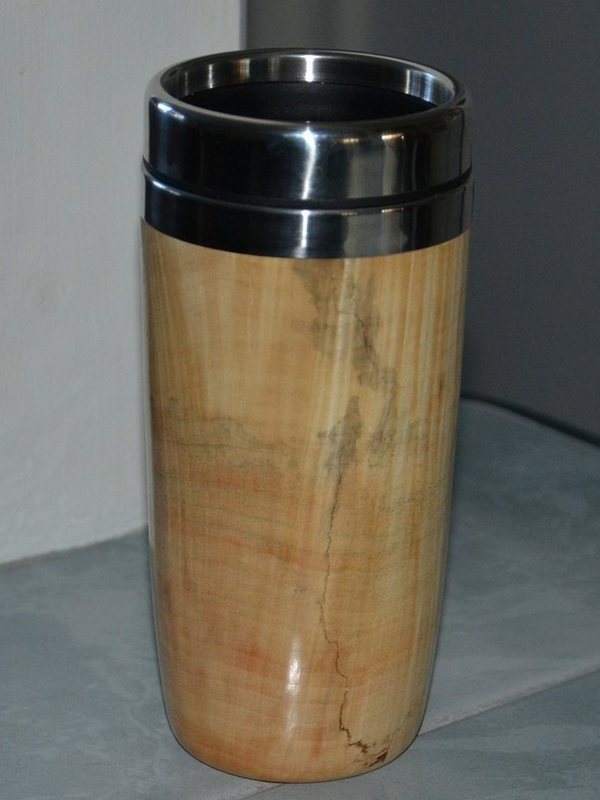
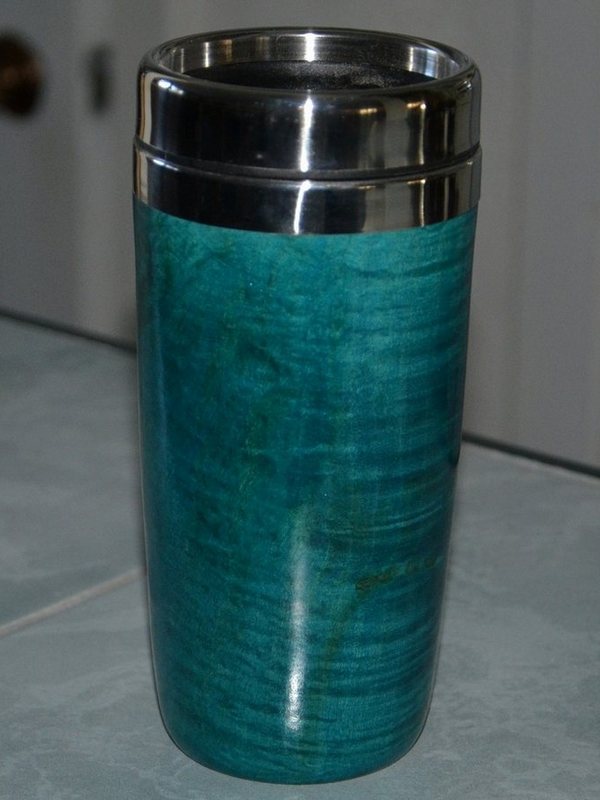
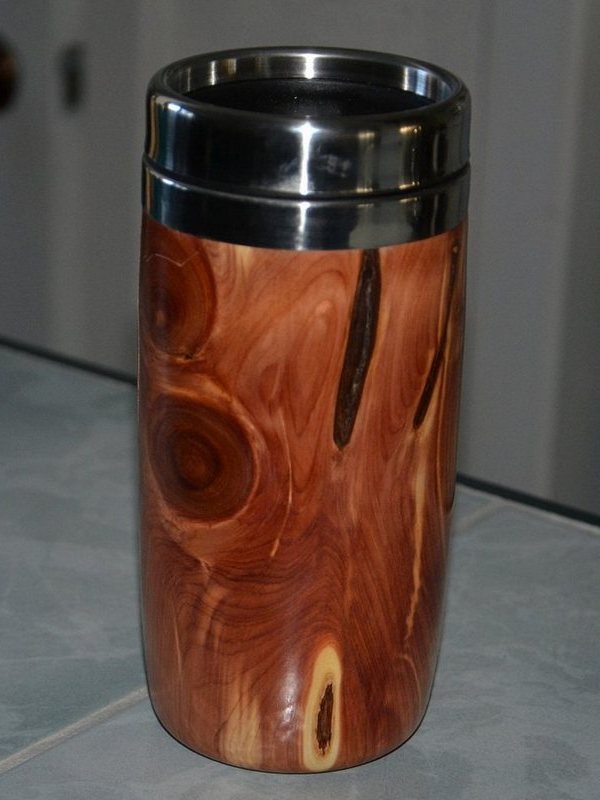
I also made a few coffee mugs this year, and here are three of them. People like these and they are handly to give to a coffee lover as a small gift.

The first one is maple, the second one is big leaf maple dyed blue and the third one is of juniper.

I always finish these with polyurethane as it is a tough finish that will withstand handling.


Maple Coffee Mug


Turquoise Maple Mug


Juniper Mug

Ron's Driftwood

One of the people I met in Texas is Ron Clayton, a farmer from Iowa, and he likes to spend time making segmented turnings in the shop.

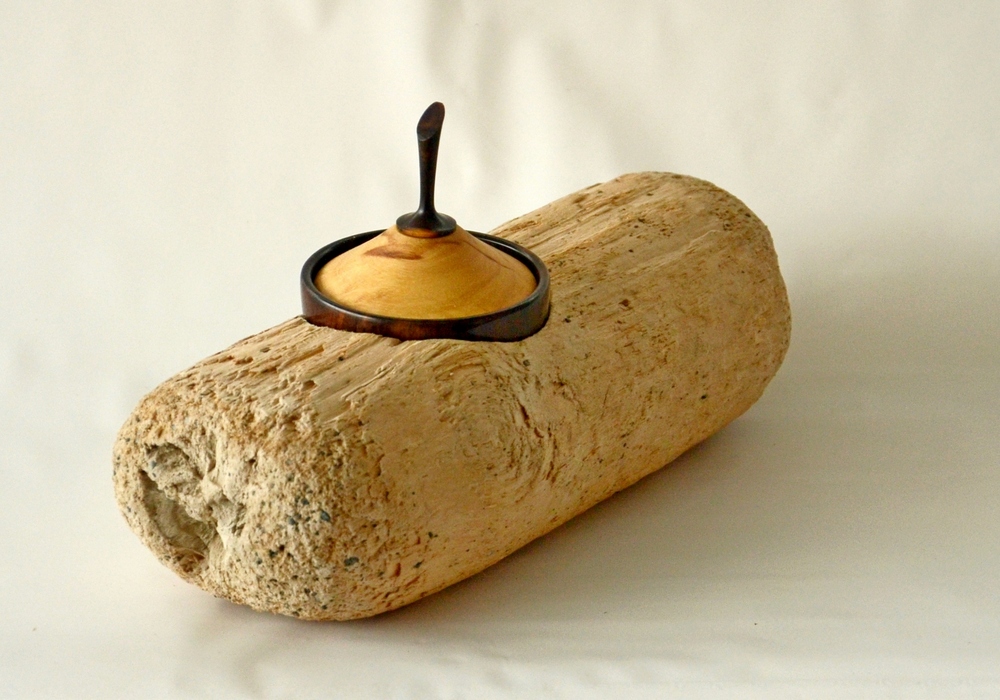
One day he stopped by with a couple of pieces of driftwood he and Judy had picked up on the coast. He wondered if I could do something with them, and I immediately thought how they would look as support for other woodturned articles. They were far too soft and punky to turn on their own.

In this case, I turned a void in the piece after mounting it on a piece of plywood with strapping and hot melt glue. To get through the first ½" or so I had to sharpen my tool a half dozen times due to all the embedded sand.

Then I made a small box of Texas ebony that snugly fit the void, and used the sapwood from the ebony to make the lid. Then I gave it back to Ron and Judy. I hope they liked what I did with it. The other piece of driftwood is still in my shop in Canada.

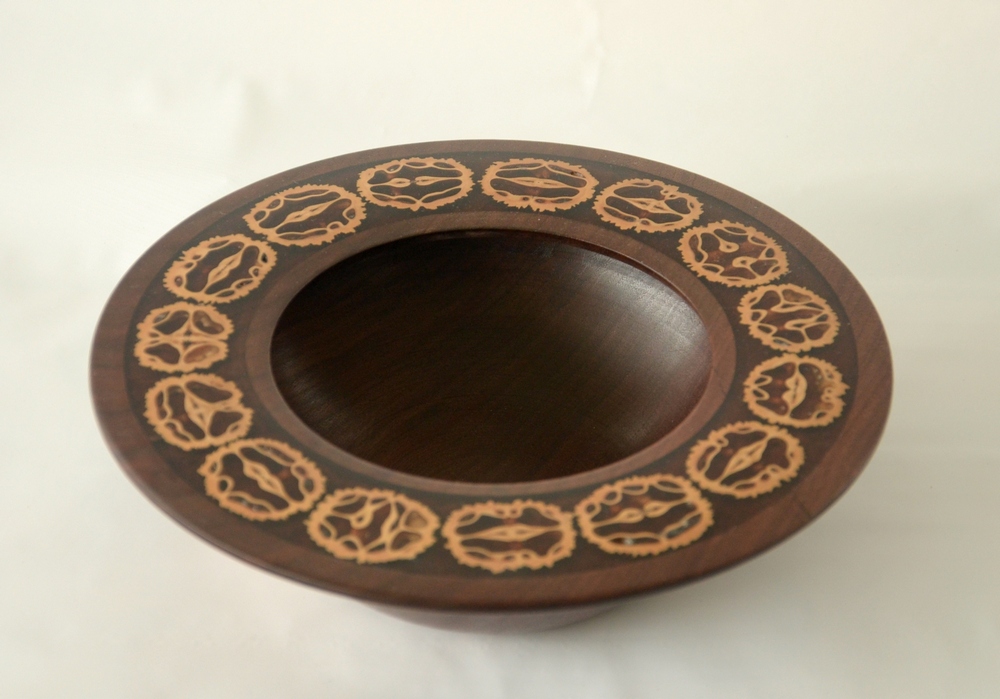
The lower piece was turned from walnut brought down from Iowa by Loren Cory. He also brought me the black walnuts that I sliced on the bandsaw before embedding them into some casting resin in a groove cut into the rim of the piece.

Black walnut shells do not cut with a gouge. The only thing I could effectively use to level the shells and the resin with the surface of the rim was a well, and often, sharpened scraper in a shear scrape. That is - holding the scraper at about a 45 degree angle so the burr would shear off clean shavings.

I had some trouble with bubbles in the resin but a blow dryer and patience helped get rid of those.

The bowl is 10" in diameter and is finished with danish oil and buffed.

Walnut Shell Bowl

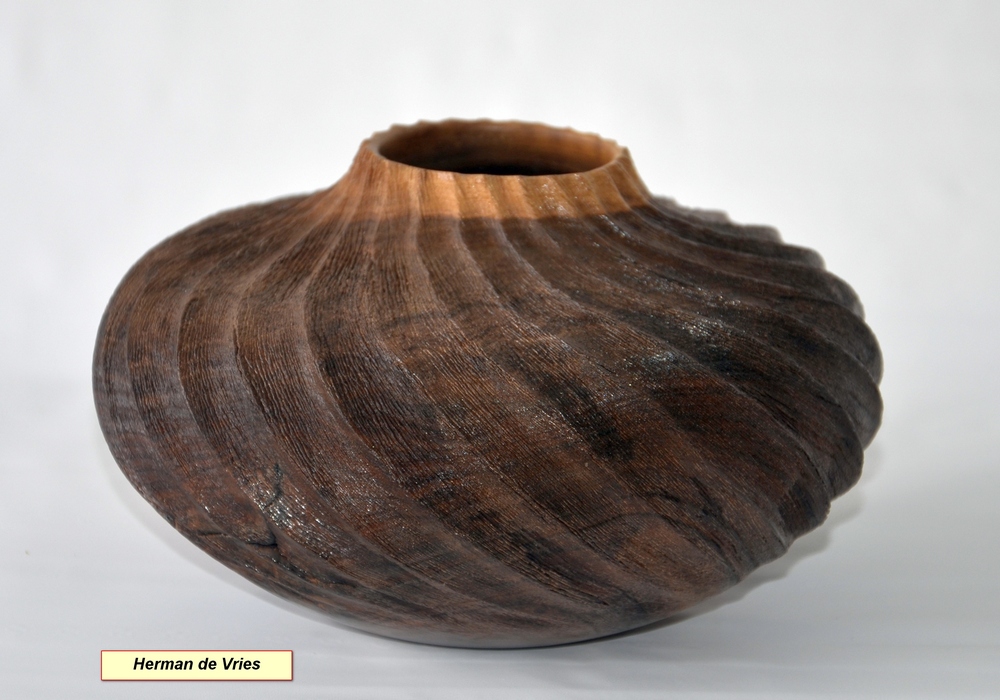
Walnut Carved Spiral form

Another one ispired by the work of John Jordan, especially the part where the sapwood forms the rim of the form.

I had this 9" diamter walnut form all done, spirals carved and sanded and I did not like it much. It looked "blah", so I took the wire brush to it and ruined my hours of sanding. I liked it better that way.

This is finished with Danish oil.

This photo has my name on it as it was part of an exhibition I set up for our Dog & Suds day, where I got a bunch of the turners who make work but do not put it in the sale. I thought a little instant gallery would be a good idea so people could see the other work that people do.

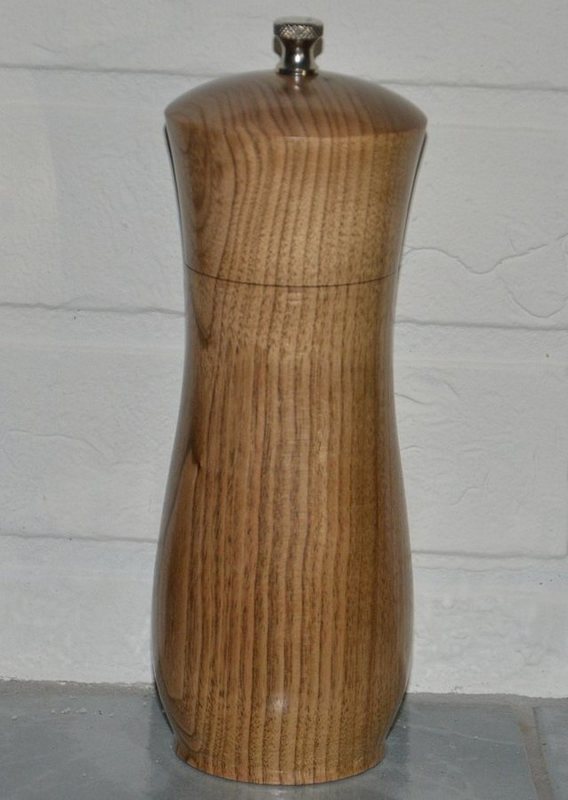
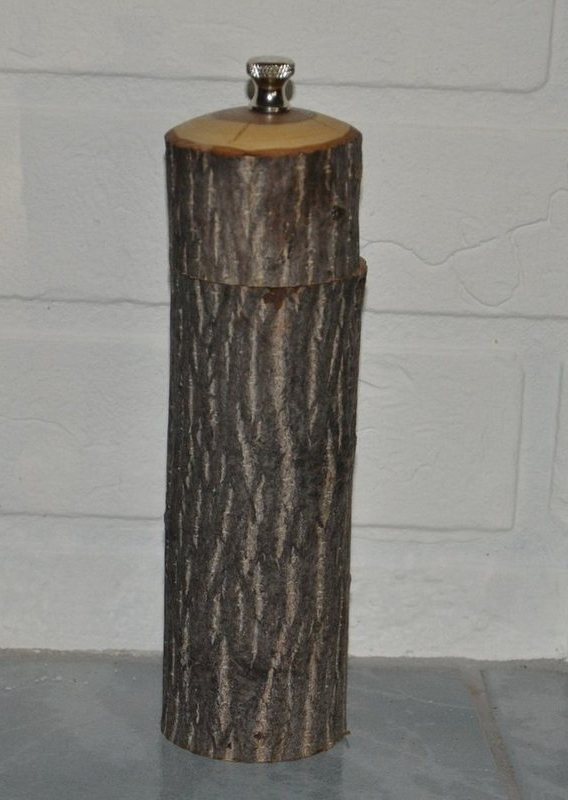
Peppermills are always a good thing to have on hand. They are fun to make, since the options for shape and size are limitless, and they are always a good gift.

Like most of my work, my peppermills seem to look very much alike, but the wood is what I am trying to show in most of them. And I like a flowing form, even on a peppermill, so I don't much care for many of the mills that have abrupt changes in shape, like a billiard ball sitting on a post - something I often see.

And I like my peppermills to hold a lot of peppercorns. We use a lot of pepper in our house and it used to drive me crazy that the mill always seemed to be out of pepper. That is why the inside is turned with a turning tool, and not just drilled with a Forstner bit. The inside shape follows the outside on my mills.

The one on the left is butternut. The one on the right is a simple chokecherry branch with only the center turned out. A gallery in a tourist region in the mountains carries some of my work, and these branch peppermills are very popular out there. Summer cottage dwellers love to have these at their outdoor barbeques. Both of these have the more traditional Peugot steel mechanisms.


Butternut Pepper Mill

Branch wood pepper mill

Chokecherry Urn

Another urn of Schubert chokecherry. This one is about 9" in diameter and was donated to the park shop to sell at the annual Dog & Suds day.

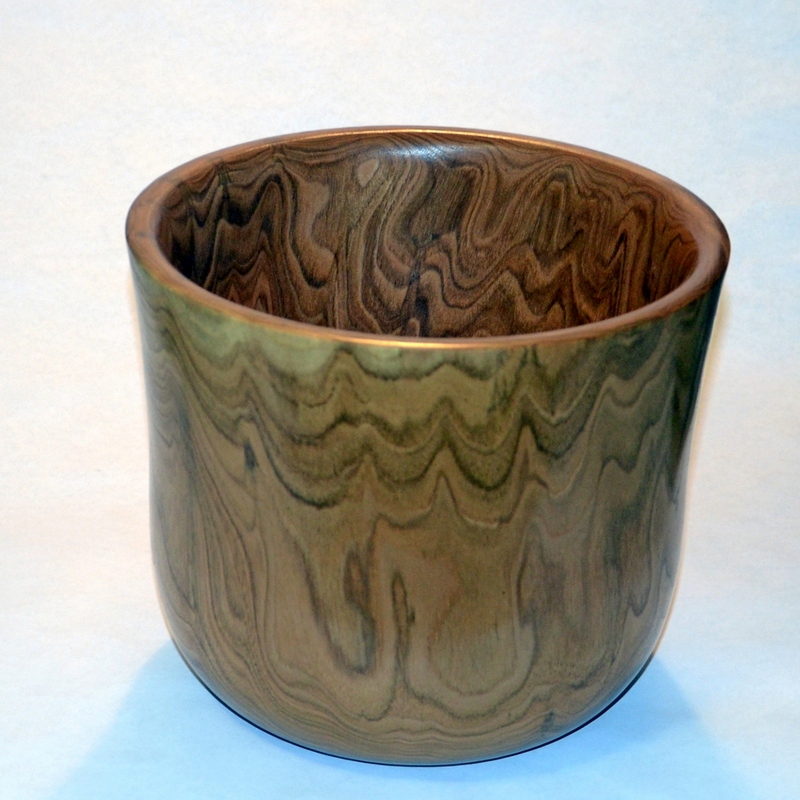
Large Butternut Vase

Now, this is a large piece. I have only ever found one source for butternut in Winnipeg, and I am afraid this is probably one of the last pieces I have left of this gorgeous wood.

This piece is unique, because it is turned straight into the end grain of the trunk, and the center, or pith, of the trunk is dead in the center of the base of the vase. This can often cause problems, but it did not in this case because the piece was turned out of wet wood right to the finished thickness and did not crack.

I chose this orientation for the piece to obtain the look of the grain resembling melting wax. The reason for that appearance is due to cutting through one annual ring after another as the diameter reduces just slightly. The entire piece was hollowed using my Termite tool.

This butternut vase is 12" in diameter and about 15" tall. Not a great deal of style in the form, but the grain pattern makes up for it. Finished with Danish oil.

Hollow Form in a Bowl

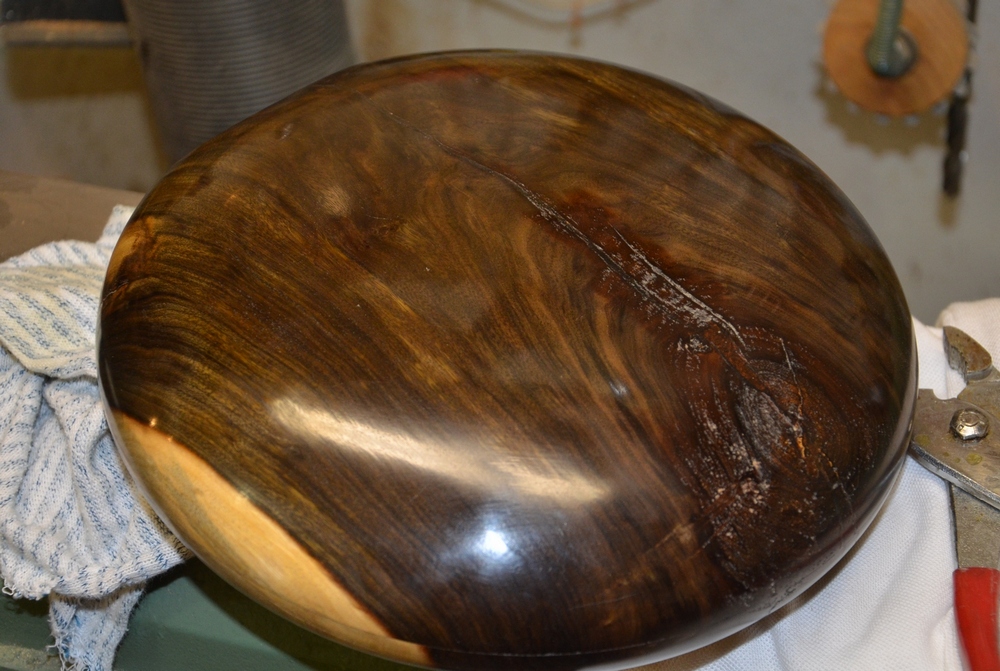
Here are two pieces I made while in Texas over the winter from walnut brought to me by Loren Cory, of Iowa.

The top piece is similar to one I saw somewhere, a long time ago. I wish I could remember where, since I like to give credit for my ideas, but I do not remember. Somewhere it caught my eye and got stored in my subconscious. It is basically designed to look like a hollow form within a bowl. The inner form is textured to give it the appearance of being separate from the more polished outer bowl. I did not try to do anything with the crack in the wood as it gave the piece more character and more believability that there are two pieces of wood there. This piece is about 9" in diameter.

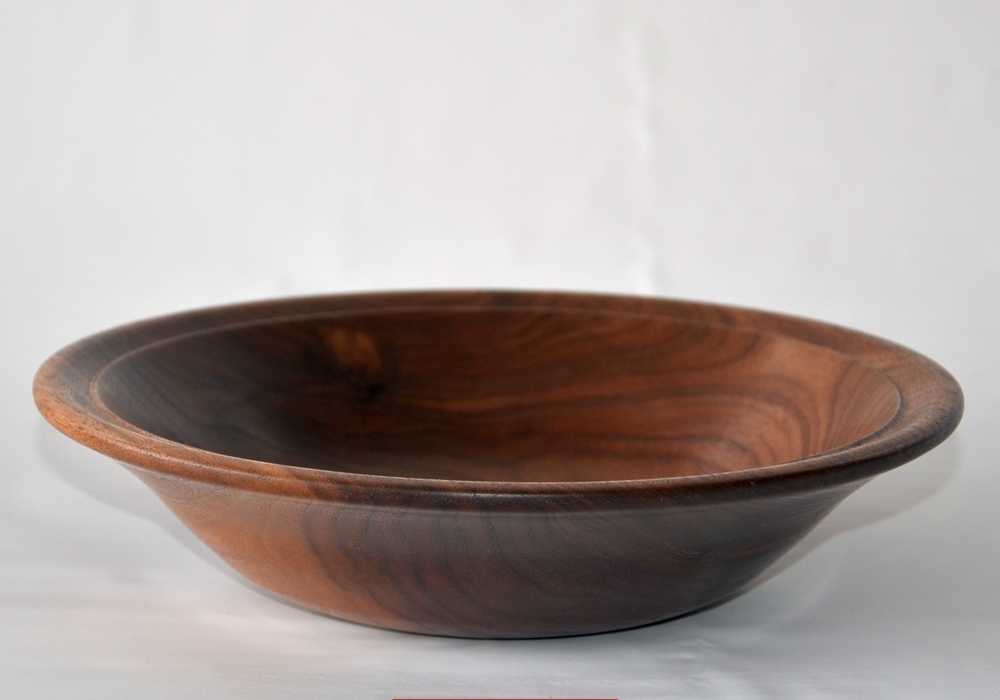
The bottom one is also walnut, and turned to look like one bowl nestled inside another one, although it is only one piece. It is about 10" in diameter.

Walnut Bowl in a Bowl

Shop Accident

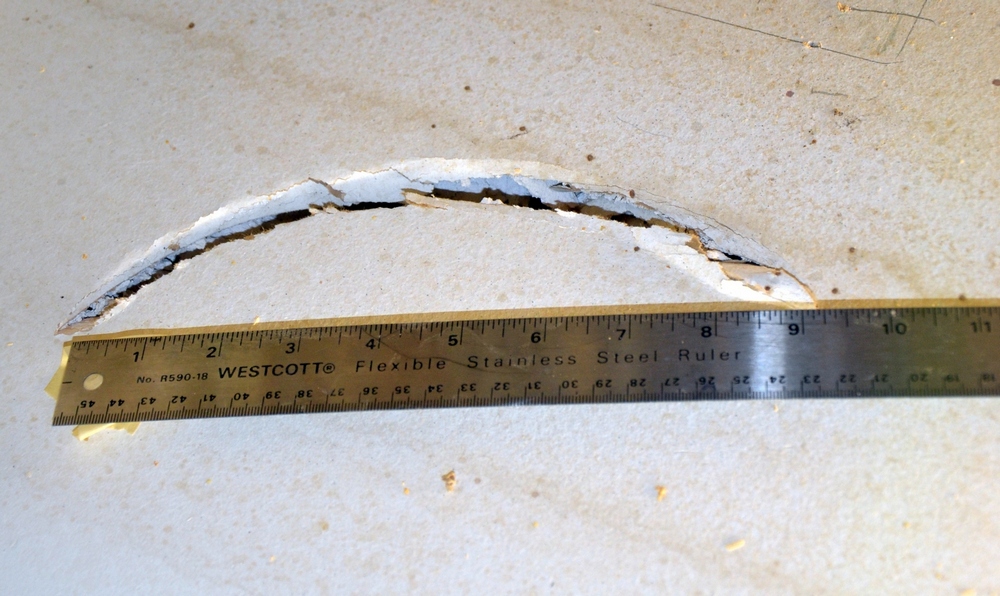
I have had many close calls in the shop, but this one scared me more than almost any other, even when I was knocked to the ground by a flying piece of wood once. This is shown only as a reminder to others that woodturning can be dangerous if the proper care is not taken. This one, in the right circumstances, could have killed me.

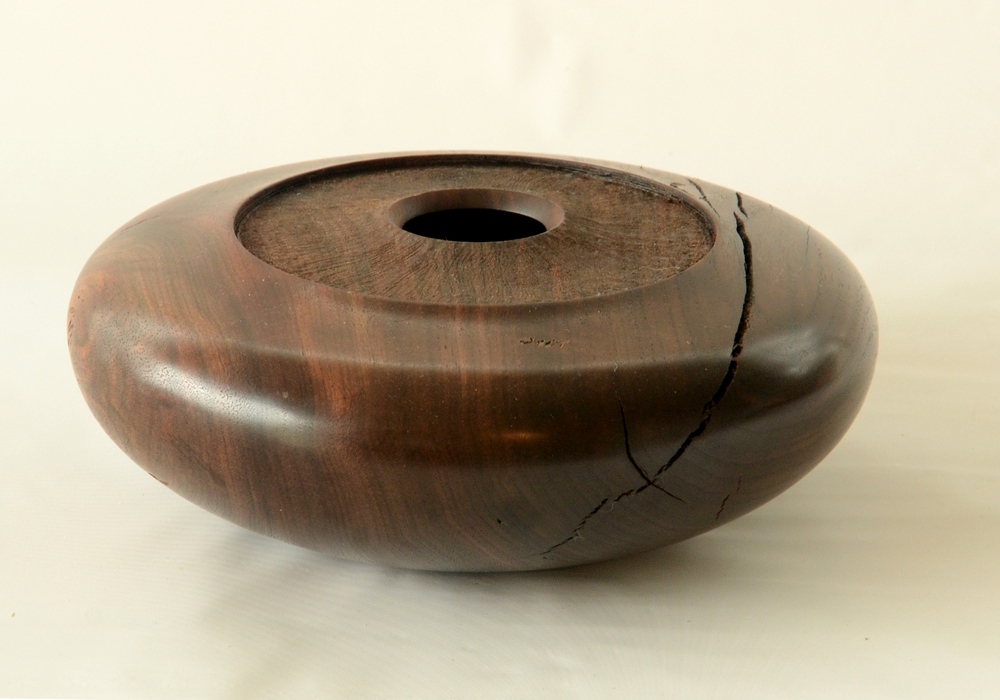
The top photo is of a Texas ebony split vase I was making. You will note that there is a section of scruffy looking wood and a visible crack running across this piece. This is very, very heavy and hard wood.

Now, the way this is made is to make a large disk with a tenon on both sides. This piece is divided into two with a thin blade and then each half is hollowed out using the tenons to hold the piece. After that, the halves are glued back together giving a hollow disk. The tenons are turned away and the outside shaped to match the inside - which is the tricky part.

When I glued the pieces back together with epoxy, I did not wait long enough for the glue to set, and began spinning the hollow piece to turn one of the tenons off. As the wood spun the walls got thinner and the tenon disappeared as it was turned away

Suddenly - WHAM - and the lathe began to shake and wobble. When I turned it off, I saw that one quarter of my piece was missing. The glue had let go, and the tenon had been holding the wood together. Centrifugal force had taken over. I was shaken. It was a very, very loud noise.

I could not find the missing piece, and I looked all over the shop. It could have ricoched anywhere. So I left the shop and returned the next day. I happened to glance up at the ceiling, and there I saw a crescent shaped hole in the ceiling. I knew that was where the chunk had disappeared, and with a needlenose pliers I was able to grab a corner of the chuck and retrieve it. The piece weighed more than a pound.

The photo on the bottom shows the hole in the ceiling where the piece went through the ceiling and ended up between the joists of the floor above.

My fault entirely. Too much speed, too much in a hurry, not stopping the lathe to check, inattention to detail.

It could have been very bad.

Shop Accident 4

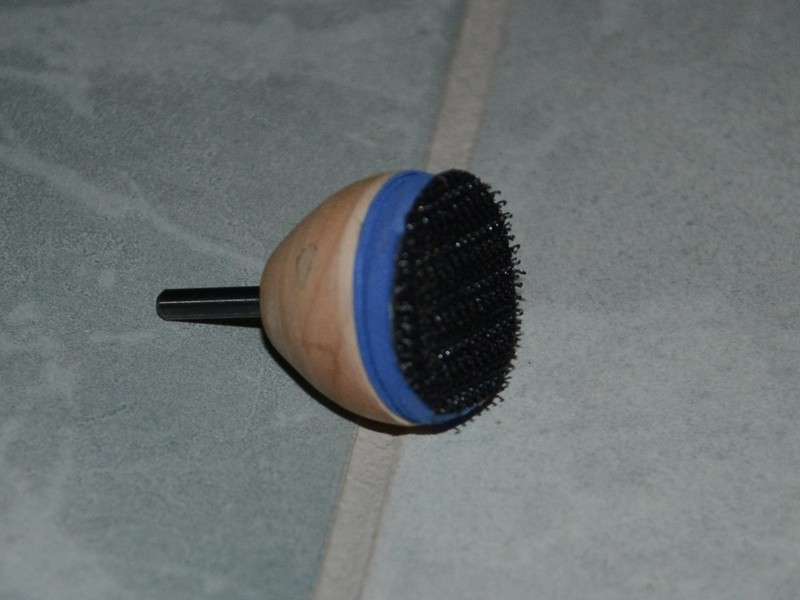
Dremel Sanding Pad

Just a little add-on at the end of this page.

I use a lot of sanding aids for various things I need to do, and these little pads for the Dremel or Foredom or other rotary tools come in very handy. So I thought I would show you how they are made, and some other types of sanding gear I used. I make the sanding pads for power sanding the same way. Much cheaper, and much more durable than the ones you buy.

Click here to see the process.