2012 Turnings

It's now March, 2012 as I begin to chronicle this new year. I hope you will come back and visit as I add stuff that develops during the year, including some of the other pages, like the dog's page.

I'd like to start out with a bit of a story and a separate page which includes a bit of family history. The page chronicles the history and the harvesting of Lenas tree.

Throughout this page you will see pieces that came from "Lena's tree", and I hope you will like what I was able to produce from some of this spectacular wood. When people get one of my pieces they always like to know the story of where the wood came from and anything interesting about it, and it is especially nice that I have such a personal connection to this tree and its story.

It is almost Christmas time as I am finally adding the majority of the photos to these pages. I've been busier than I thought, more involved in producing work and playing golf than updating the website, and - face it Herm - you've been a bit lazy. The TV and the couch have also been beckoning and, about mid-year after my doctor gave me a little talking to, I decided to get back into shape. Going to the Reh-Fit Center and walking, running, rowing, treadmilling and ellipticall-ing myself has really helped. My doctor now tells me for an old fart I'm in top shape.

Now, if I can only keep it up.

As usual, I love hearing from you, so feel free to let me know you were here.


Let's start with some pieces from Lena's tree

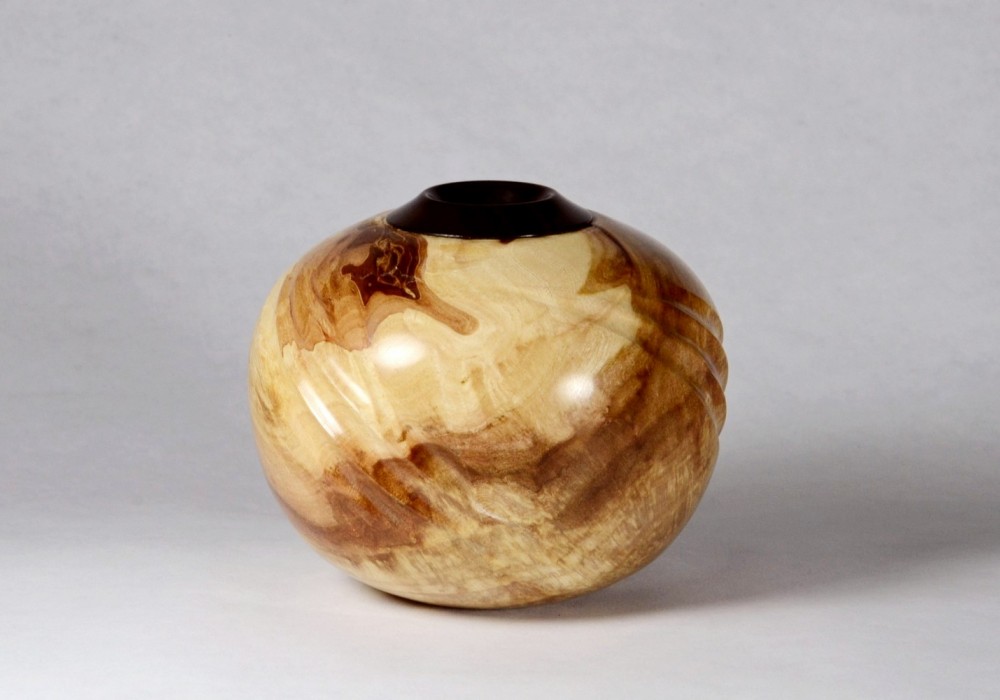
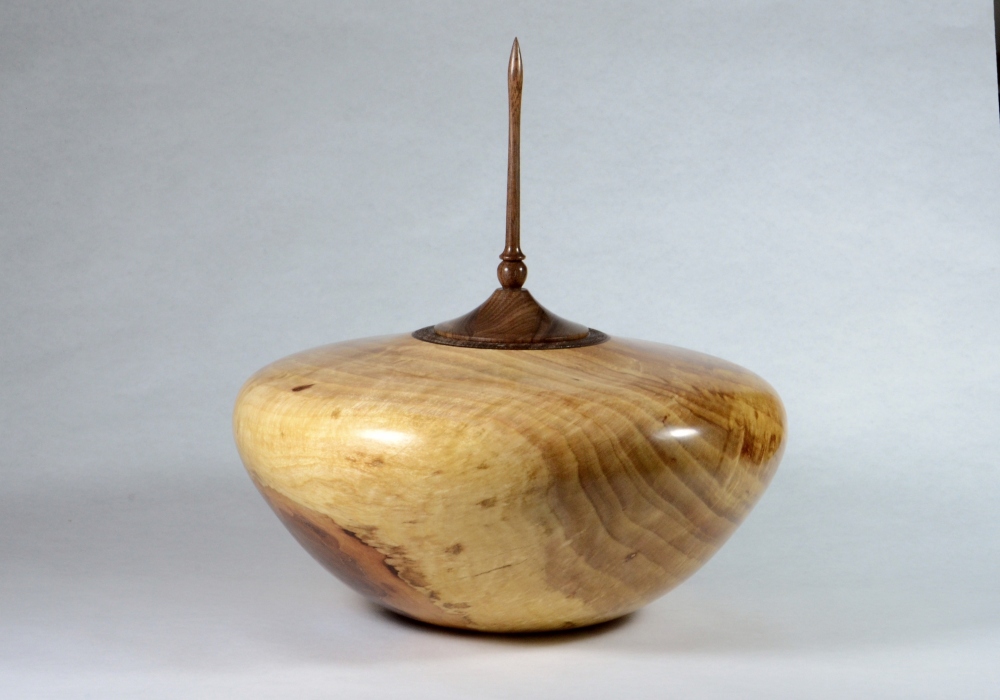
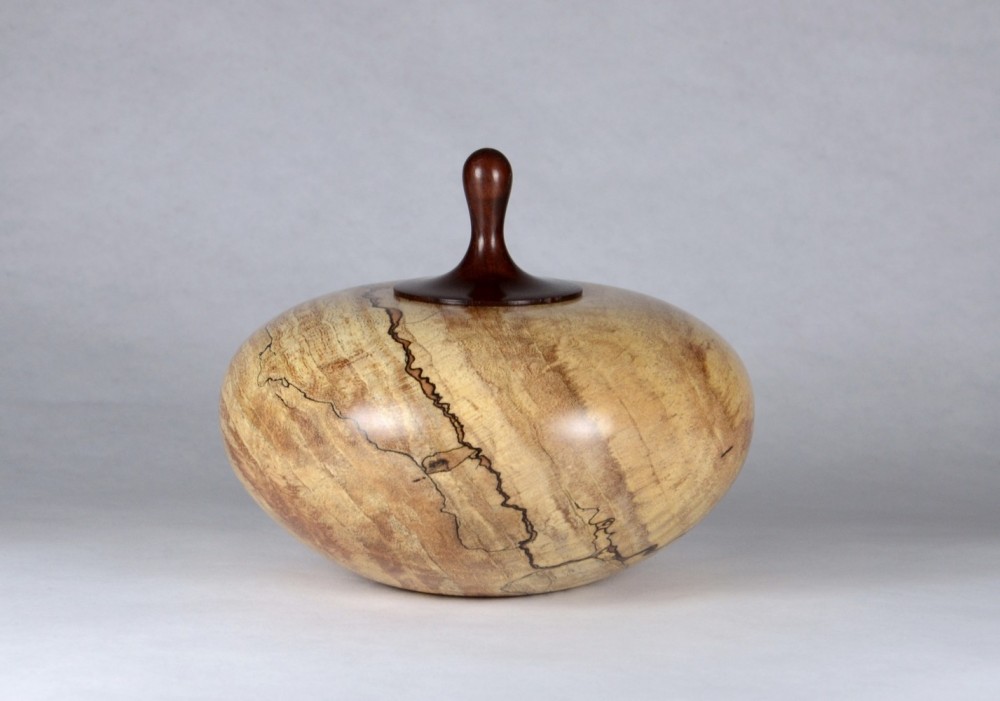
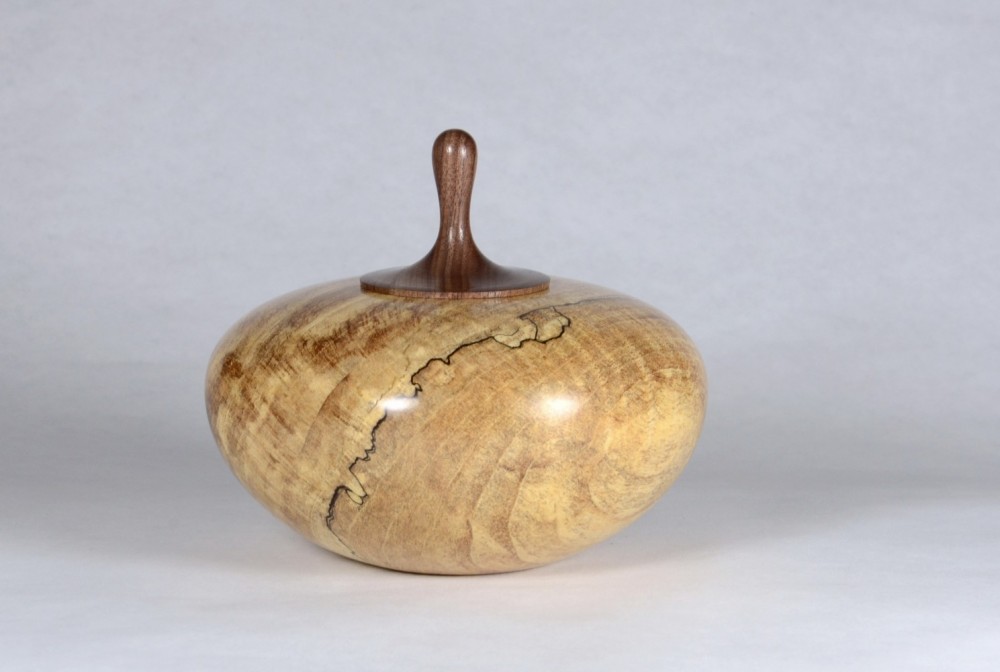
This vase is a continuation of a series I started last year of disk shaped vases that are made in two parts and joined together. They are all made in the same fashion, and the challenge is in finding creative and interesting ways to present them.

This vase also represents something else I have been working with - the bleaching of wood. I love the white color of Manitoba Maple, and I thought, "why not make it whiter with bleaching". That is what you see here, and the challenge is to find a finish that does not darken or discolor the wood after it has been bleached. That rules out all of the finishes that have any oil or pigment in them. I decided to use Krylon matte finish, the kind that is used on paintings to "fix" the charcoal sketch or base colors so they do not bleed into new colors being added. Thus, this piece looks like it has no finish on it at all, but it does - several coats, in fact.

The vase is 15" in diameter, and is affixed to a cocobolo base with a dyed and textured maple accent piece. This is one of my favorite pieces, and it now lives in North Dakota.

Manitoba Maple Vase

Manitoba Maple Tall Vase

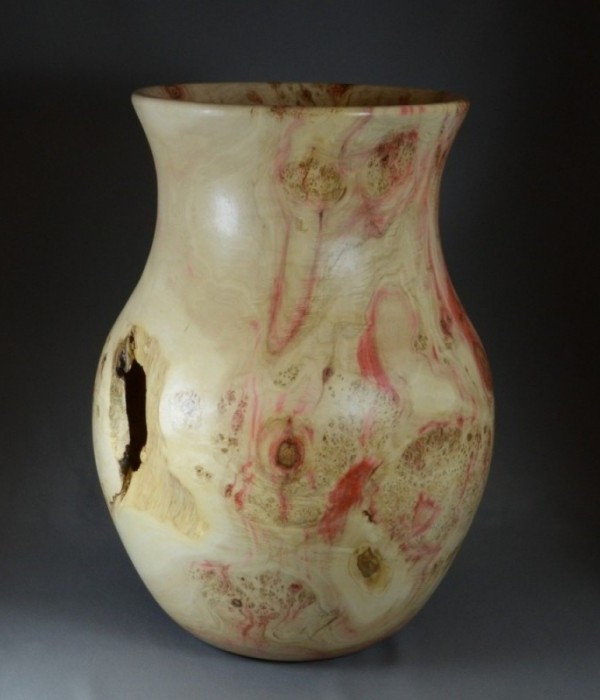
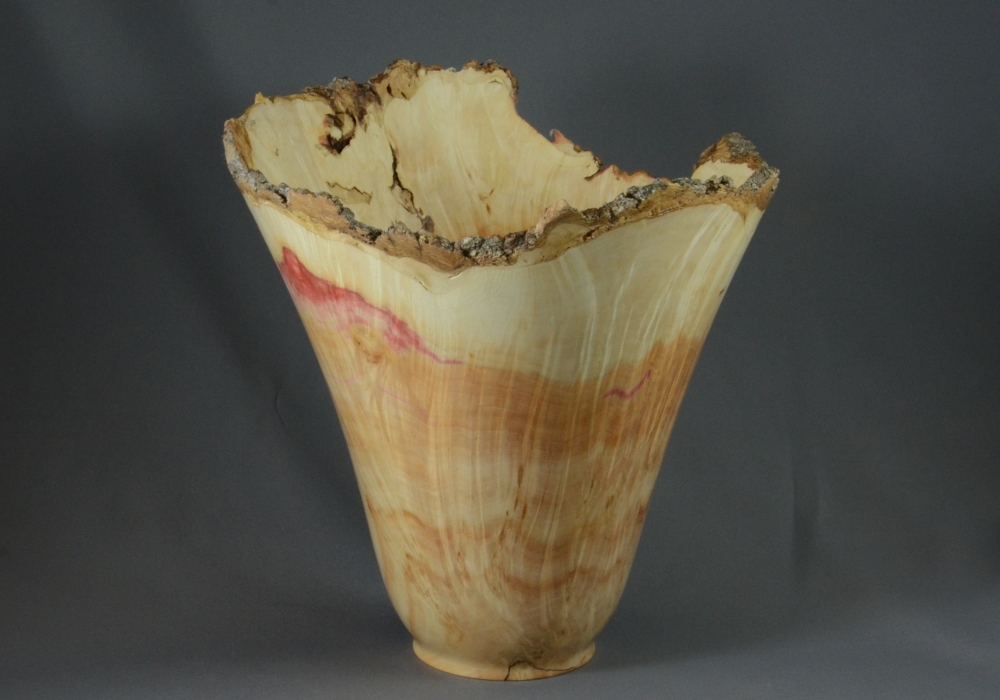
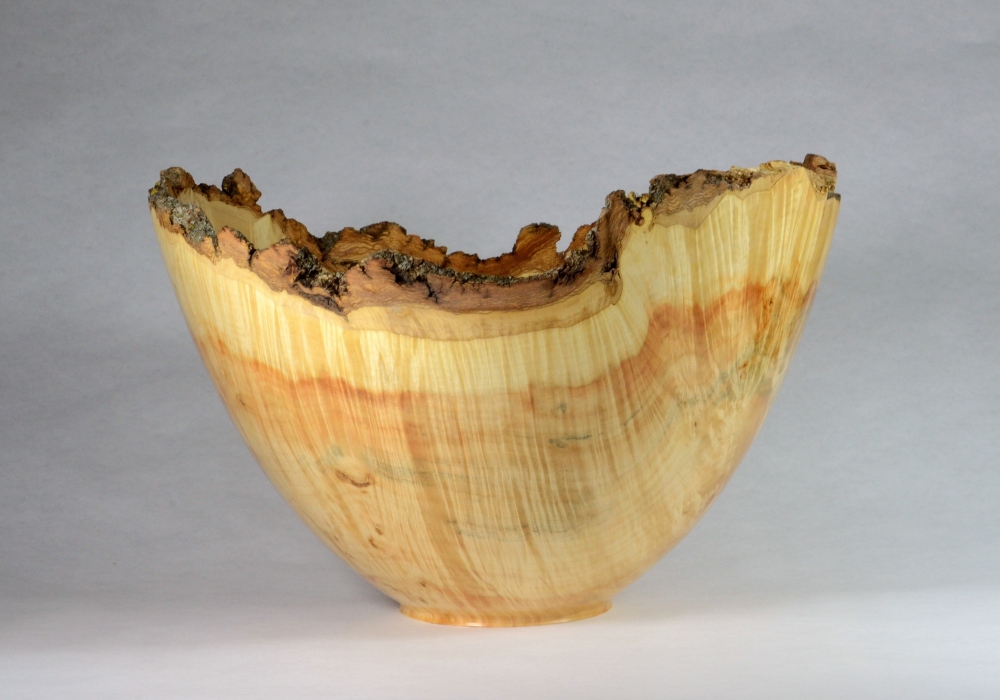
Here are two vases from Lena's tree. The one on the left is about 22" tall, and sports a hole in the side of it where there was a bark inclusion. I decided to knock out the bark that remained and used a wire brush to add texture to the sapwood that remained just under the bark. This is a large vase to turn completely free hand, as I do not use a boring rig to turn the inside. I actually stick my entire arm into the slowly rotating piece with a cabinet scraper in my hand to smooth out the interior walls. I scraped on both of these pieces for several hours to get the inside as smooth as the outside. This piece is finished with water based urethane and then hand buffed and sanded to a soft sheen.

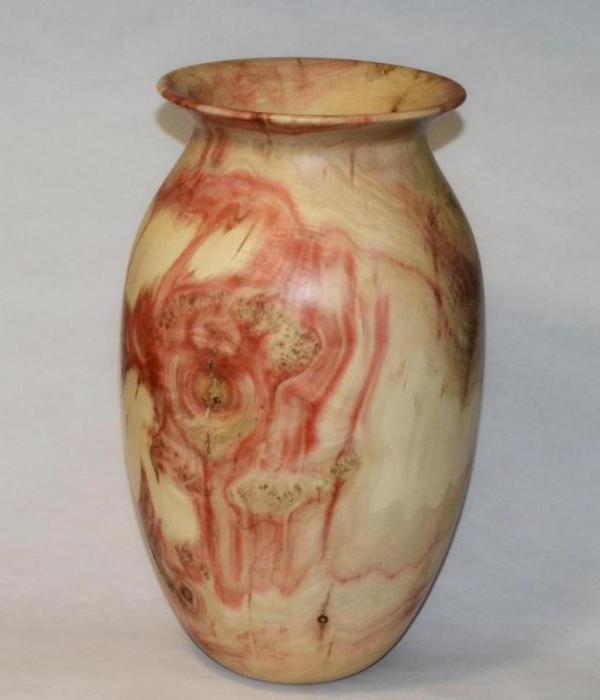
The piece on the right is a bit smaller, about 16" tall, and is a completely different shape. It was also extremely soft and punky wood, close to rotten, so I used a large amount of Polyall2000 (a very thin resin) to solidify the wood so I could turn it. The colors were just too pretty to throw out the wood. This decision was the right one, I think. The longer I worked with this piece the more I came to love it. The finish is multiple coats of matte Krylon spray.

Ash Salad Bowl & Glass Lid

I'm a packrat. Like most woodturners I know, we are incapable of throwing anything away because "we might need it someday".


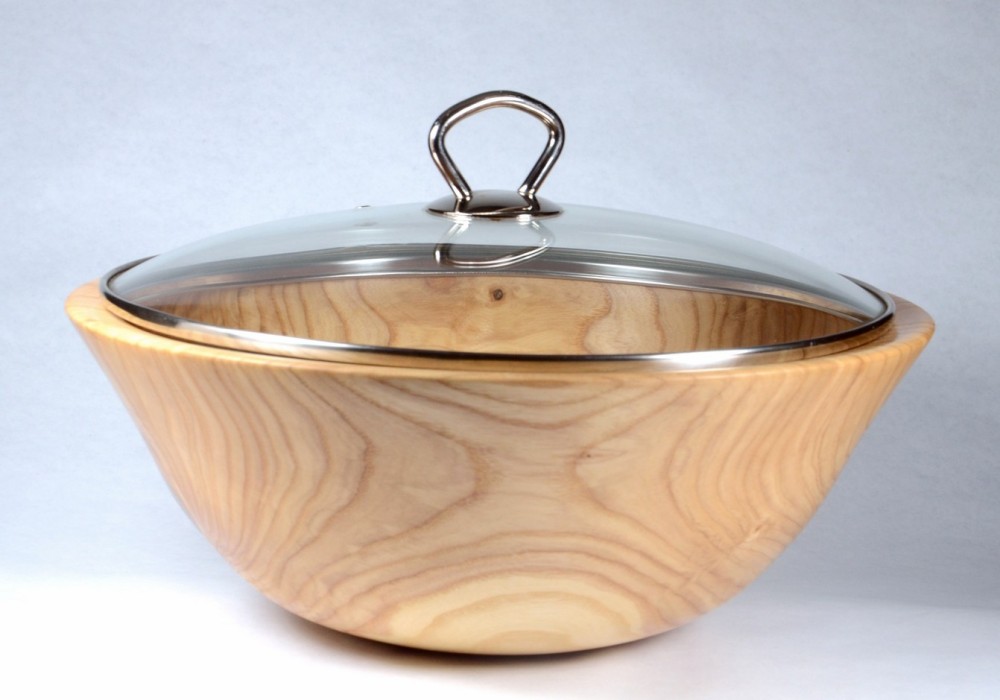
The top piece is raw proof of that. When the skillet died I glommed onto the glass lid because I had a rough turned salad bowl of ash about that size and, well, maybe it would work with a lid.


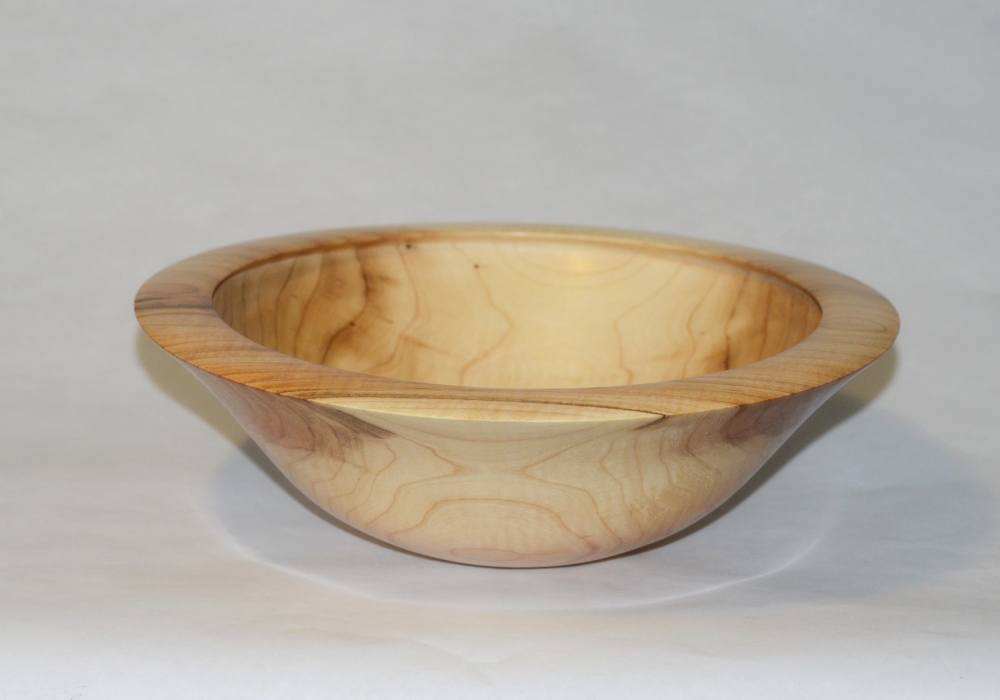
It's different, all right, but someone wanted it almost immediately. The bowl is 16" in diameter, and I think the lid adds an unusual touch. It's finished with buffed water based poly on the outside and oiled and waxed on the inside.


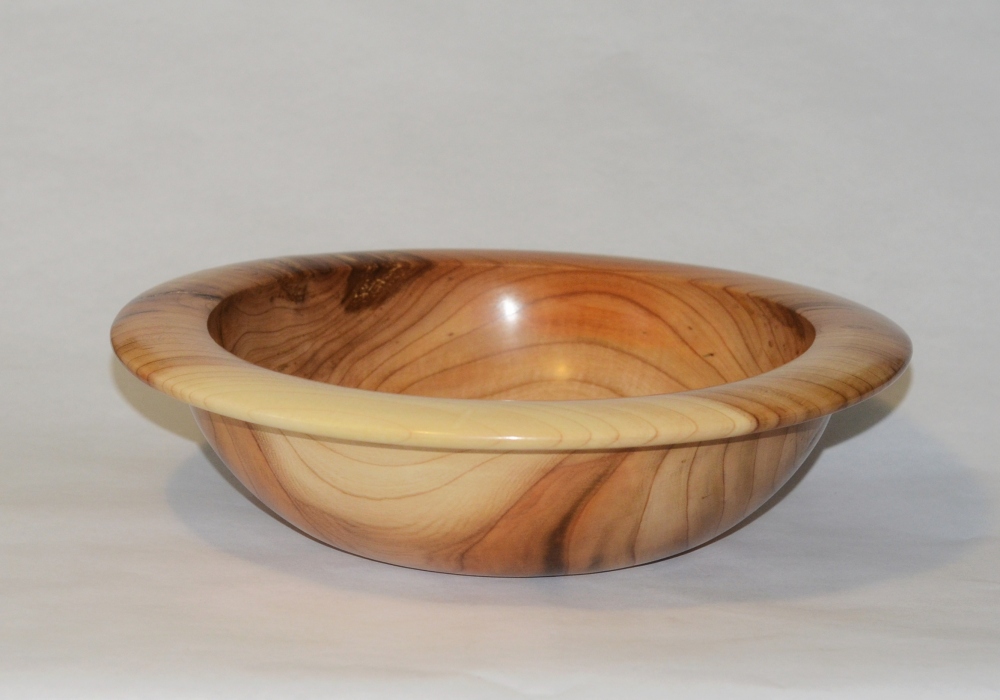
The bottom piece is also ash, about the same size, but with a buffed Danish oil finish. You can see that the oil darkens the wood somewhat.
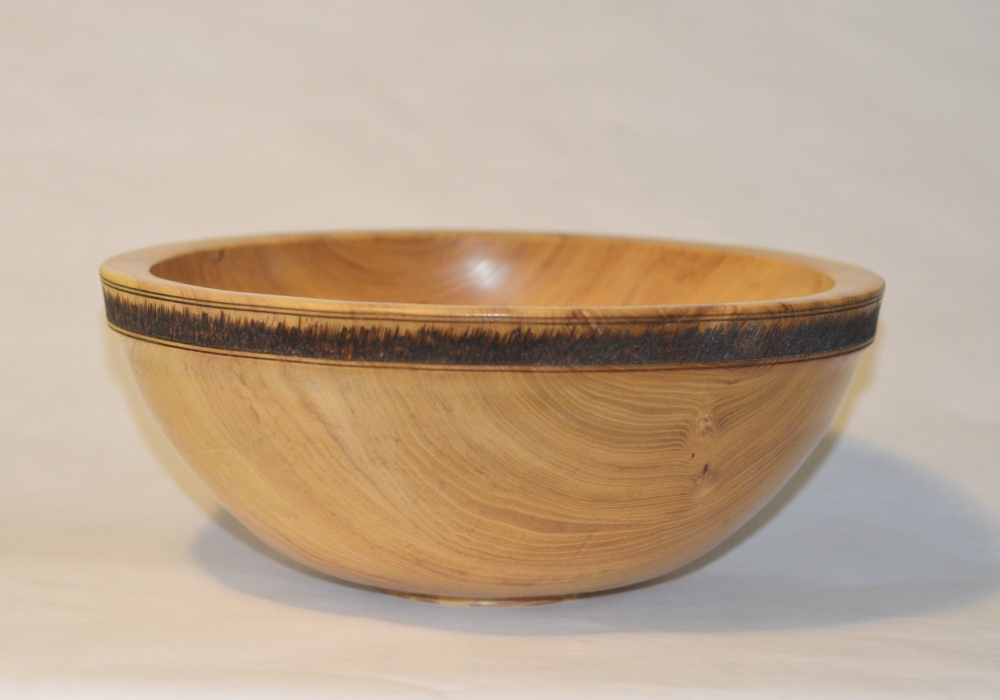
With highly figured burl wood I don't feel a piece needs enhancement, but this wood was rather plain Jane, so I added a textured band, creating a "tall grass" in the band with a woodburner. I quickly found that people like this kind of enhancement as I had several requests for similar bowls. I like the effect, but it takes a lot of time with the burner. Each little line is individually burned.

Ash Salad Bowl - Textured Rim

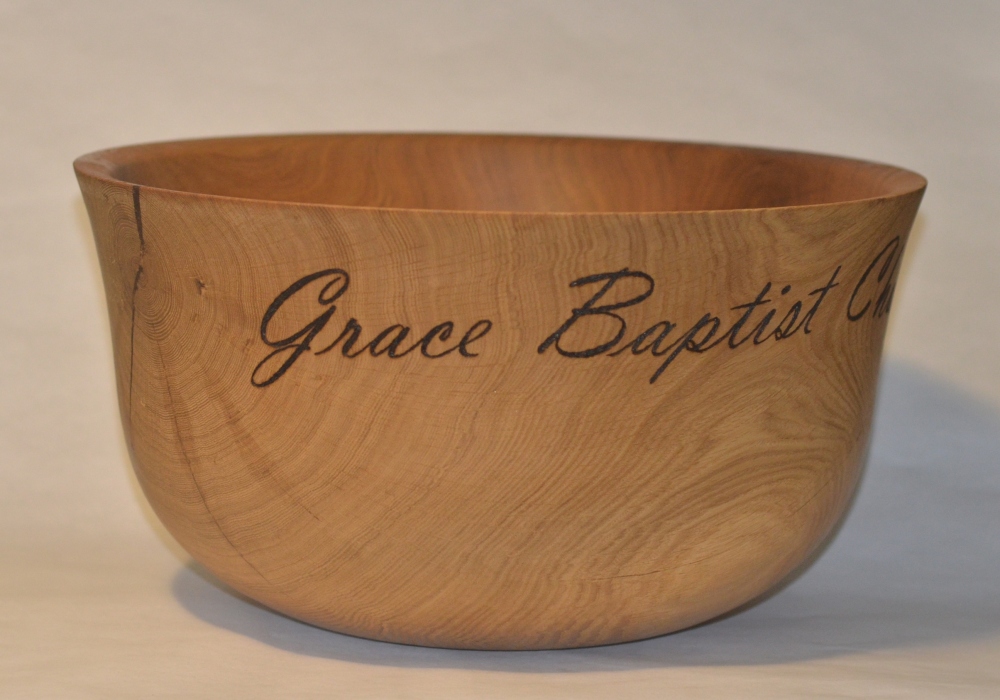
Grace Baptist Salad Bowl Front

As a boy Mom and Dad made sure I spent a lot of time at the Grace Baptist Church, in the country by Ochre River, Manitoba. Many people wish more of the goodness of that experience had rubbed off on me, but I look back on my "growin' up" years in that church with great fondness. Good people went there, and good people were produced there. Mom and Dad were part of the founding of that church, and many was the time that a stranger attending the church (like a really tough-looking biker once) would end up at our house sharing our dinner.


My sister-in-law, Dorothy, let it slip that they did not have a big salad bowl at the church, and I saw an opportunity to give a little bit back. Besides, I had this huge 19" oak bowl blank that I had harvested years ago in Dauphin, just a few miles from the church. What better opportunity to produce a huge bowl that would actually be used.


If you've ever turned dry oak, you will understand when I say there were many moments when I thought of giving up. Dry concrete would produce more shavings and less dust. There was no alternative at the end of the process but to powersand the final surface into submission.


Like I said in the panel just above, sometimes wood needs a little enhancement, so I printed out the church name in large letters on the computer (reversed mirror image on a curve) and transferred the image to the bowl. Same with the fellowship logo on the other side. This was a long, long, burning process on very difficult wood to burn because of the alternating hardness and softness of the growth rings. All told, the burning alone took 8 - 10 hours.
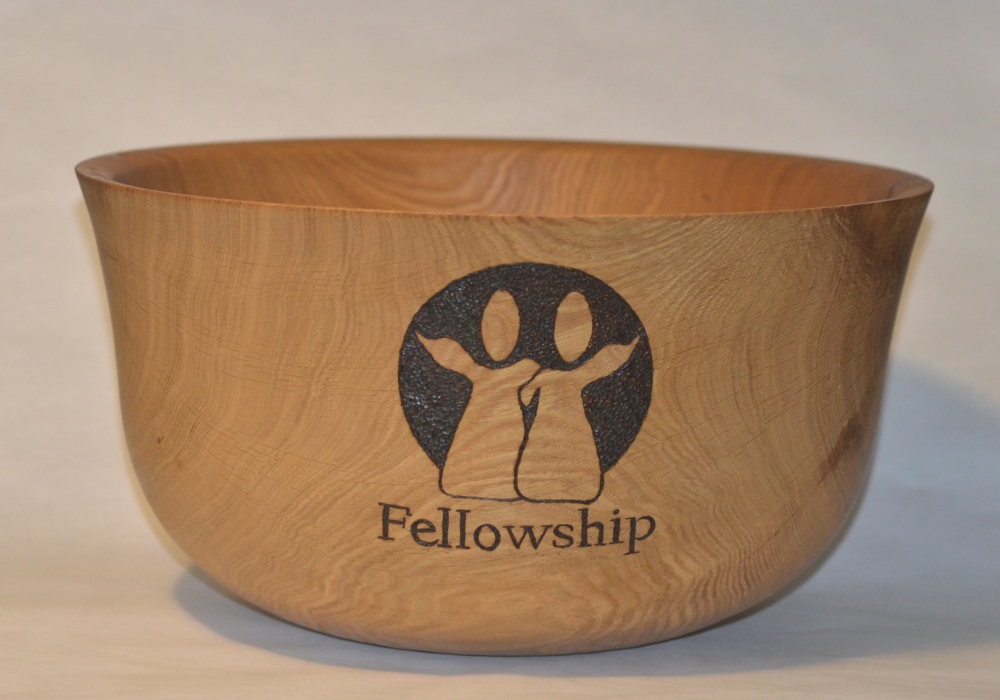
This bowl was just delivered to the church in early December and was immediately put to use. From the comments I've received I gather it was a hit. It is 19" x 8" and is quite heavy to keep it from moving around on the buffet table. Finished with buffed wipe on poly outside, and a food safe oil on the inside.

Grace Baptist Salad Bowl Back

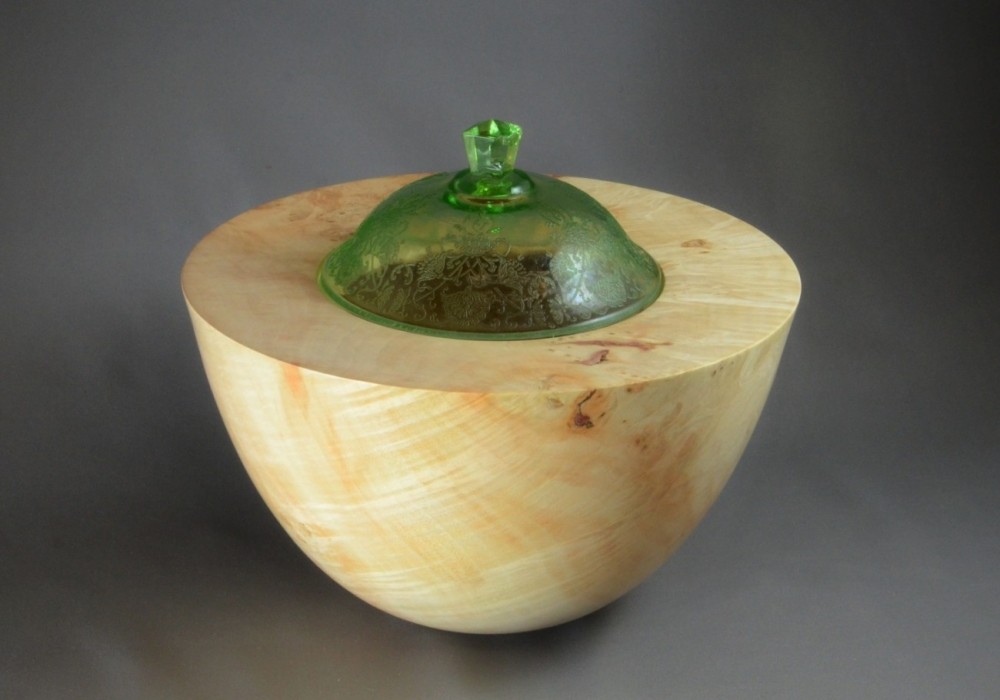
Manitoba Maple & Depression Glass

I saw some pieces at the American Association Woodturners Symposium in St. Paul that used interesting old lids in the design. I thought it was a neat idea and set out for some antique stores looking for old lids.

I was mostly interested in finding some deep red depression glass lids, but the best I could find was a sugar bowl in green depression glass. The bowl was all chipped so I felt little remorse in throwing it away, but the lid was perfect. I thought, "why quibble over the color?" and bought it.

I quickly found that the challenge in a piece like this is making a form that fits the lid. After all, the lid cannot be changed and if one is not careful the end result looks like two pieces just thrown together instead of a single flowing piece. That was the trouble with this one. The lid was large, so it needed a large piece, but it seemed that no matter what form I came up with, it looked like a hobo wearing the queen's hat.

Finally, in an "aha" moment I thought, "why not use the same form as the lid except larger and upside down?" Gadzooks - it worked!

At least I am pleased with the 11" vessel that came to be. I finished the Manitoba Maple with Danish oil to give it a slightly yellowish tint which is complementary to green.

Manitoba Maple Urn with Antique Lid

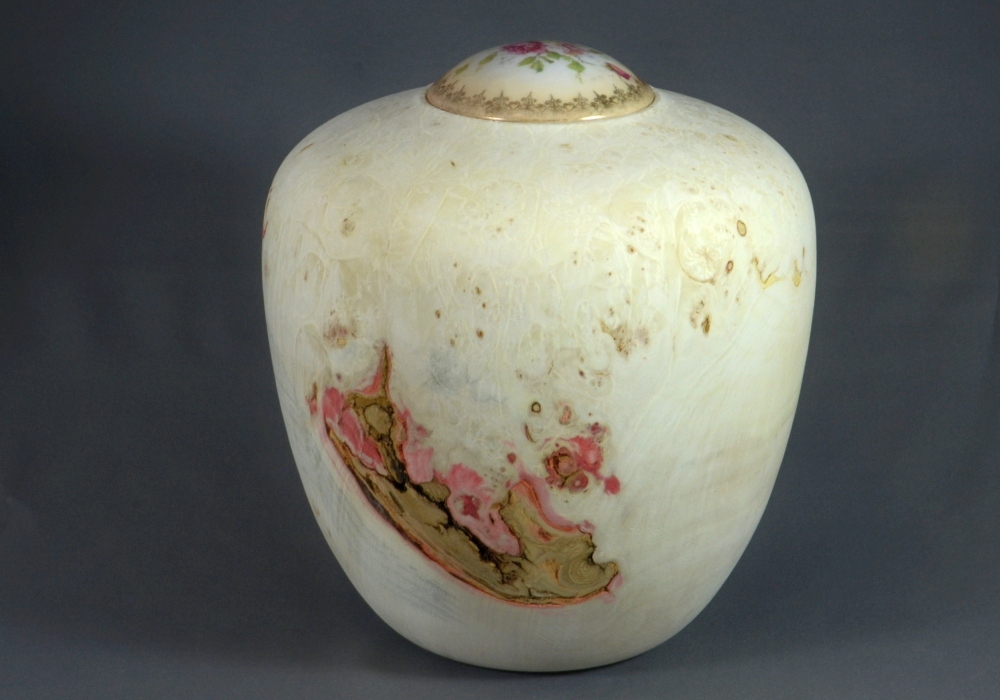
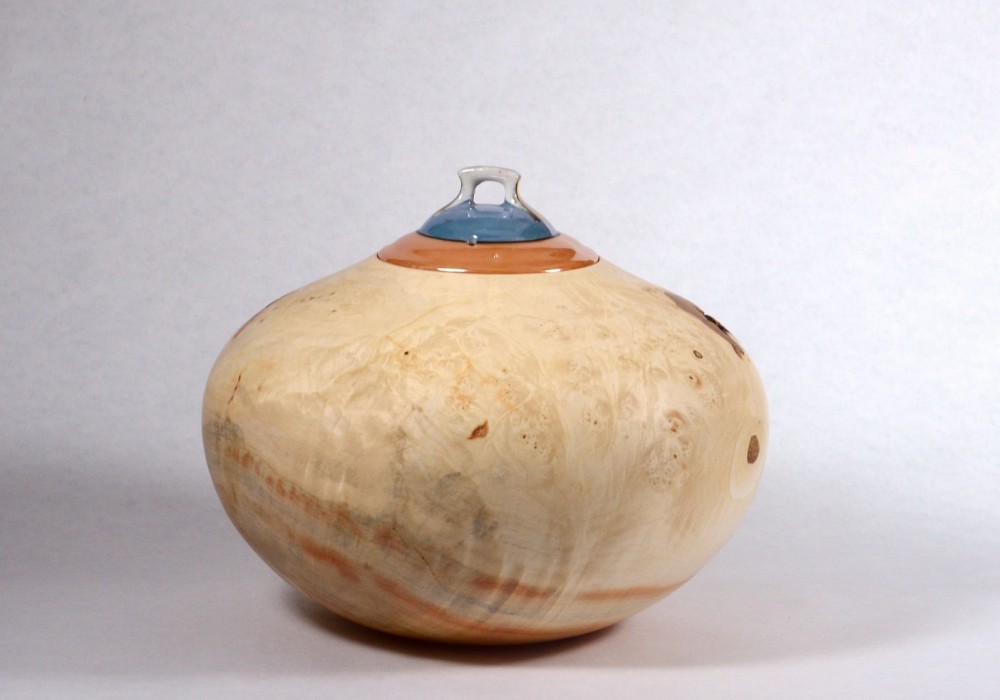
Pleased with my depression glass lid experiment, I went through the little trove of lids I had found at the antique store, and came across this little jewel of porcelain on a tiny sugar bowl. Having gotten a bit smarter with my first attempt, I instantly knew the form and color I needed to use to go with this lid.

Bleached Manitoba Maple is beautifully white, and with the right piece of wood there should be some red in it, and maybe some tinges of blue and green. Funny, but bleaching the wood does not bleach the red. Rather, the red color seems to be enhanced. For me, I needed to find that piece of wood, so once again, Lena's tree came to the rescue. If you don't know by now what I mean about "Lena's tree", scroll to the top of the page and click on the link there.

This piece is about 10" tall and 8" in diameter. I call it an urn, but only because I didn't know what else to call it. It could be used as an urn, I guess, but I would hope it would be a mantel urn. I had the form so firmly pictured in my mind the turning went very quickly. For the finish, I knew it had to be a matte finish, and Krylon spray was perfect.

I seldom make a piece that I don't nit-pick and find all kinds of things wrong with it. With this piece, I am very happy.

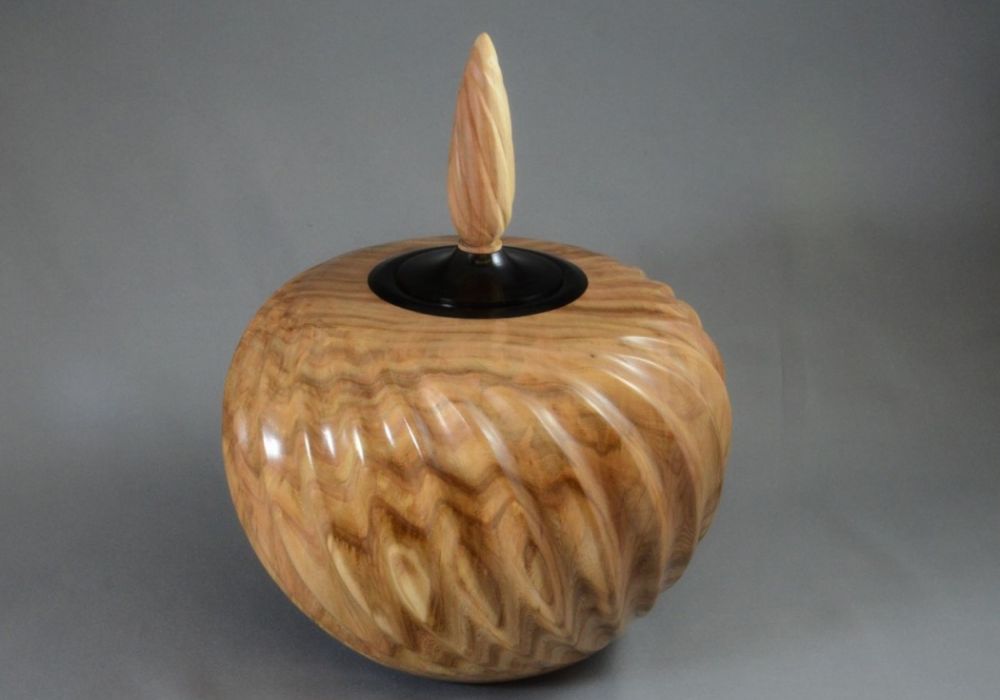
Elm Spiral Urn

I've been playing with spirals, as you can see in this piece. A couple of years ago I watched Dave Schweitzer demonstrate his spirals at the St. Paul Symposium, and that got my interest going. So you are going to see more carving from me in the future.

This piece is elm, from the elm burl harvested in 2010. You can see the harvest here. I decided to put spirals around the entire piece instead of in sections of three. Naturally, this is a lot more carving and sanding work. When it was finished, a regular top and finial did not look right, so I created several finials with spirals on the finial too, and chose the correct length from those.

This is a large piece, and it is designed to be used as an urn if someone wanted to. It is about 9" in diameter and is finished with wipe on poly and buffed.

Elm Spiral Form

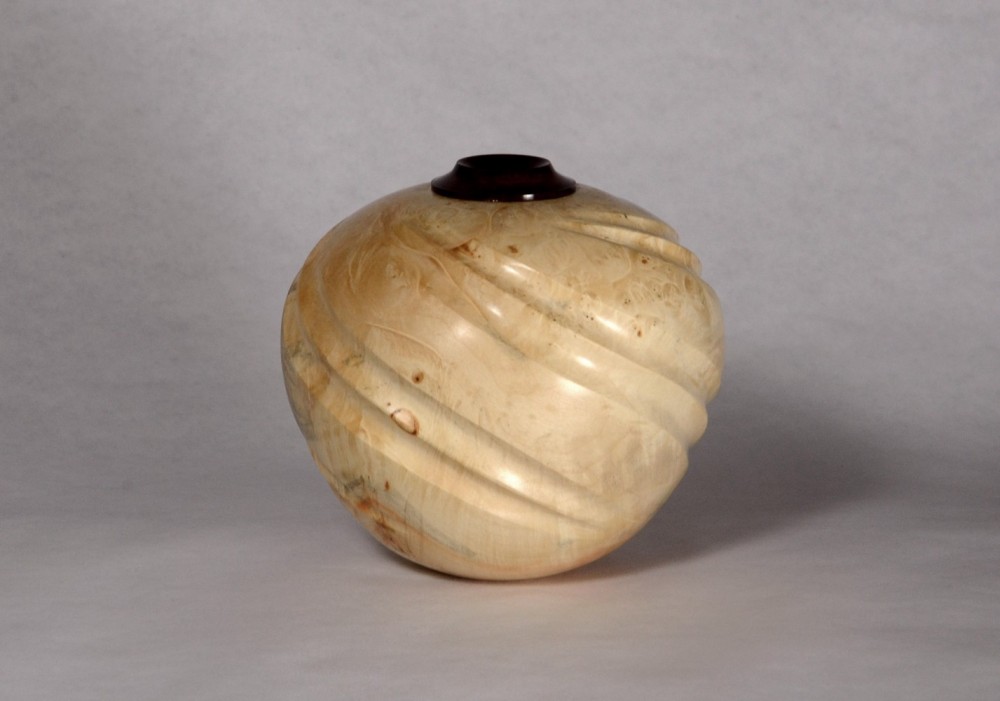
Another elm hollow form from the same tree. This one has spirals spaced in groups of three around the piece and sports a little cap of ebony.

This is a small piece, about 4" in diameter. Like the previous piece it is finished with wipe on poly and buffed.

Elm Urn With Textured Lid

That elm tree burl yielded a lot of nice pieces, and this urn is one of my favorites.

I decided to use walnut on the lid and finial, and after they were done I was not satisfied with them, I made another lid and carved a little texture on the rim of the lid, and that did the trick. It is hard to see in the photo, but it adds considerable interest to the piece by doing this.

The urn is about 10" in diameter. This one is finished with Danish oil, buffed and waxed.

Manitoba Maple Burl NE Vase

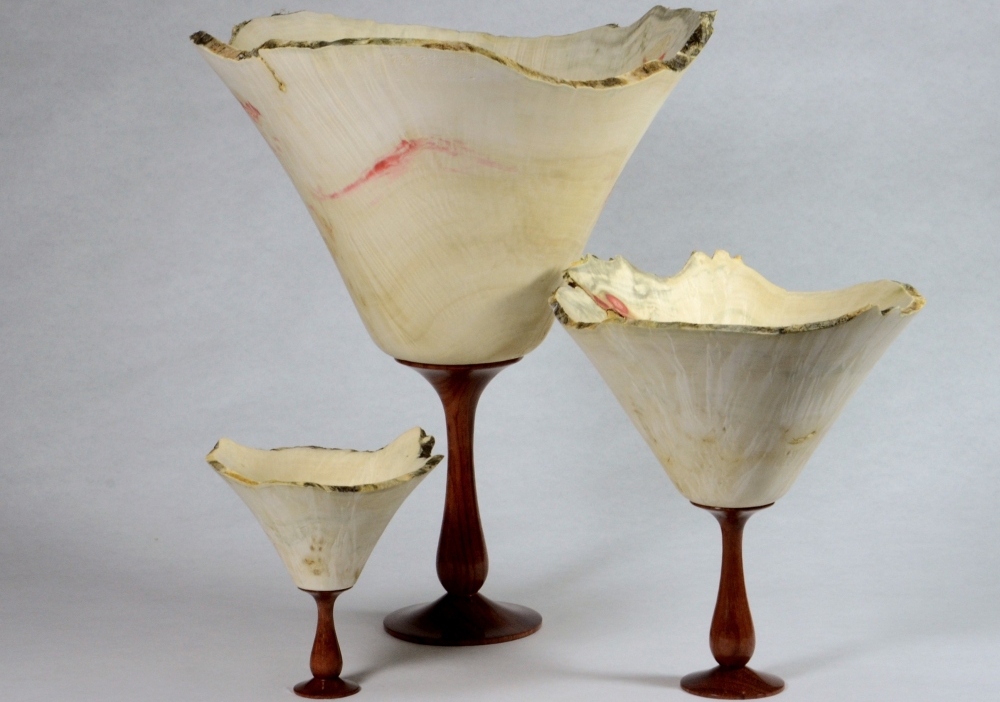
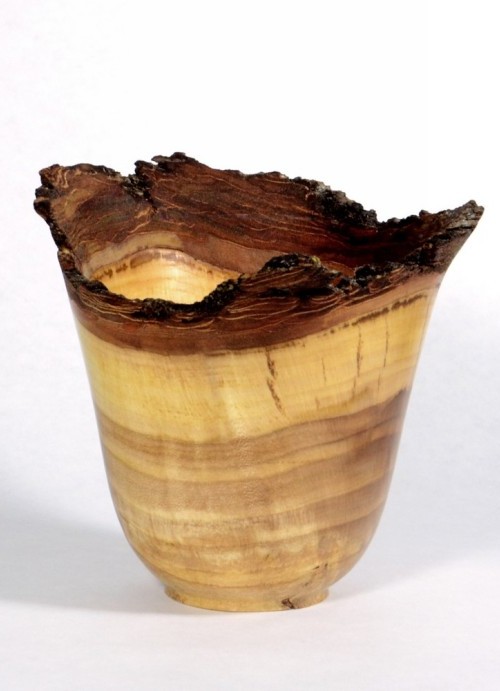
Here are three Manitoba Maple vases with natural bark edges. I like to do this with this wood because the bark stays quite solidly attached if the wood is turned while it is wet.

The top one stands about 11" tall and 7" at the widest point and is finished with water based urethane.

The second one has a diameter of 10" and stands 7" tall. It is also finished with water based urethane.

The bottom set of three goblets were all cored from the same piece of wood. That is, the small one was taken from a core taken out of the middle one, and the middle one taken from a core out of the large one. I used a McNaughton coring rig with the straight blade to do the coring. I love having the ability to core the wood, especially when it is an exceptional piece of wood like this Manitoba Maple burl.

I decided to open up the bottoms on these pieces and put them on pedestals that actually come up through the bottom of the goblets. The bases are of cocobolo and provide a lovely contrast to the white of the bleached maple. On these three, some bark had come off the edge so I knocked off all of the bark.

These are 3", 5" and 8" diameter.

Manitoba Maple NE Bowl
Manitoba Maple Bleached Pedestal Vases

Bleached Manitoba Maple NE Bowl

This one was a LOT of work.

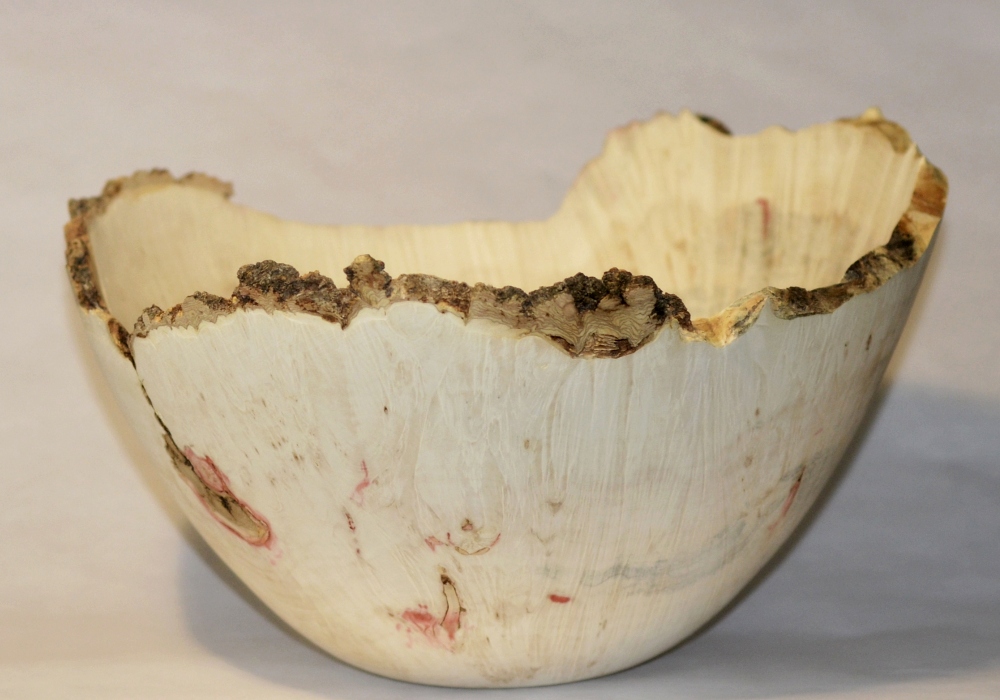
It's hard to tell from the photo, but the piece is 14" in diameter, which makes it a very large bowl for a natural edge. I did lose some of the bark along the way, but sometimes it just can't be saved. This one was cored as well, and the middle one in the previous panel may have come out of the center of this one, but I don't recall exactly.

The hard part of doing a large natural edge bowl is getting the sanding done. When sanding a natural edge bowl while it is rotating on the lathe, the leading edge of the uneven lip may get very thin because it comes in contact with the sandpaper before the rest of the piece. One has to be very careful to avoid that, so I generally power sand only the round part and do the sanding on the top few inches of the piece by hand. That can take a very long time.

This one, like several of the others, is bleached and finished with Krylon matte spray finish.

Manitoba Maple Disc Vase

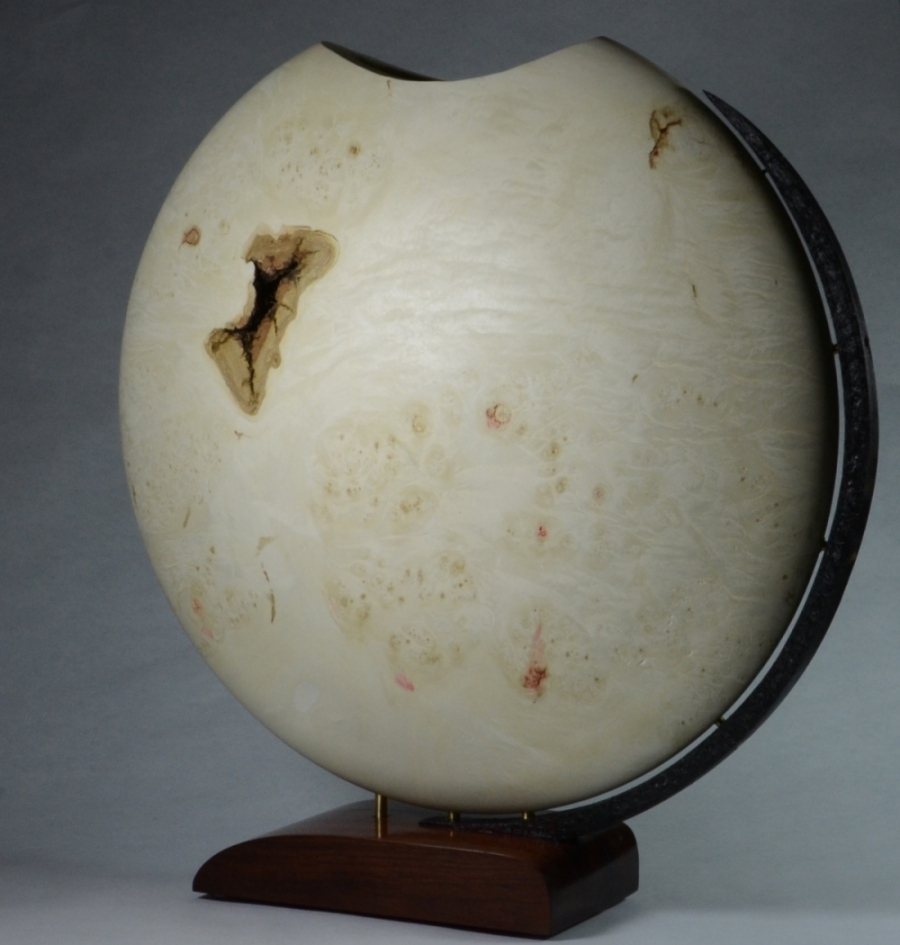
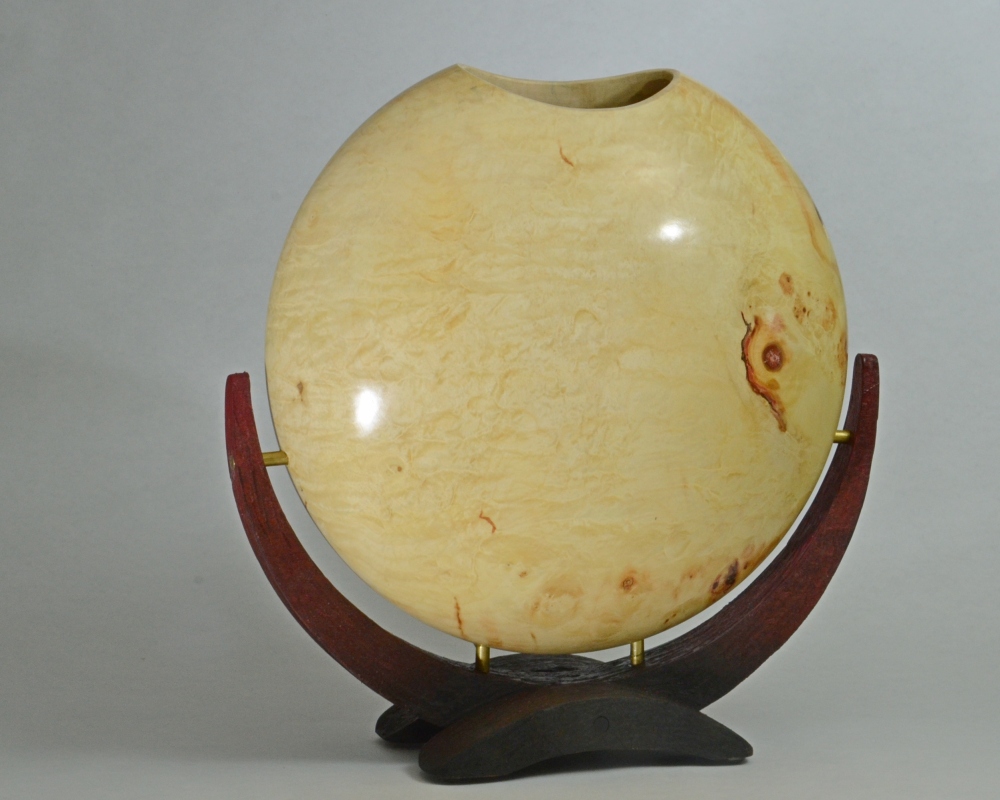
This another in the series of disc shaped vases I have been playing with. I first saw a vase like this in a model home in Calgary, made out of ceramic, and adapted it to wood. These are made in two separate pieces and the two are then edge glued together after the inside of each half is rounded. It took me awhile to figure out a way of making these in order to get the grain to match properly on the edge and to keep the opening uniformly centered. I found out the cutting the "U" shaped opening is best done before turning the piece so that the entire blank can lay flat on the bandsaw.

I've mentioned before that the challenge for me is to find ways of presenting these pieces. It's easiest to simply create a flat bottom for the piece to sit on, but that has some drawbacks. It makes it necessary leave a very wide rim on the the two halves, making for a heavy piece. It also makes the piece susceptible to being knocked over. And then - it gets boring to do them all that way.

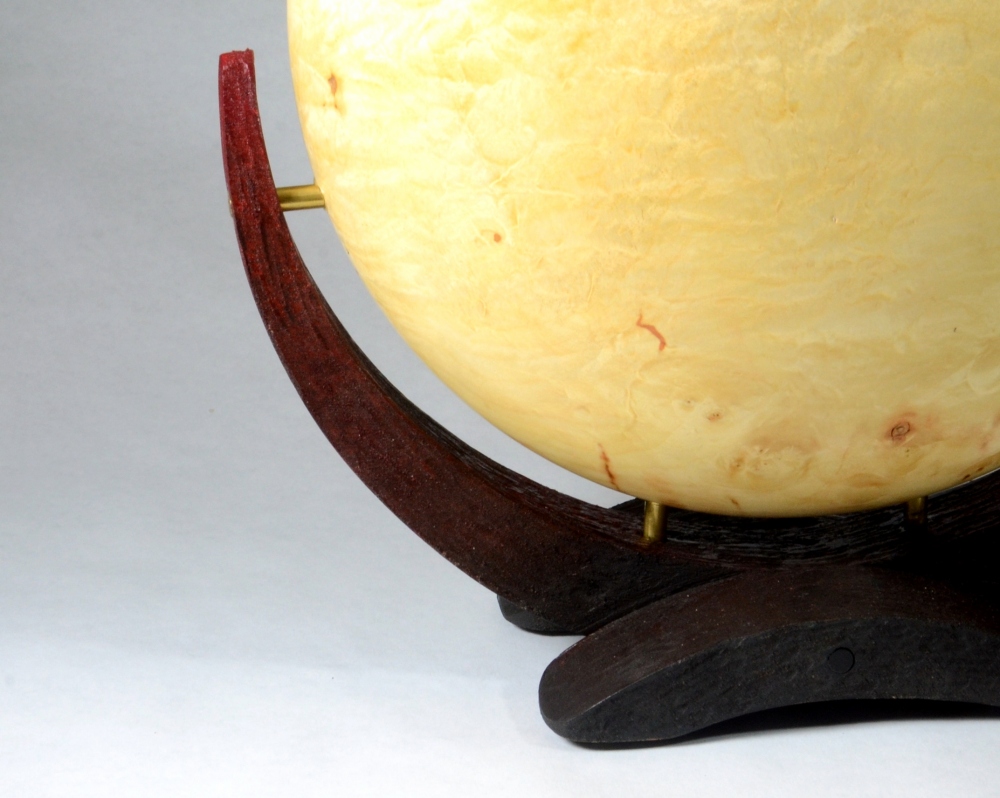
With this one, I created a base with three pieces of walnut which were textured, dyed black, and then airbrushed to provide red tint. The piece was then mounted to the base with brass rod.

The bottom photo shows the detail of the base. This vase is 10" in diameter.

Manitoba Maple Disc Vase Base

Elm Disk Vase

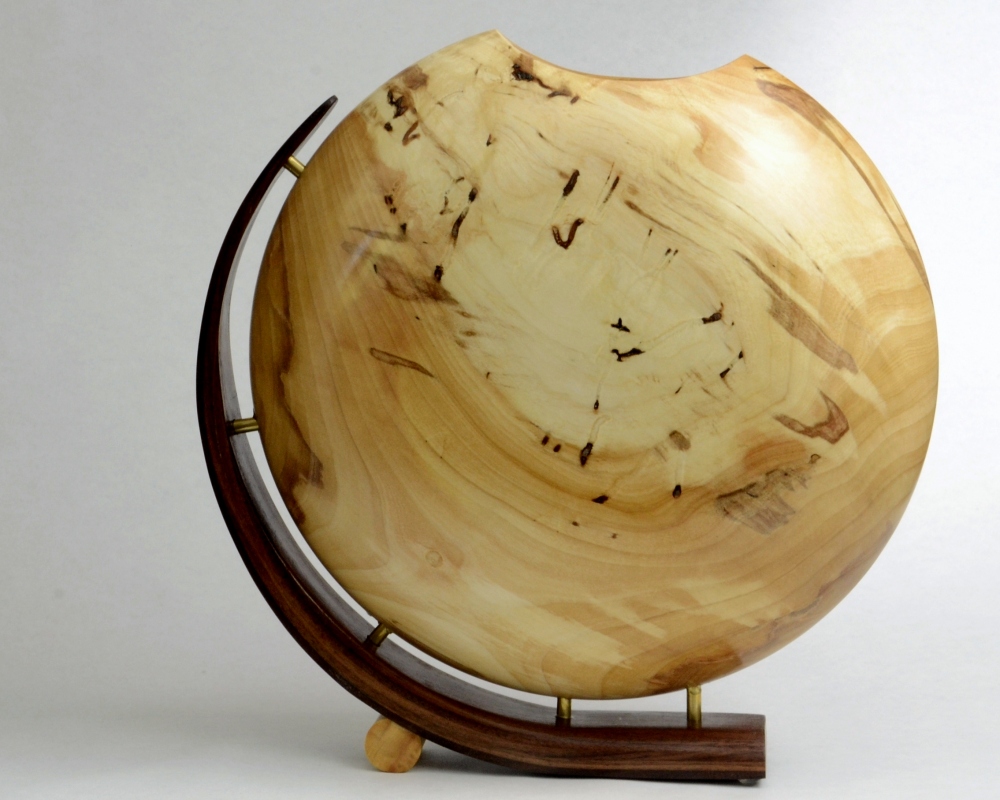
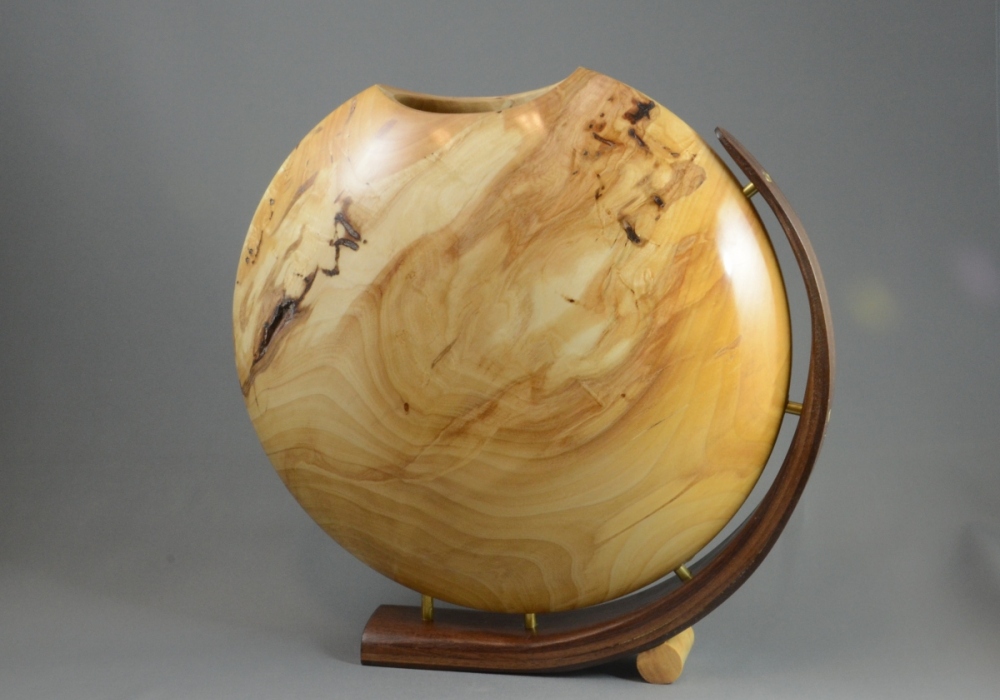
Another in the series of disc shaped vases, this one in elm. What is really unique about this piece is all the worm holes in the wood, which show on one side only. This elm came from a tree harvested in Winnipeg in 2010.

The second photo shows the opposite side of this vase, which is different in character, although it was only inches away from the other side as the piece was turned from a single round disk of wood. This side was further inside the tree, where the worms had not reached.

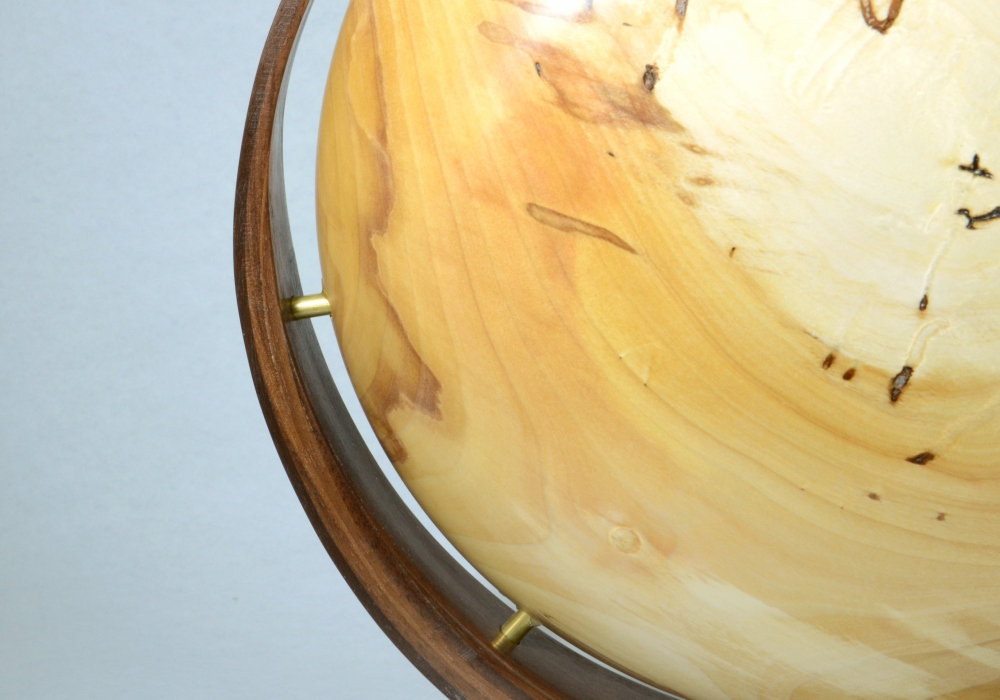
The base on this one was created using walnut strips that I bent with steam and then clamped to a round form with glue to dry into a solid curved piece. The little round dowel under the vase to give it stability and keep it upright and level was turned from the same wood as the vase.

Again, I've shown the base detail in the bottom photo. I am not sure I like the way the piece is mounted, and wish I had shown less of the brass pins holding the piece. However, once the holes are drilled for mounting it is too late to change.

This vase is 11" in diameter.

Elm & Walnut Vase
Elm Disk Vase Base

Redwood and Glass

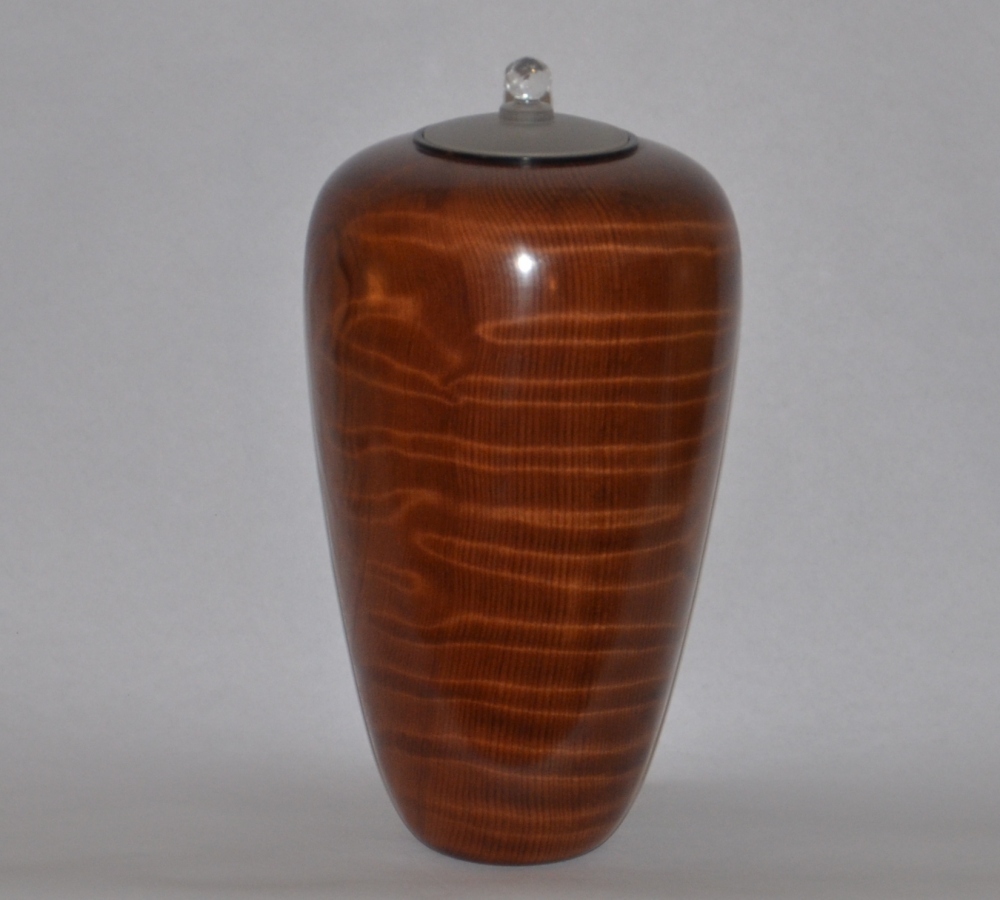
I love redwood, but it can be challenging to work with. It is soft and fibrous and soaks up finish like a sponge.

This is one of the pieces where I incorporated an antique lid, like some of the pieces shown earlier on this page.

In this particular case, I had finished the piece but I did not like it. I posted it on the World of Woodturners website, and as I thought, the piece was rather roundly panned by some of my woodturning peers. Taking some of their advice to heart, I re-mounted the piece on the lathe, which is always a risky challenge, and changed the shape. I also cut down the glass lid with a little diamond saw, so that the lid would sit fluch with the top of the piece and match the flow of the piece.

Here is a photo of the piece as it was before I re-turned it. You can see the very slight change in shape - the original had a flat spot on the top 1/3, the shoulders too square, and the base was too large and squared off. I took a mere 1/16 of an in off the should to change the shape and the flat spot, and not even 1/8" from the base area to give it a more tucked in base. Then, you can see how the lid sits down and follows the flow of the form, and the finish was turned into a gloss finish. I include all this just to show that the changes are minute, but make a dramatic difference.

This piece is about 13" tall and early in 2013 it was used to contain the ashes of my brother-in-law, Albert

Milo's Urn

Milo was a Rottweiler. He was my daughter's pride and joy.

As long as I can remember, Jarene insisted that as soon as she could she would have a Rottweiler, and sure enough, when she moved to Calgary it did not take long before she acquired Milo, and soon thereafter, a female called Lexie. When Lexie passed away a couple of years ago, I provided an urn for her. Jae was heartbroken because Lexie was such a sweet dog and a great companion. However, she still had Milo, her first dog.

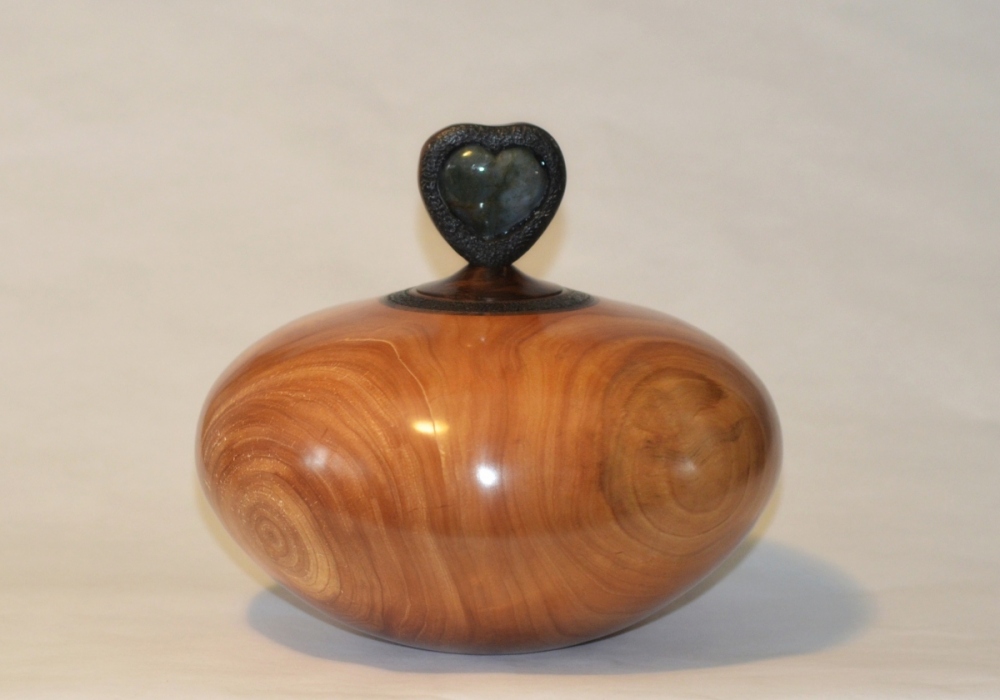
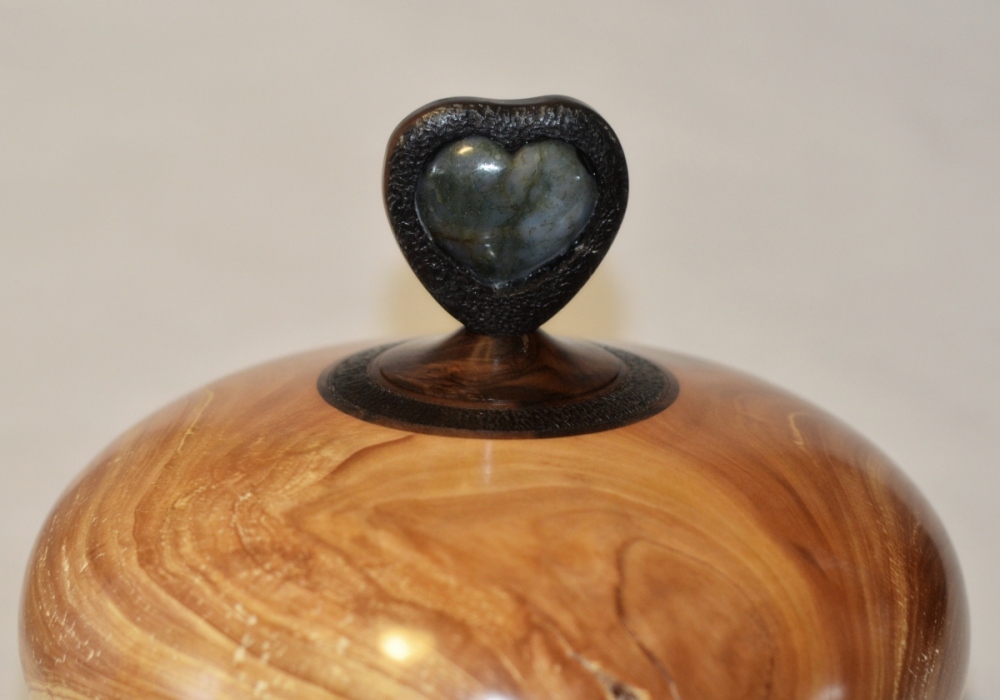
The large breeds have a relatively short life span, so when Milo passed away a year later, Jae was looking for another urn. She had a special request - could I work in the jade heart that she associated with Milo?

This 11" elm urn is what I cam up with, and the bottom photo shows the detail of the jade heart finial.

Milo's Heart

Natural Branch Pepper Mills

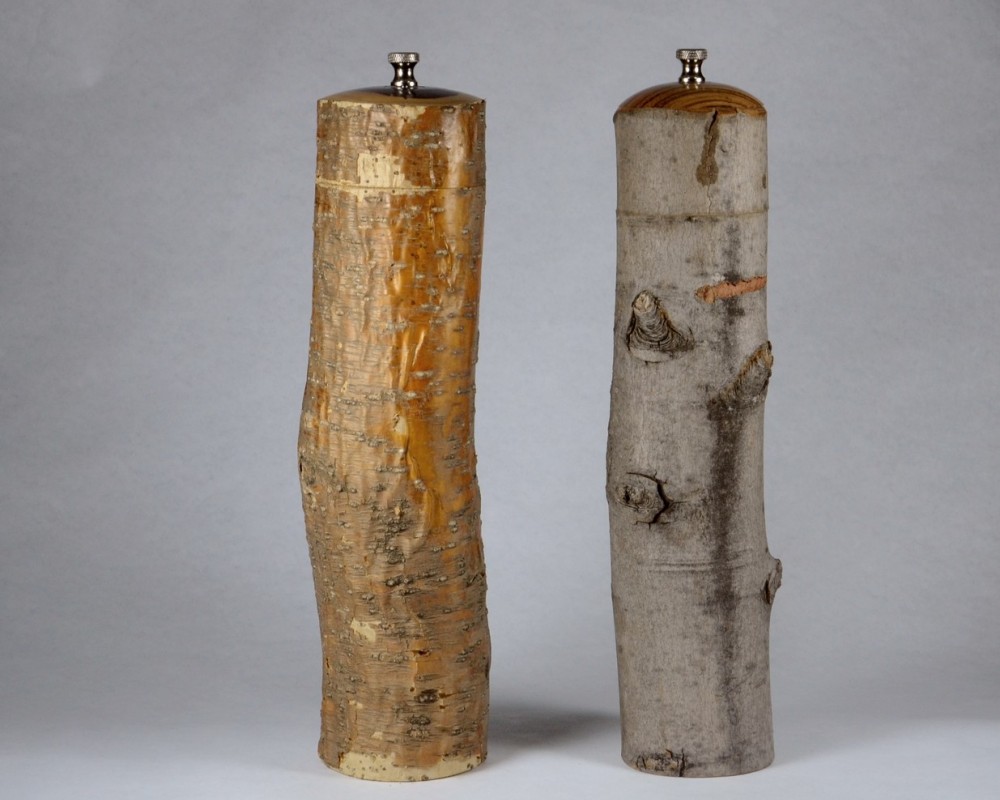
Here are a few peppermills. I found out that people that barbecue a lot like to have a peppermill that look like it belongs outdoors. Hence the two you see on the top. These are made from branch wood and the only part that is polished is on the lid. However, on the inside they are the same as the normal peppermills I make. They are not only drilled, but also turned to enlarge the capacity of the mills. I don\t know of anyone else that actually hollows out their peppermills.

The one on the left is caragana. Caragana has a very dark center wood, and very nice white sapwood. And the bark is so interesting. I wish it grew larger, but it is more of a shrub than a tree. The one on the right is plain old poplar, and it still sports a chain saw mark or two. There is no finish on these.

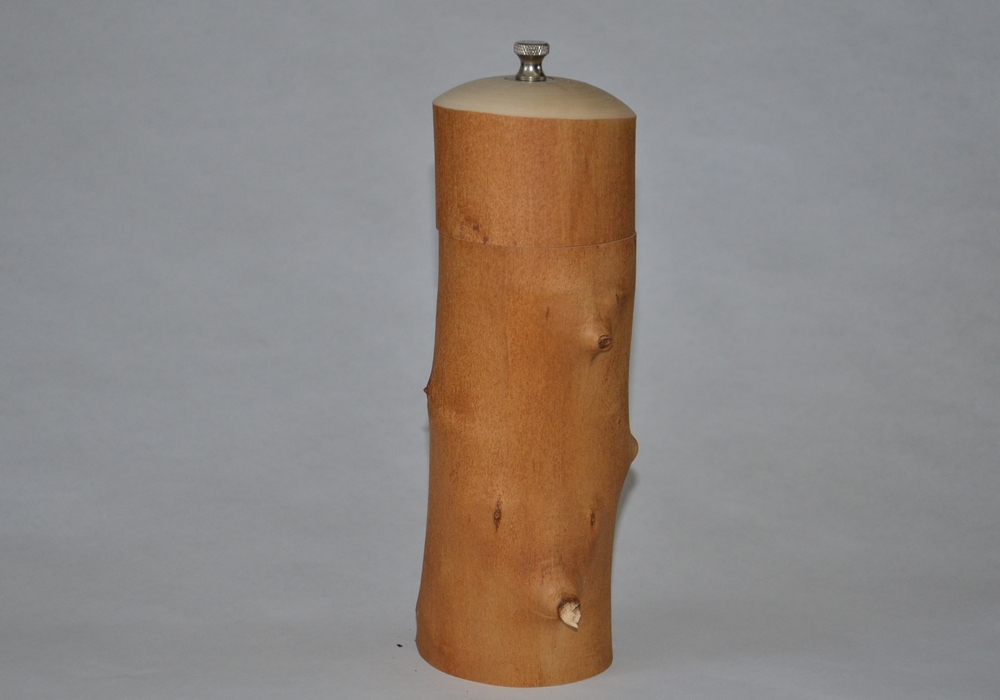
The mill in the middle is silver maple, I think. I don't remember where the wood came from. After I prepared the rough blank and it dried, all the bark separated from it and I was going to throw it into the firewood pile. Then I had a brainwave and separated the bark from the mill with a screwdriver, and I loved the color and texture of the underbark. So here it is, finished. This mill has a finish on it of matte Krylon spray.

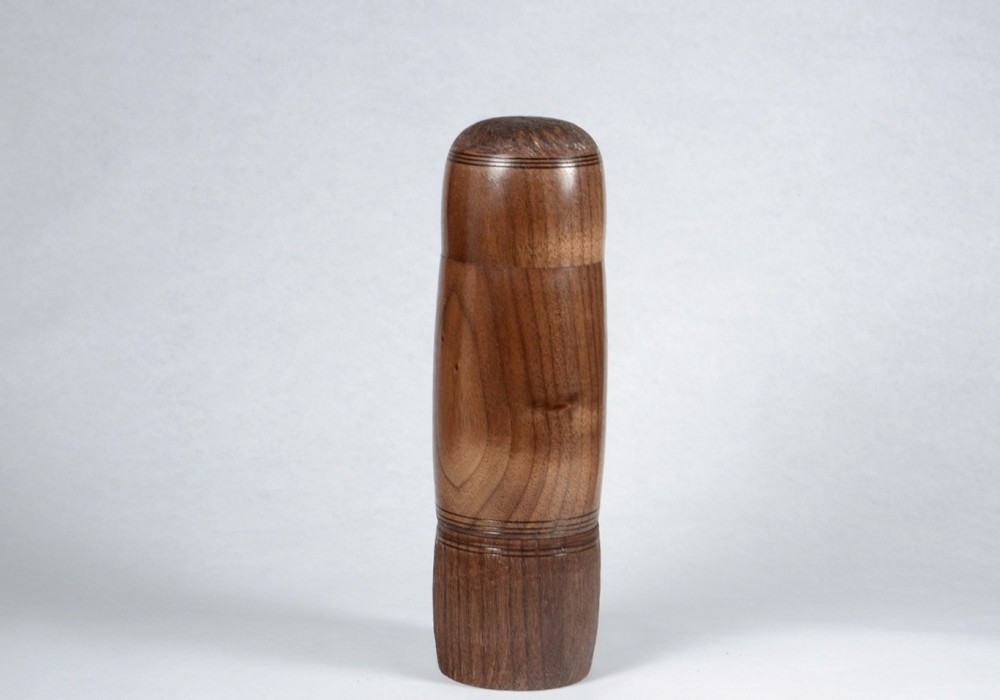
The mill on the bottom is walnut and it has a high quality ceramic grinding mechanism This peppermill unscrews from the top to fill the grinder, and is used by holding the bottom and turning the entire body.

The lid and the base of the mill were carved to produce a texture snf then finished with wipe on poly.

Maple Pepper Mill
Walnut Pepper Mill

Manitoba Maple Urn with Porcelain lid

Another of the hollow forms with an antique porcelain lid. As I said before, the challenge is to find the wood and shape that will match the lid, which obviously cannot be changed. In this particular case, it was color. Then I found this maple piece in my stash, and it contained hints of blue in it, and the rusty brown color perfectly matched the brown on the lid.

I am not as pleased with the shape of this piece. I think it could have been better. This piece is about 10" in diameter and is finished with Danish oil.

Small Elm Hollow Form

Here are two more pieces with carved spirals.

The piece on top is elm, fairly small, about 5" in height. As you can see, this one has continuous spirals all the way around it. Also, the spirals are bead shaped, which means they are have a rounded, convex shape. All the other ones have convex, or V-shaped grooves. The rounded grooves on this one are way more difficult to carve, and requires hours of hand sanding to get them right. I like the effect, but it is a lot more work. Power sanding is not an option.

The bottom piece is Manitoba maple, about 4" diameter. This one has four groups of double spirals, which is usually not attractive. Odd numbers, like triple spirals, generally works better. I put a cap of ebony on this one, and everyone that sees it can't resist picking it up. It is finished with water base poly.

Spiral Big Leaf Maple Form

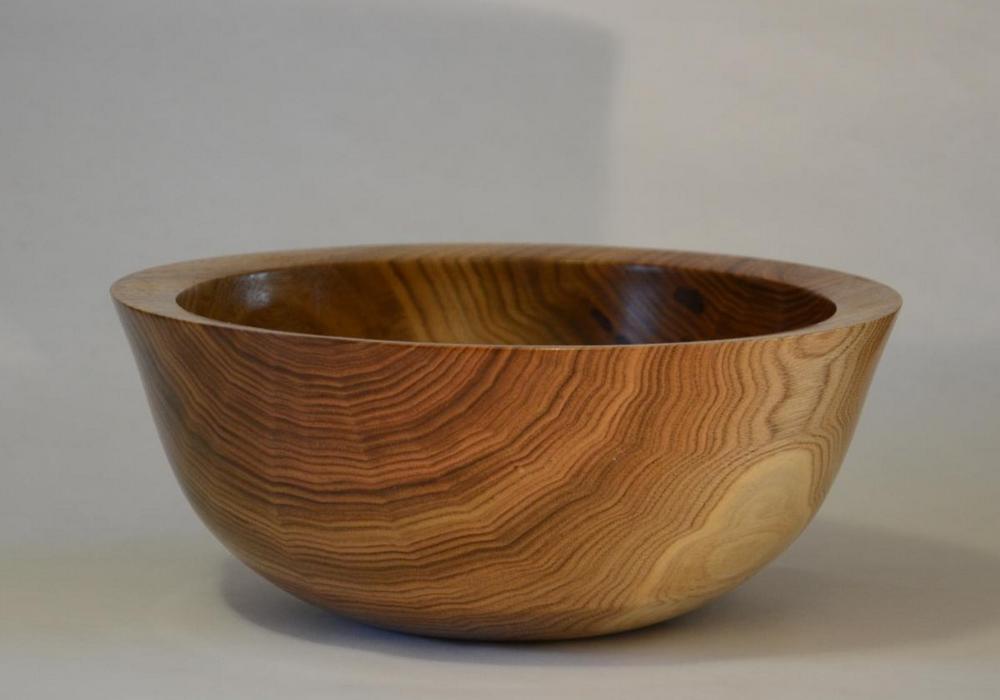
Butternut Bowl

My buddy and woodturning teaching assistant is also an arborist. Jesse had a call to take down a huge butternut tree along the Assiniboine River that runs through our city. When he told me about it, I jumped at the opportunity to get some of this wood. It is a joy to turn, and is beautiful when finished.

This is one of the first bowls from the tree. There were five large salad bowls in all, and numerous small pieces that will be posted later. This is one of two that went back to the owners of the tree for letting me have the wood. They got two of them because they have two daughters that grew up beneath that tree and they would treasure a piece that came from their tree.

This bowl is about 14" in diameter. It is finished with wipe on poly on the outside and Tried and True linseed oil on the inside.

John Wannabe

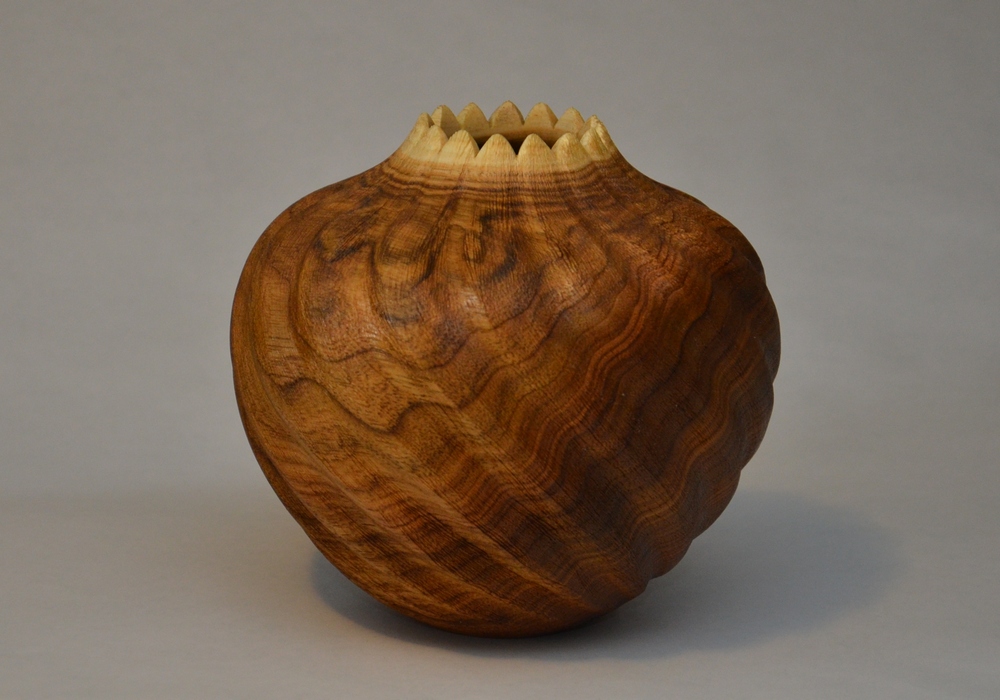
When I saw the butternut tree I knew instantly what I wanted to try. Butternut has a lovely chocolate brown interior, and very white, and wide, sapwood (just under the bark). A woodturning friend by the name of John Jordon, inventor of the "Stubby" lathe, has perfected the production of hollow forms using the sapwood at the opening like a little crown. I wanted to try that, hence the top piece is called "John Wannabe". I shamelessly tried to copy his style on this piece, and I love the way it came out.

It is about 8" in diameter, with carved spiral flutes and a carved crown. Then the entire piece was given a wirebrush texture and finished with Danish oil.

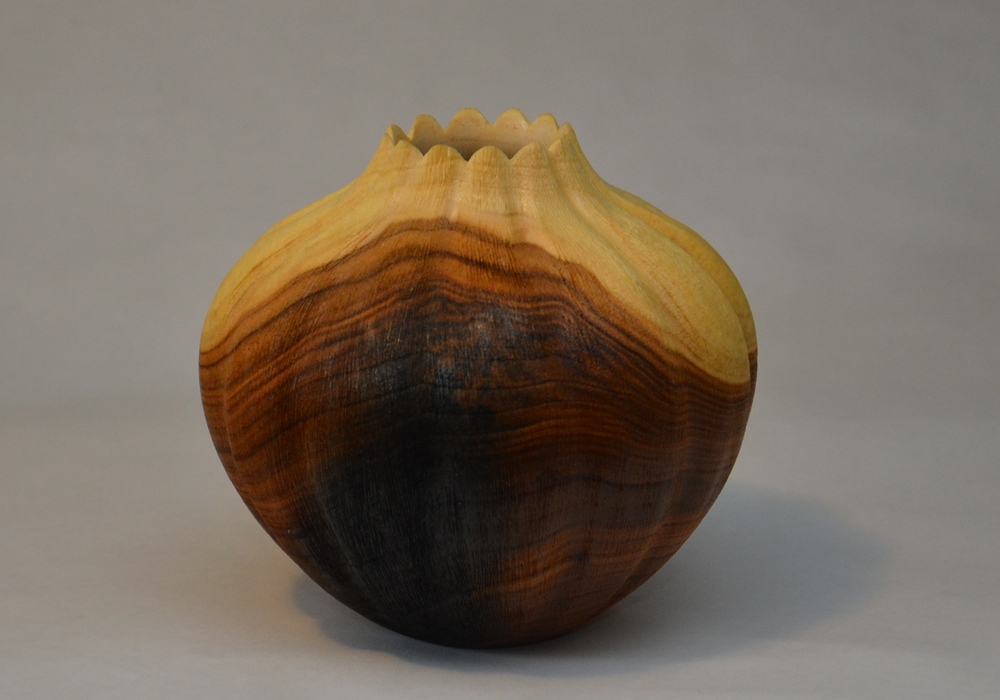
The middle piece was an experiment using the sapwood in a different way. By orienting the piece a bit further to the outside of the tree, the sapwood comes down like a saddle. I didn't like the effect, but surprisingly, most people like it better than the first one. It is a tad smaller, about 6½" and the flutes run vertically up the side.

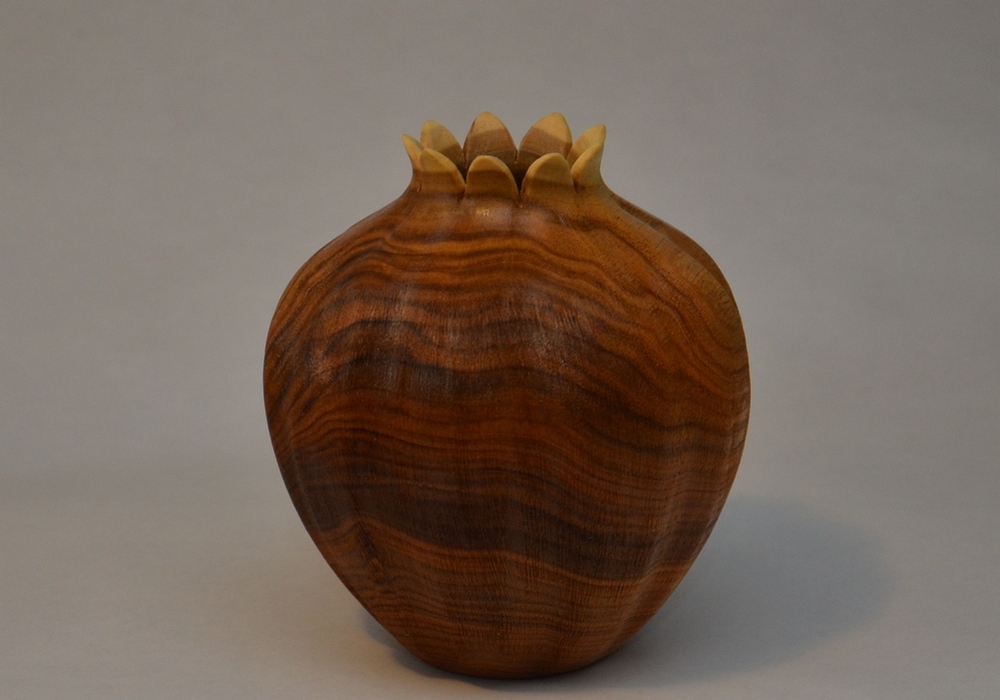
The bottom piece is also about 6½" and I turned the lip of the crown outward on this. I don't like the effect. The size of the crown may be too small, but a lot of people like this. Like the other two, the surface is wirebrushed before finishing with Danish Oil.

Fluted Butternut
Butternut with a Crown

Elm Natural Edge Vase
Spiral Maple Vase

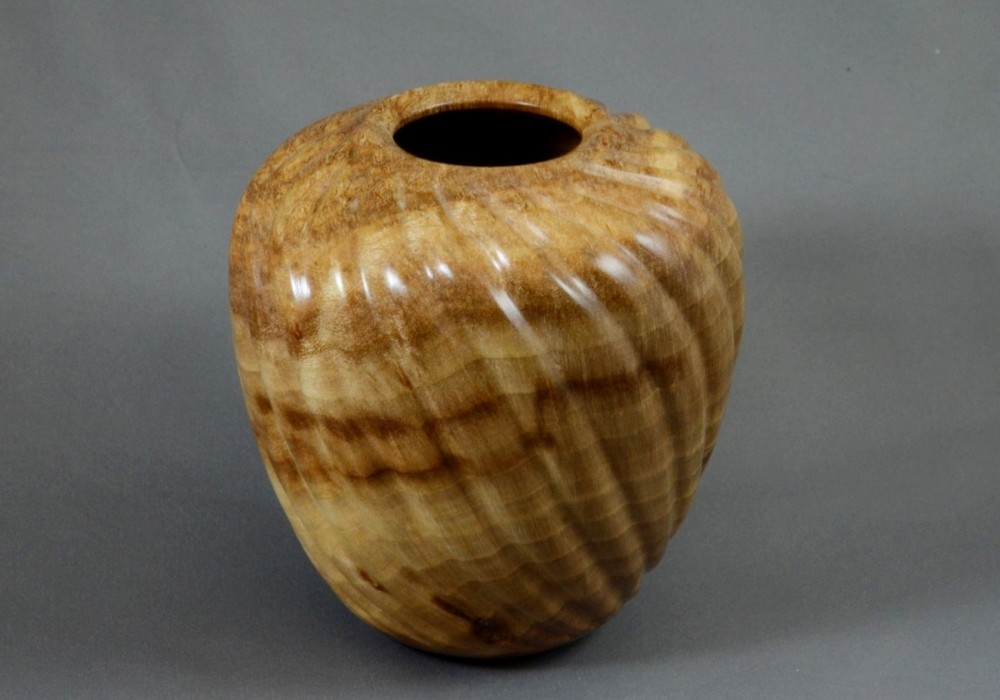
Just a couple of vases, the one on the left with a natural edge. This wood is still from the giant burl harvested on Calrossie Street several years ago. I have very little of this wood left. This vase is about 10" high and is finished with Danish oil and buffed.

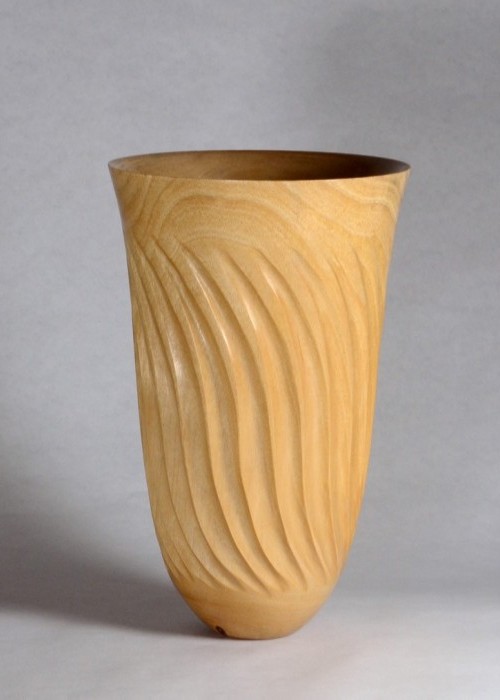
The piece on the right was a simple, plain vase of rather nondescript maple, and I decided to add a little character to it by carving spirals around it. I am fond of this treatment for a lot of reasons. If there is a pronounced grain, the spirals give the grain a wavy effect, and if there is little character, the spirals add shadows that enhance the wood. This piece is also 10" tall but a bit narrower. Finished with water based urethane.

Chokecherry Salad Bowl

When I was a kid growing up in northern Manitoba, I always looked forward to chokecherry season. The bush on our pasture was loaded with chokecherry trees, and the huge berries in season were an irresistible temptation for a young boy sent out to fetch the cows in for milking.

"Why did it take you so long to get the cows, Herman? Were you eating berries instead of looking for the cows?"

"Gee, Mom, the cows were hard to find and that's why it took me so long" replies the lad with the blue teeth and lips.

I never dreamed that those bushes, although they were wild and much smaller, contained such beautiful wood. The domesticated chokecherry tress, like the Schubert chokecherry, can grow to impressive girth, as shown by these two bowls.

Both bowls are from the same tree, although the wood is vastly different in character between the two. This wood is one of the most beautiful to work with - it cuts so cleanly, smells lovely, and finishes beautifully. The only downside is that the wood can twist and warp, like most fruitwoods. Long after they are finish turned they can warp, and the only way to get away from that is to make sure they are bone dry, like less than 8% moisture.

Both bowls are about 12" to 13" in diameter and are finished with wipe on poly.

Chokecherry Salad Bowl

Elm Keepsake Box

Two more pieces from the elm tree burl. I have often described these little boxes as "keepsake boxes", a name given them by my granddaughter when she was little. They are often used as trinket boxes, and some ladies that have them keep jewellery pieces in them. Many of them, as has one that I kept, have been used as pet urns.

These are almost identical, but they are two different boxes, although from the same tree. I'm obviously biased on the shape and finial of these. Note the difference in the color of the walnut lids.

These are both about 5" in diameter and are finished with wipe on poly, buffed and waxed.

Elm Keepsake Box